The next guide (which should be up next week some time) will have us mounting the screen and a few other things in the case. Besides the (at this point unicorn-like) Pi Zero, the part people are having the hardest time finding is the screen. There is some great discussion going on in the forums about this, but I wanted to gather some of that information here since loads of people are asking about it.
Why not GPIO?
In the search for an alternative to the Adafruit composite screen, you’re bound to come across at least one GPIO-based screen like the Adafruit PiTFT (if it mentions having a touch screen, it’s likely a GPIO screen). The GPIO screens will work, sure, but there are a few good reasons to hold out for a composite screen:
- It just works. No software to tweak, kernel modules, nothing like that. Just connect the two composite wires, and you’re good to go! The GPIO screens have a lengthy setup process.
- Silky-smooth 60FPS refresh rate. The GPIO-based ones I have tried fall far short of this so things appear to stutter a bit.
- Easy switching between composite and HDMI: just turn on the GBZ with an HDMI screen connected, and it works! After doing the software setup for the GPIO screen, your resolution will be locked at whatever your TFT’s screen resolution is, and there’s a good chance your TV won’t play nice with it.
- Slightly less important but still nice: the aspect ratio of the composite screens matches the area we cleared out for the screen almost exactly, while the GPIO ones do not:
Does it *have* to be the Adafruit one?
No, in fact there are a lot of options out there. But there are a few things to keep in mind:
5V vs 12V: Most of these screens are intended for use with a 12V power source (including the Adafruit one). Most of them can be modified to run off 5V, some more simply than others (the Adafruit one is especially easy). Some actually tolerate 5V right out of the box even though they are made for 12V. There are also cheap 5V -> 12V converters you can get for a few bucks on amazon.
Controller board: Make sure you don’t get just the screen (lots of ebay listings are just the screen, which is useless to us without the controller board). Also make sure you have at least some idea of the size of the controller board. The Adafruit board is almost the same size of the screen itself so it fits nicely behind it. Some are much smaller, and some are too wide and require modifications to make it even fit in the case.
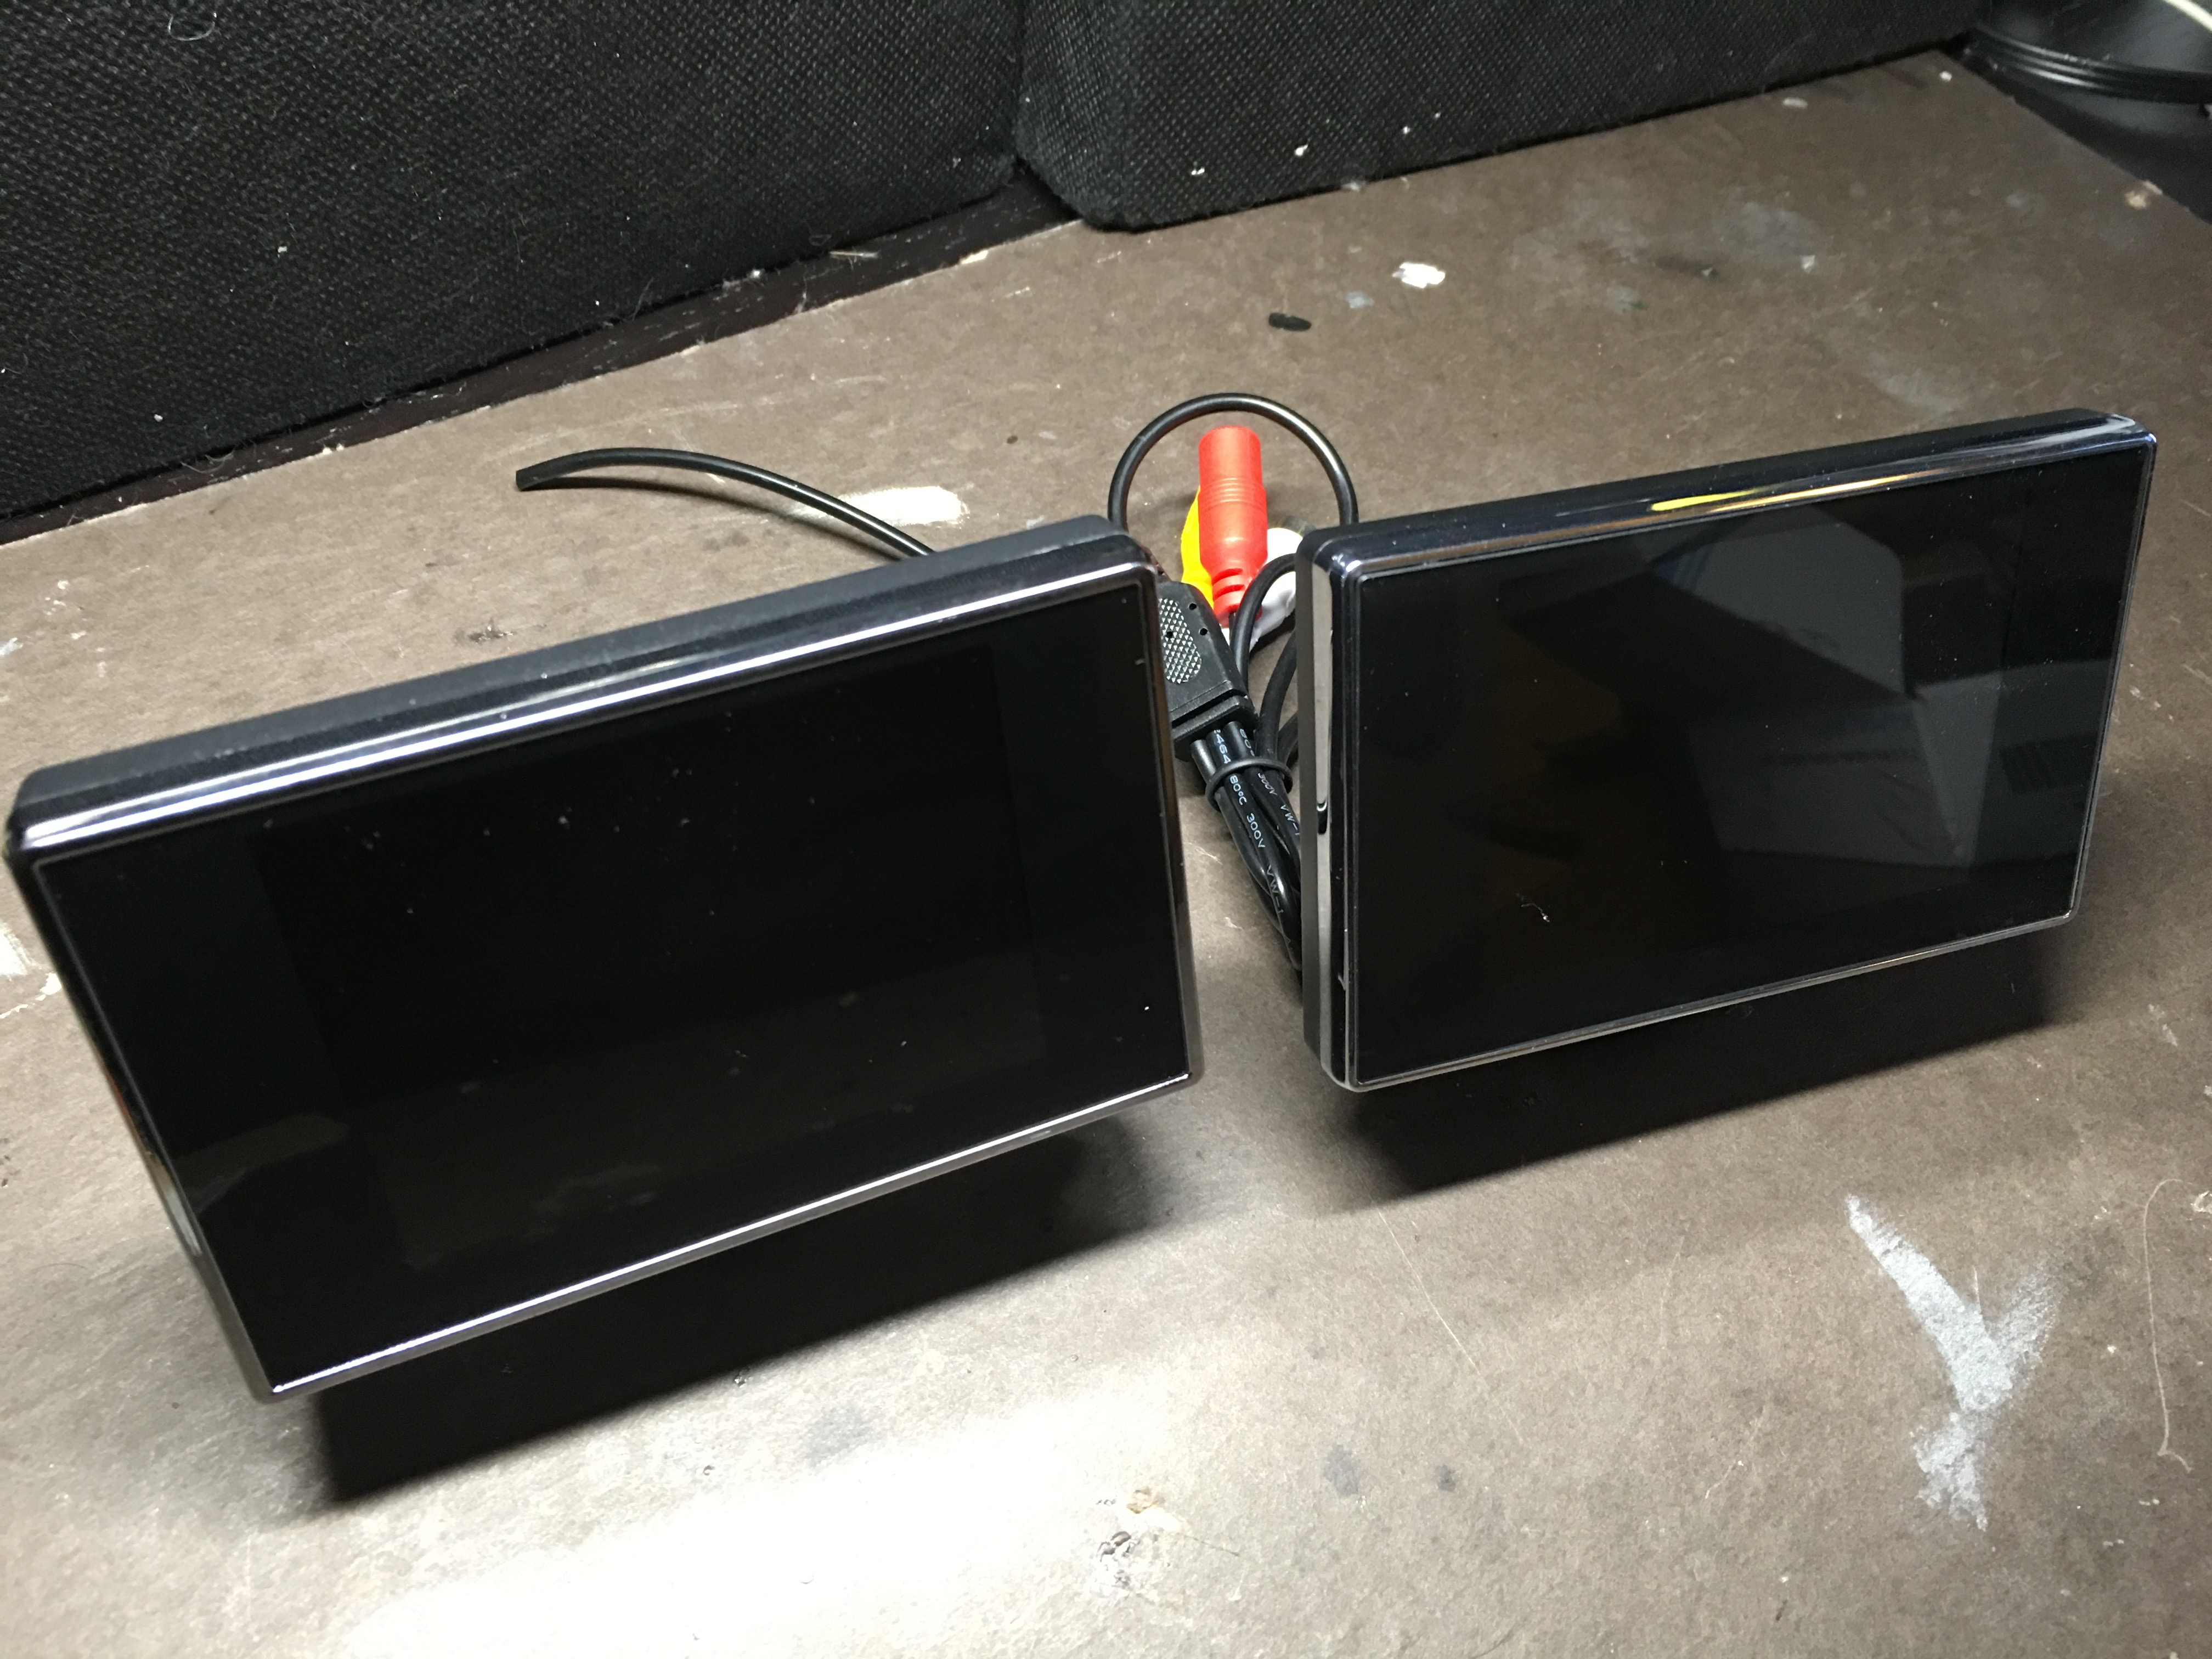
Source: You can find loose screens/controller boards like the Adafruit screen, but you can also buy a cheap backup camera monitor like this one and get a working 3.5″ composite screen that way. But watch out! As some forum users and I have found, even under the same product listing like the Amazon one linked to above, depending on which seller you get it from, you may get drastically different results.
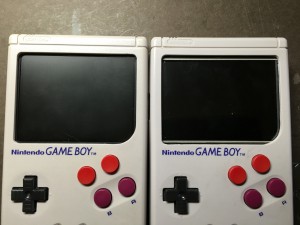
Both these screens were purchased from the Amazon link above. They look identical from the front:
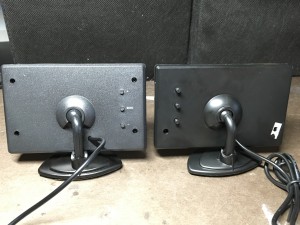
From the back you can see they aren’t quite the same:
Inside, you can see they are totally different! The one on the left is too wide to fit in the Game Boy without cutting the edges a bit. Worse, though, it doesn’t work with some screen modes (some resolutions seem to just blink for no reason including some boot screens, as well as the Doom main menu), and has horrible image ghosting after staying on a screen for more than a few seconds (I tried it with both 5V and 12V). The one on the right though, works great! For reference I got the left one from a seller called EPATHDEALS, and the one on the right came from a seller called Niceshopping.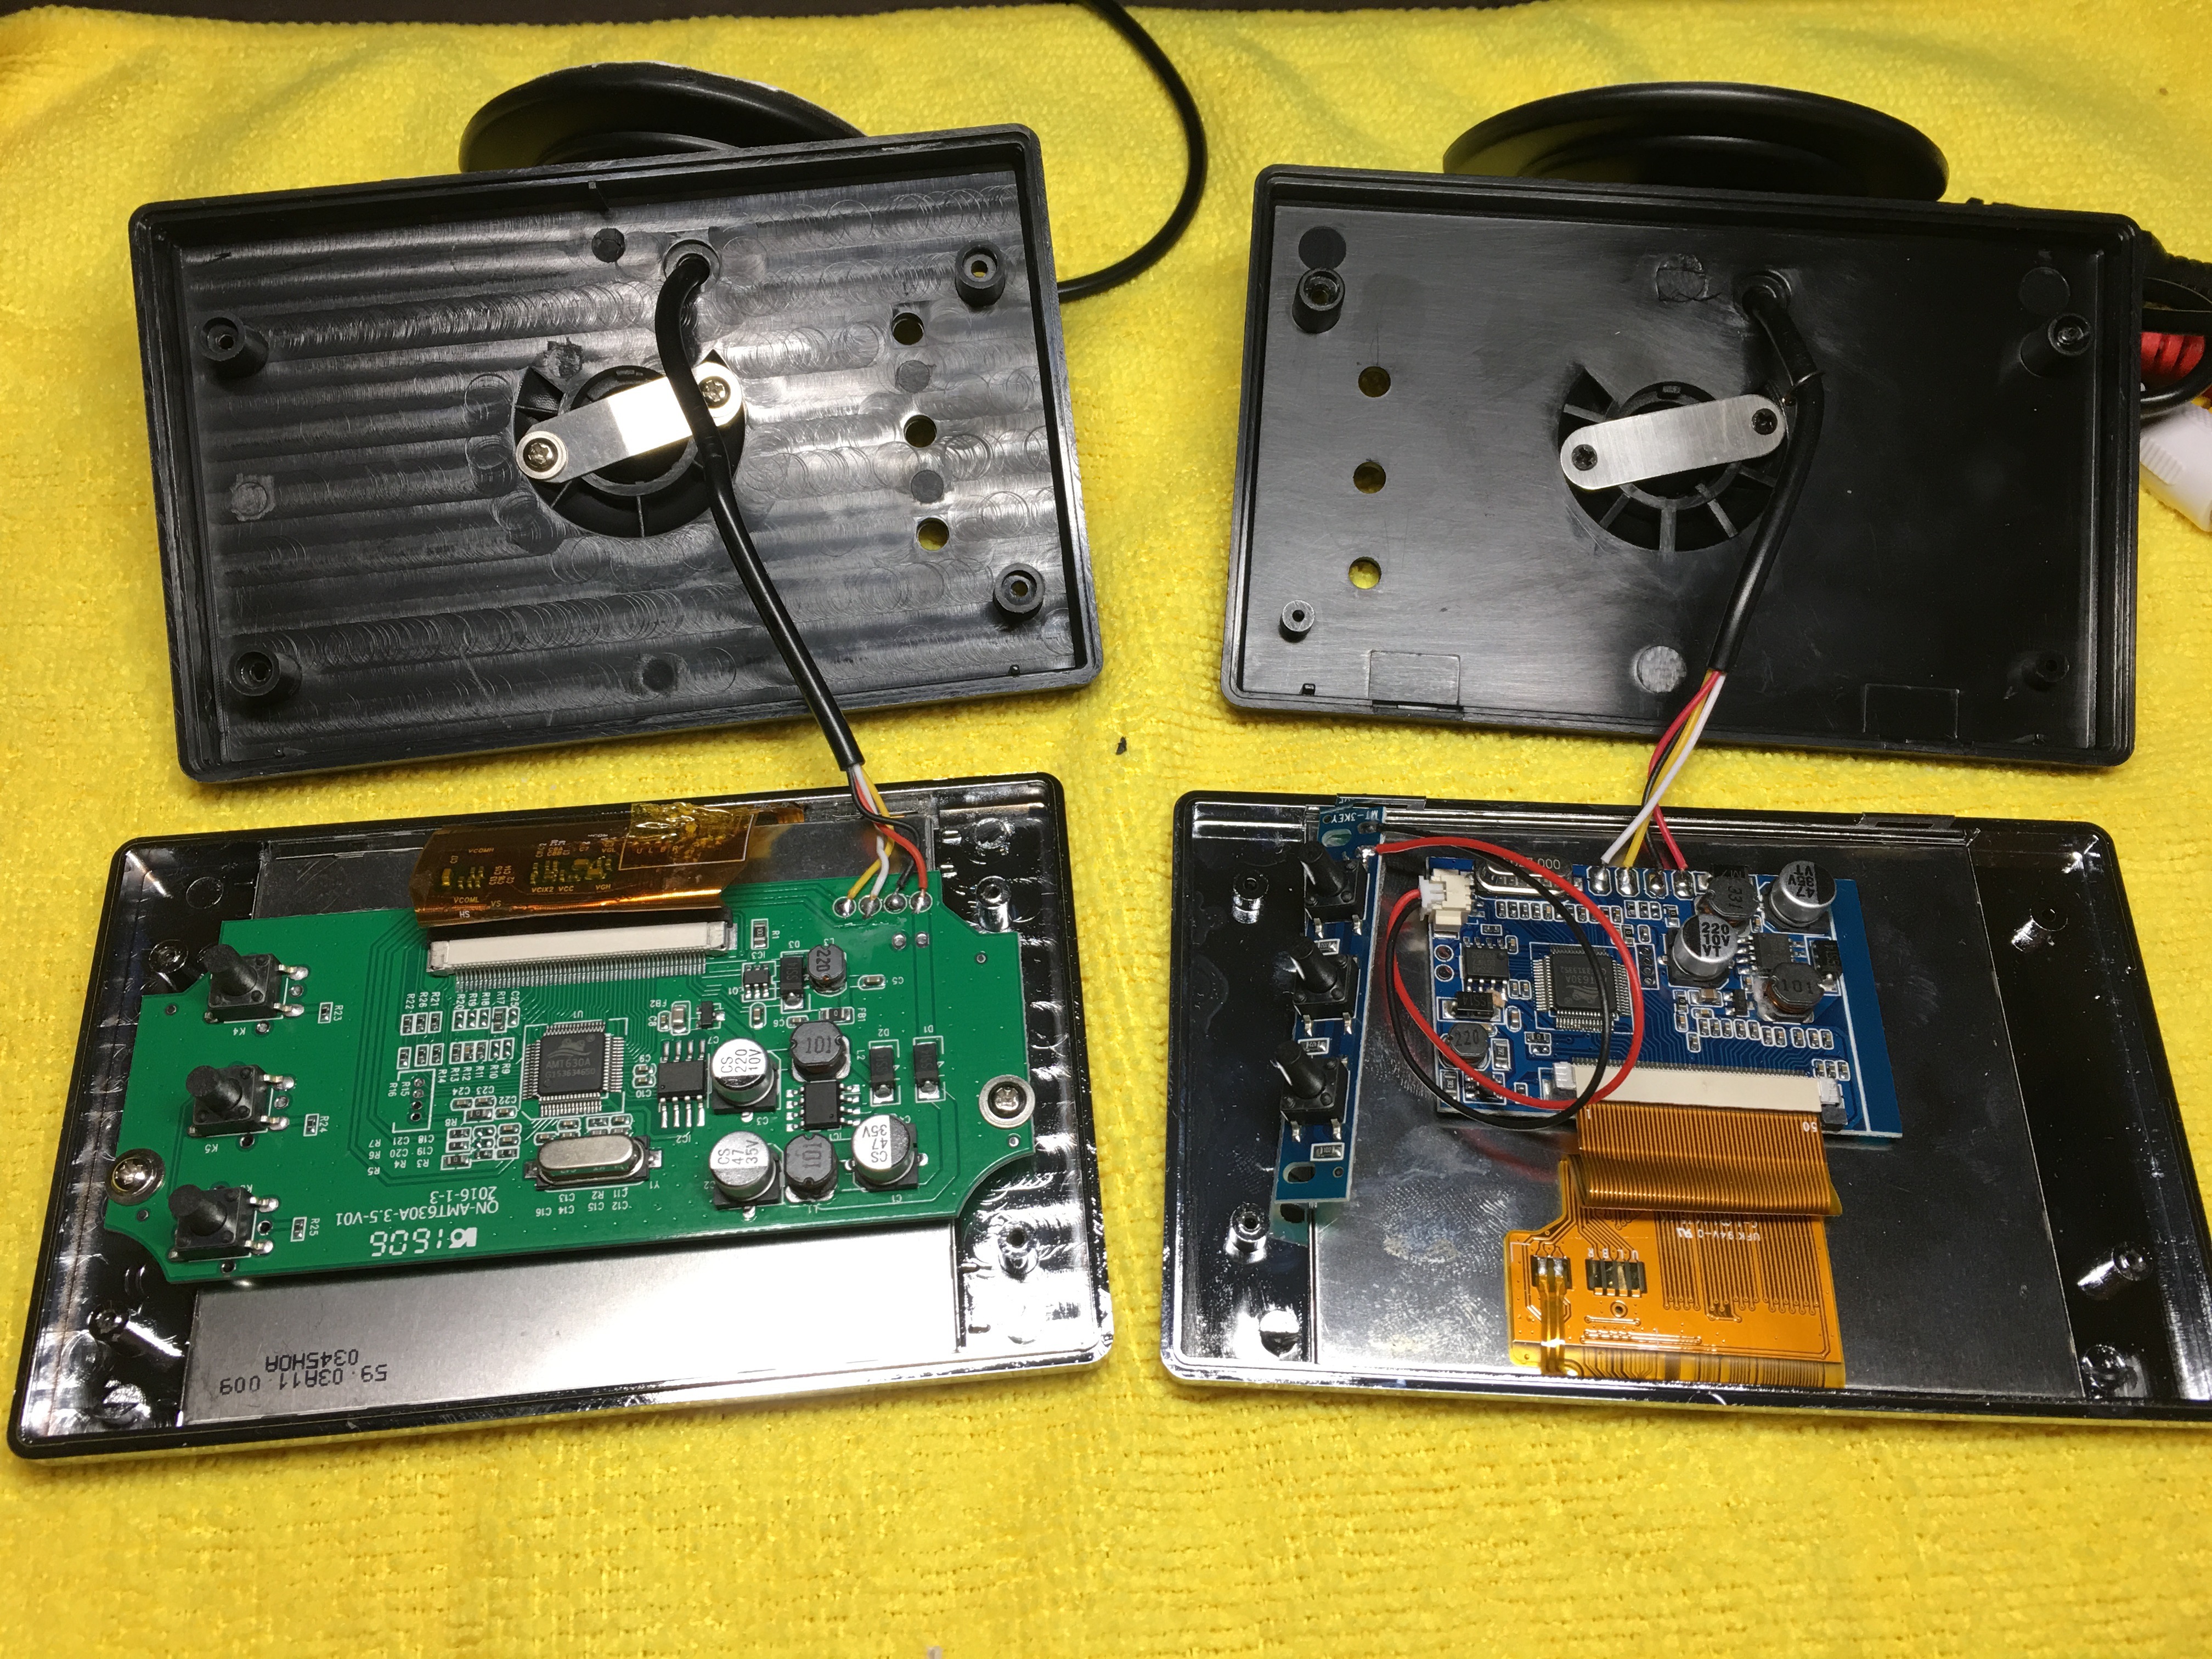
Below is a list of known working/not working screens from the forums (mainly this thread). Feel free to shoot me a note or leave a comment below if you have one I can add!
I’ll be setting up a wiki this weekend where people can easily list alternate parts (beyond just screens) they have verified as working or not working, places to buy parts, miscellaneous tips and so forth in one spot. That way all this great info isn’t scattered all over in the forums.
UPDATE: The wiki is up! It is located here: http://sudomod.com/wiki