Mini-PiC Build
Posted: Tue Jan 16, 2018 5:44 pm
This is a simplified build log for the Mini-PiC computer.
I started on this after going thru a my spare parts seeing and seeing this post on reddit.
https://www.reddit.com/r/raspberry_pi/c ... ovelty_pc/
There is another more intensive build here utilizing different parts:
https://imgur.com/a/5xiPJ
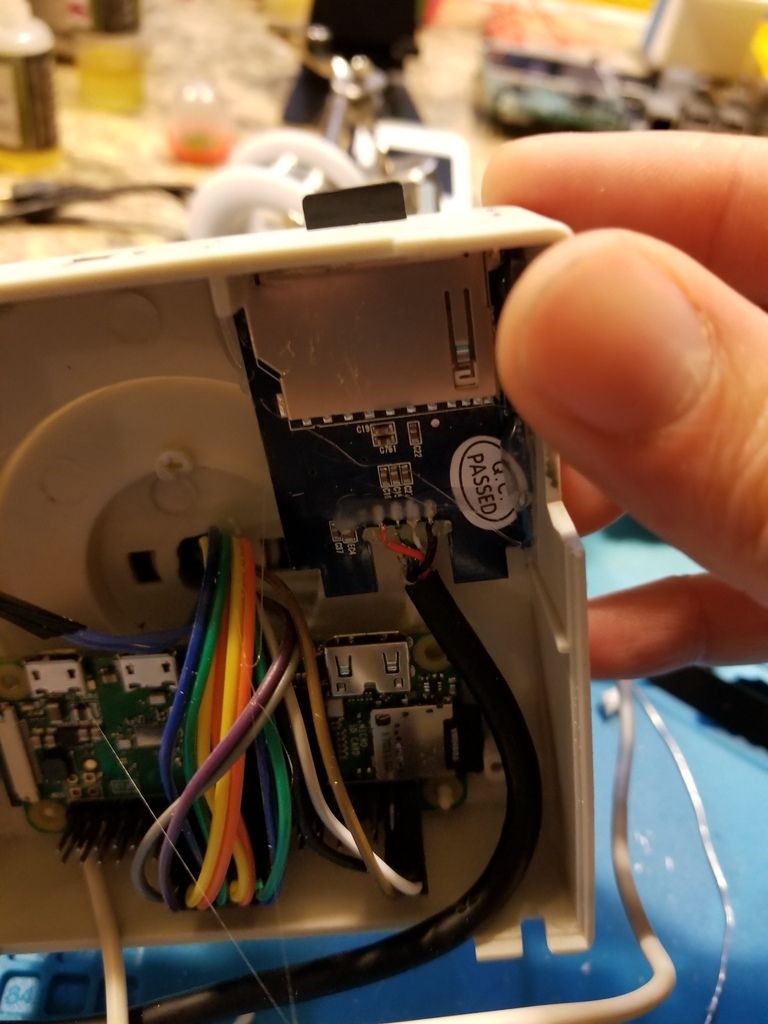
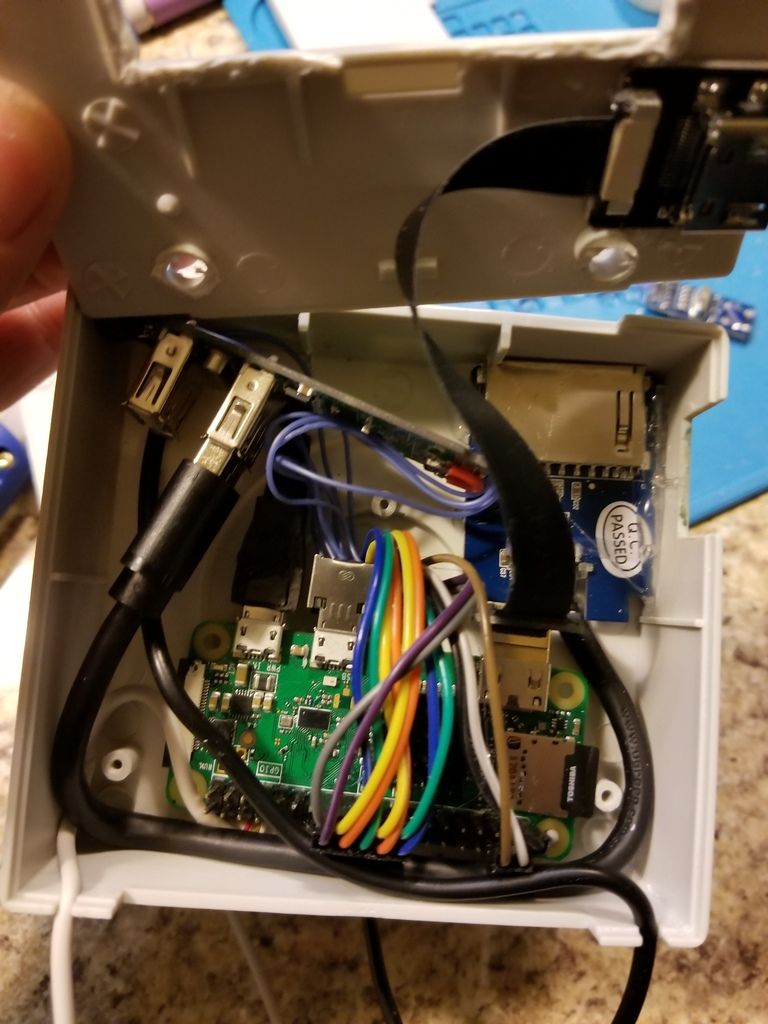
Parts used
- Raspberry Pi 0 (Pi 3 will fit if you do some additional modification)
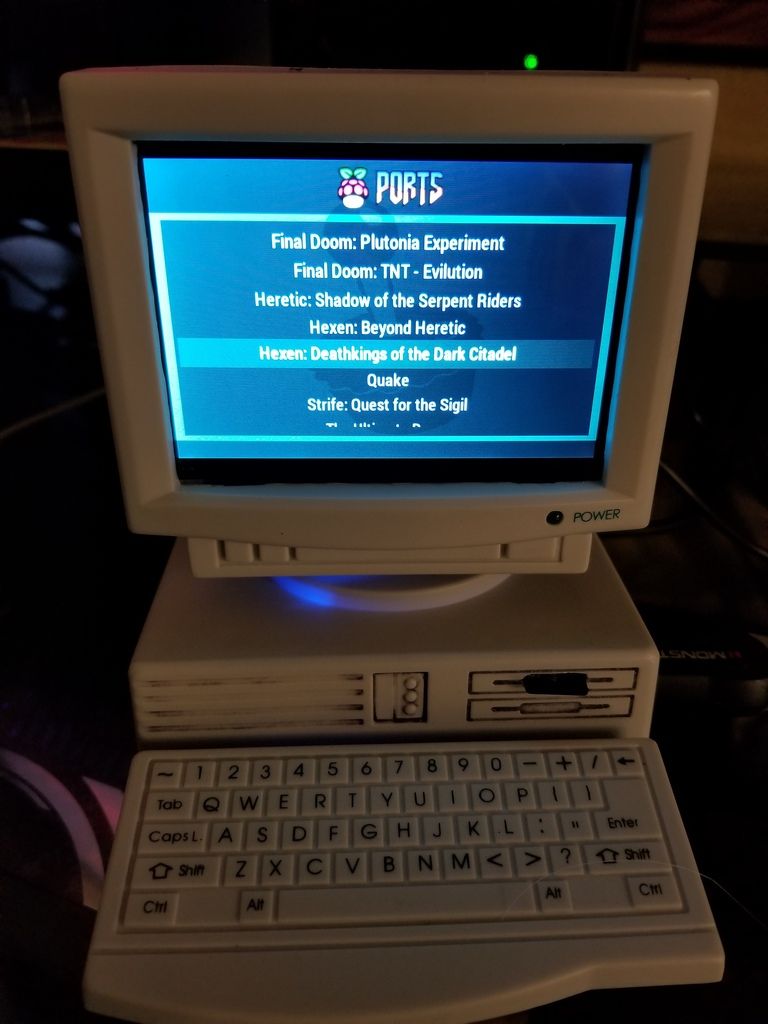
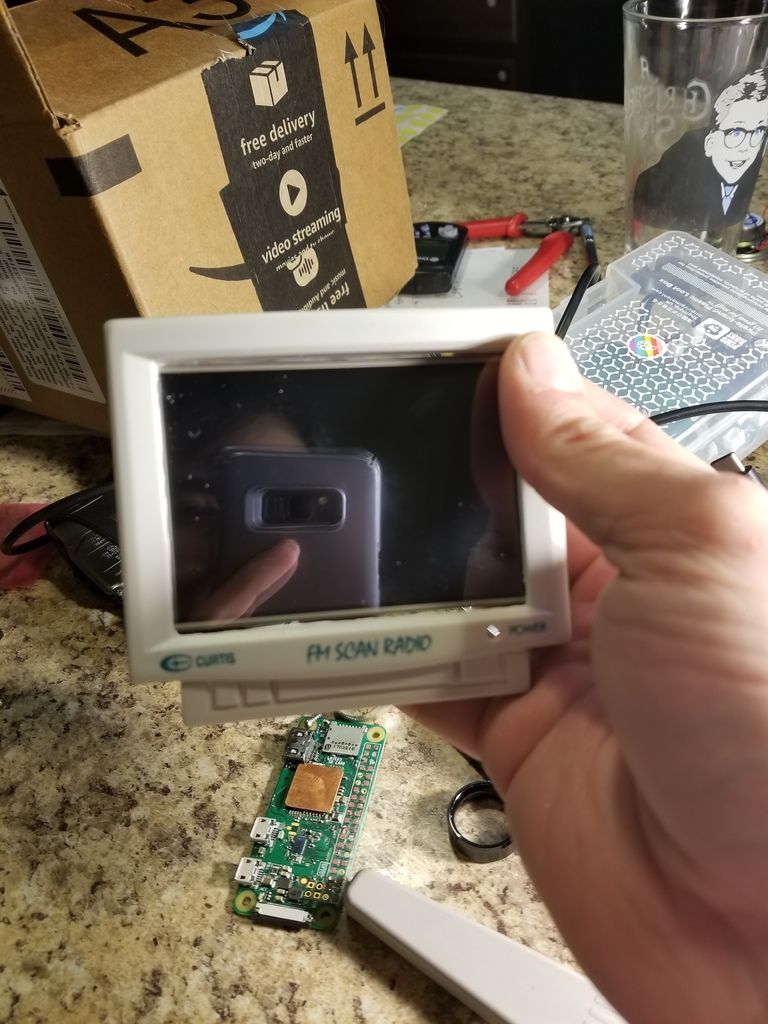
- Adafruit 3.5" Pi TFT Screen https://learn.adafruit.com/adafruit-pit ... pberry-pi/
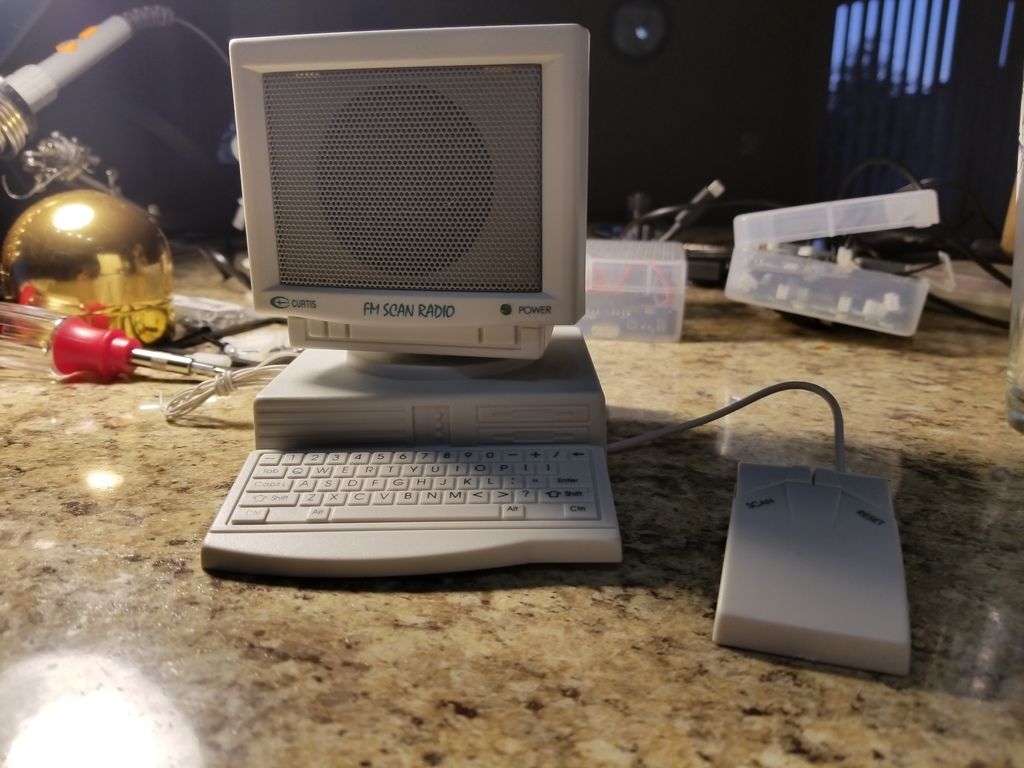
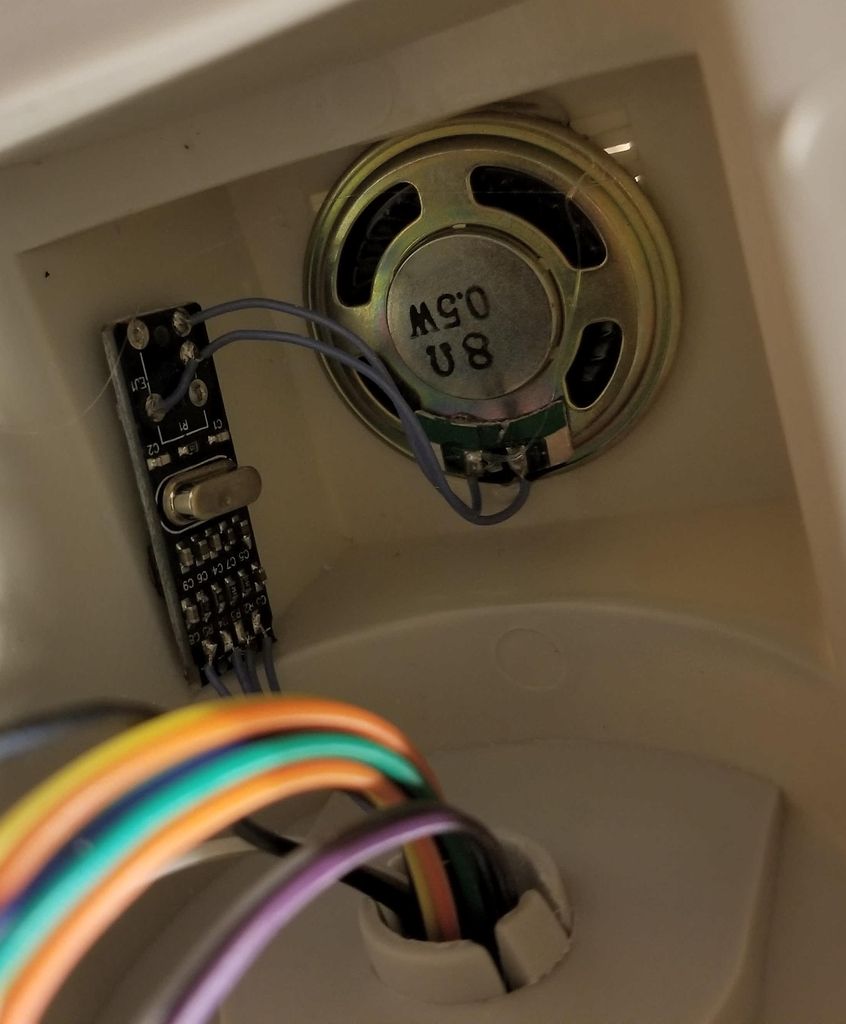
- Curtis FM Scan Radio ($5-15 eBay search "Radio FM Computer")
- (Optional) USB Mini Hub with Power Switch https://www.adafruit.com/product/2991
- (Optional) UGREEN SD Card Reader USB https://www.amazon.com/UGREEN-Reader-Ad ... B01ARAH6O0
- (Optional) DIY HDMI cable parts (ribbon cable / straight hdmi female / mini hdmi ) https://www.adafruit.com/product/3548
- MISC (silicone wire / otg adapter / jumper cables / micro sd card / USB soundcard / Speaker)
1. Start by installing RetroPie and getting it to work with your screen. This seemed to be the most troublesome piece of the project. In fact it should probably be its own guide.
SpoilerShow
Ignore the outdated Adafruit site completely. Plug the TFT in via jumper cables or directly to the Pi.
After installing the RetroPie software edit /boot/config.txt
Add these lines:
Once you get it working install fbcp and edit /boot/config.txt again with some additional tweaks.
Add overclock (just for core_freq to speed up fbcp a little bit)
Decrease hdmi screen resolution to match screen
After installing the RetroPie software edit /boot/config.txt
Add these lines:
Code: Select all
dtparam=spi=on
dtoverlay=pitft35-resistive,rotate=90,speed=42000000,fps=60Add overclock (just for core_freq to speed up fbcp a little bit)
Code: Select all
arm_freq=1000
gpu_freq=400
core_freq=488
over_voltage=2Code: Select all
hdmi_group=2
hdmi_mode=87
hdmi_cvt=480 320 60 1 0 0 0SpoilerShow
SpoilerShow
SpoilerShow
https://www.instagram.com/p/BeAGUhiFAoy
Enjoy and happy building!