

Hardware you will need :
GBZ All in One (Duh)
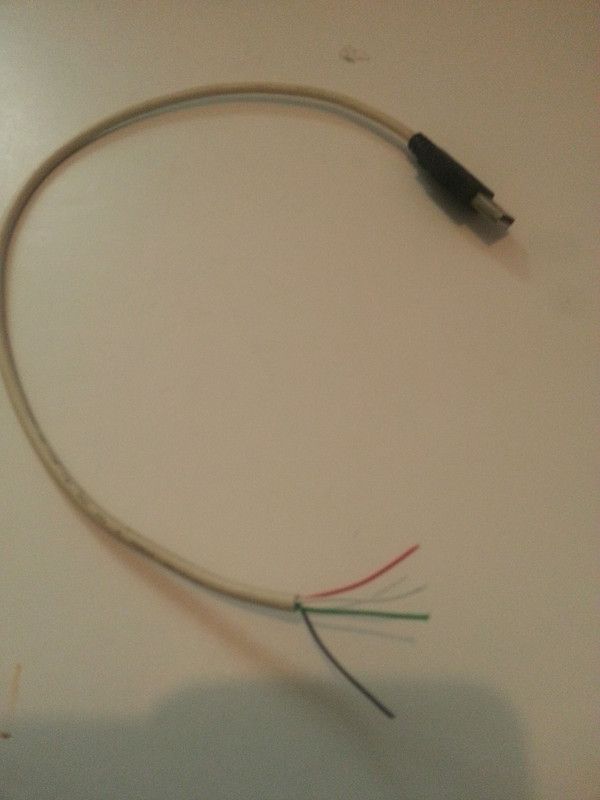
a USB cable cut and stripped (get it from old device or extension cable)
a push button aka a Tactile Switch
Optional:
6 pin double row header
Software Needed:
Arduino IDE (provided below with everything needed)
http://www.mediafire.com/download/2z88b ... 1.6.10.zip
GBZ Controller Sketches (provided below) Older Not Always Stable Use Newer One Below
http://www.mediafire.com/download/wp091 ... etches.rar
New GBZ Controller Sketches (more stable and no multi presses)
http://www.mediafire.com/download/fu845 ... etches.zip
Instructions:
Cut and strip the USB wire so you get something like this:
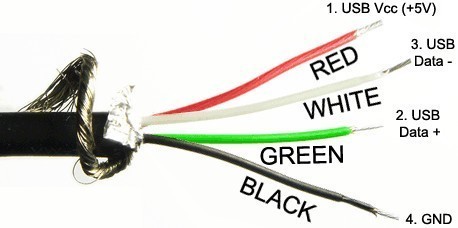
Using the color code of the USB wire:
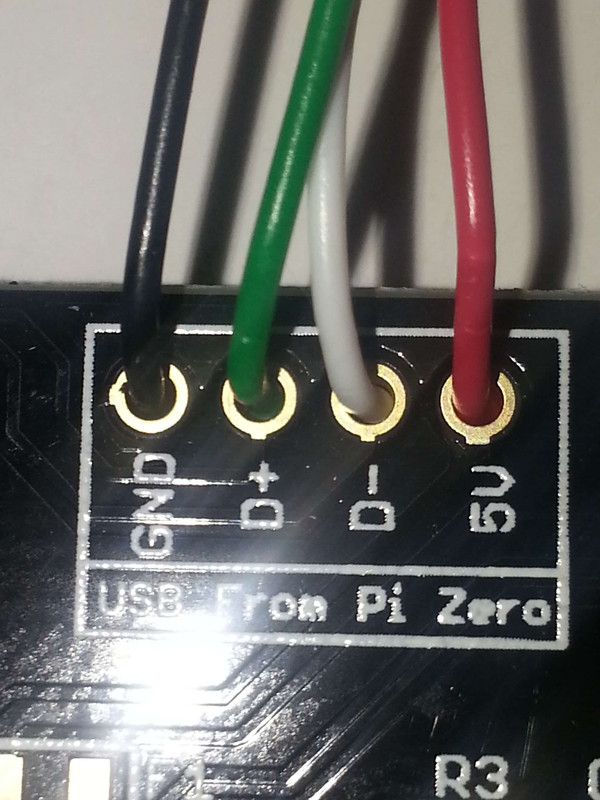
We wire the usb to the PCB like so:
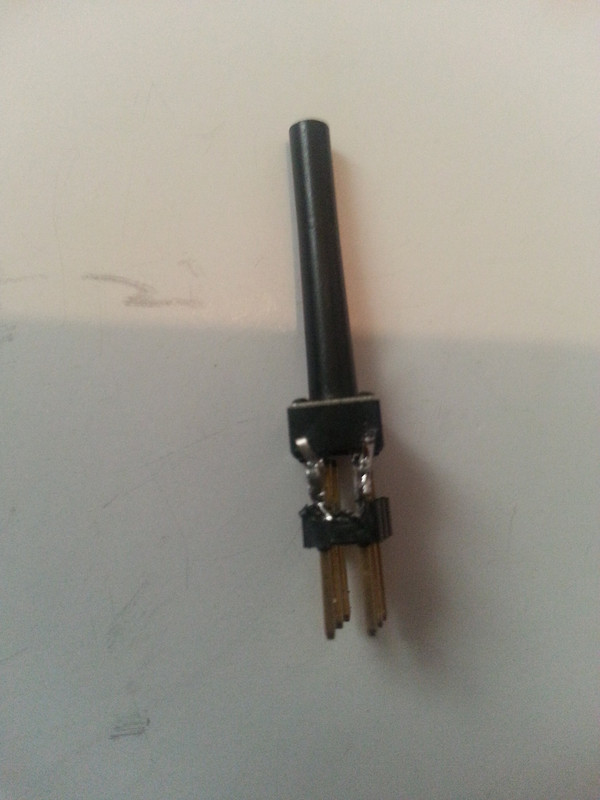
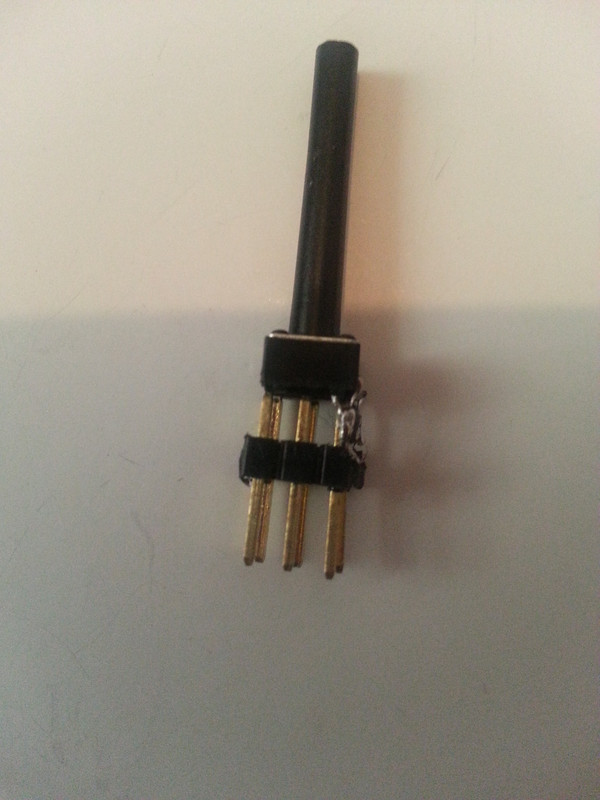
Now the Optional but very recommended, take the pin header and Tactile switch:
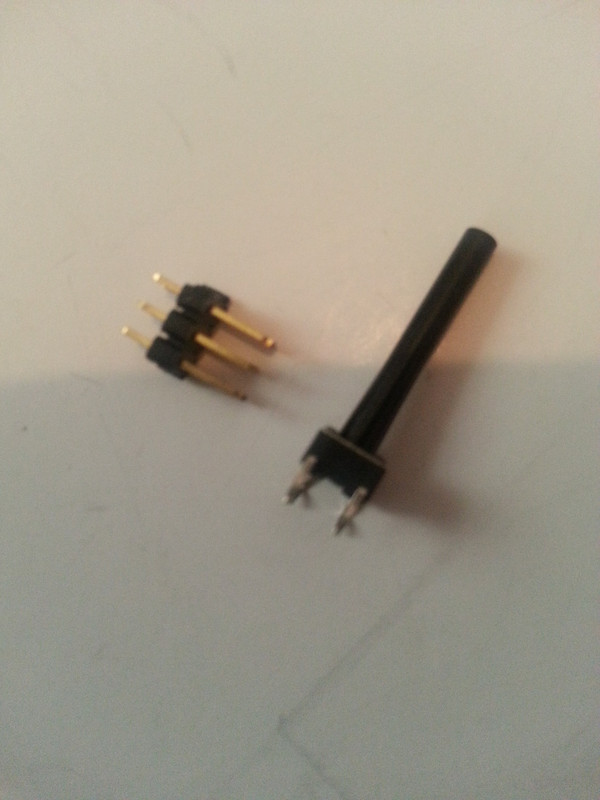
Find which 2 legs of the Switch has continuity once you press it (with a multi meter) and cut the other 2 off. Solder the remaining 2 legs of the switch to the last 2 pins on the header like so:
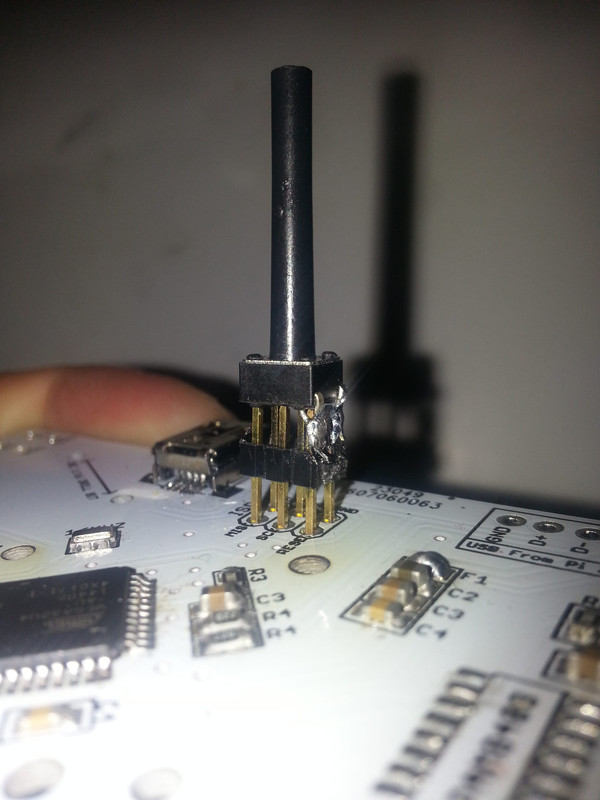
Then put the soldered pins into the ISP header with the switch legs going into the Reset and GND holes like so:
That's it for the Hardware part.
Software Part:
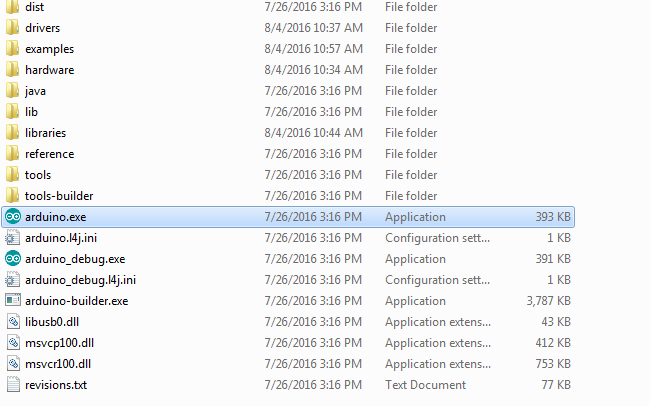
Download both Files above and extract the arduino-1.6.10.zip to some directory of your choice, and run the arduino.exe
The program might disappear and seem like it crashed but is actually making some directories needed for it's proper function.
Go to your "My Documents" folder and you will see a new folder called "Arduino" leave it there and open the other zip file Arduino Sketches.zip and in it is a folder called "Arduino".
Take that folder and put it in your "My Documents" folder and overwrite the one there when prompted to.
In windows Start Menu click on the search bar and type : device manager
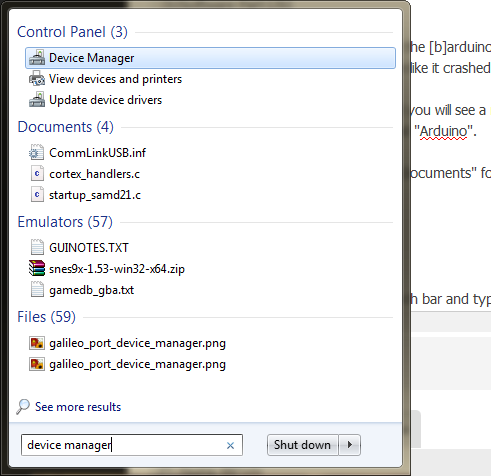
Leave this window open and plug in your controller into a USB port, Windows will try to install the drivers for the board but one will fail.
You will see this on the Device Manager:
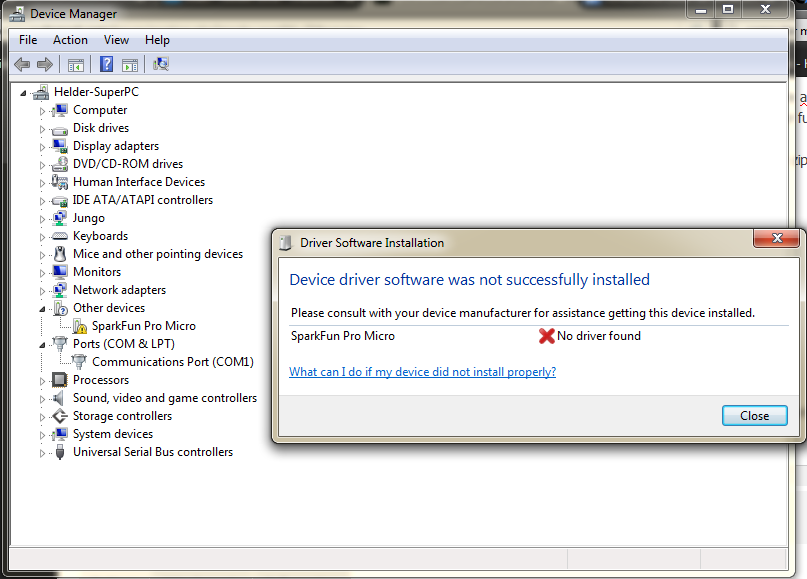
Right Click on the Device and Choose the first option: Update Driver Software
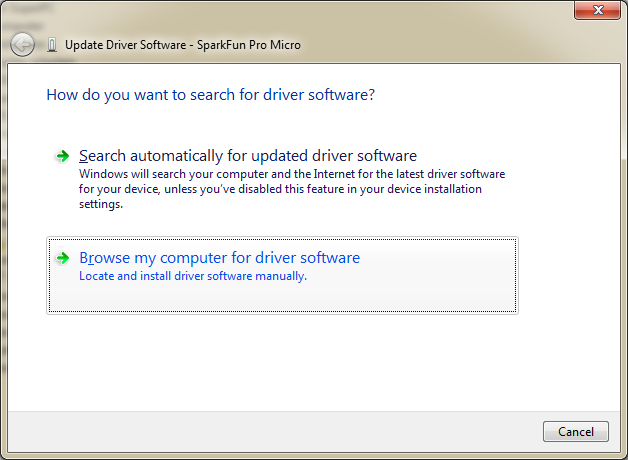
Then choose the 2nd option:
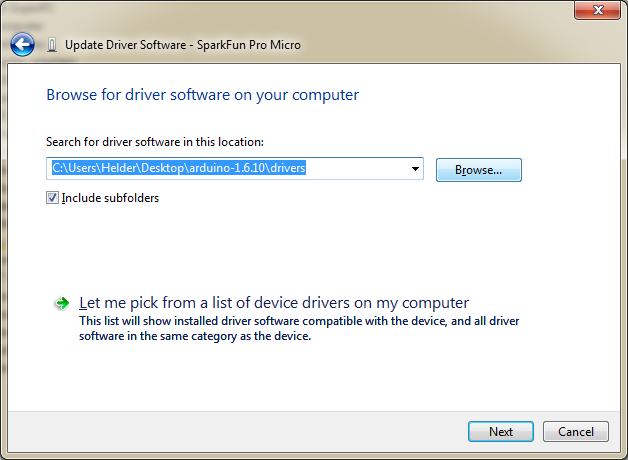
Browse to the Arduino program folder you extracted and find the "drivers" folder and choose that and hit Next:
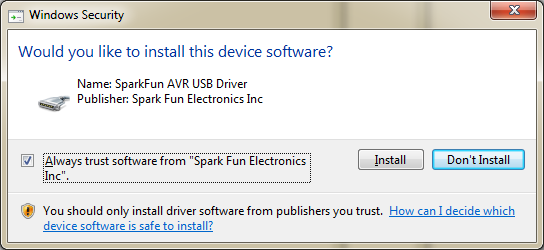
Windows asks if you want to install the device so say yes and check off the box:
Confirmation of install:
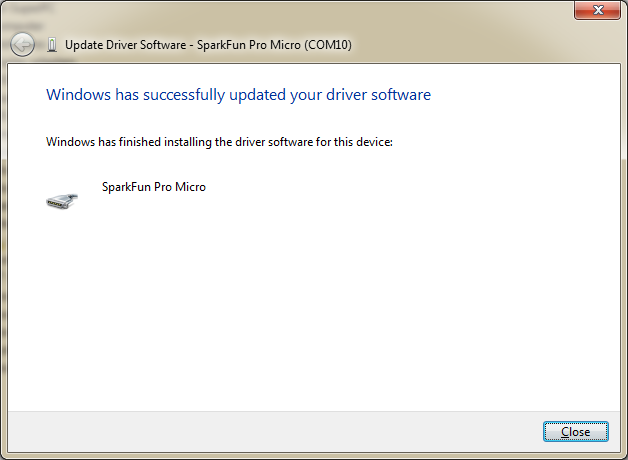
Success!
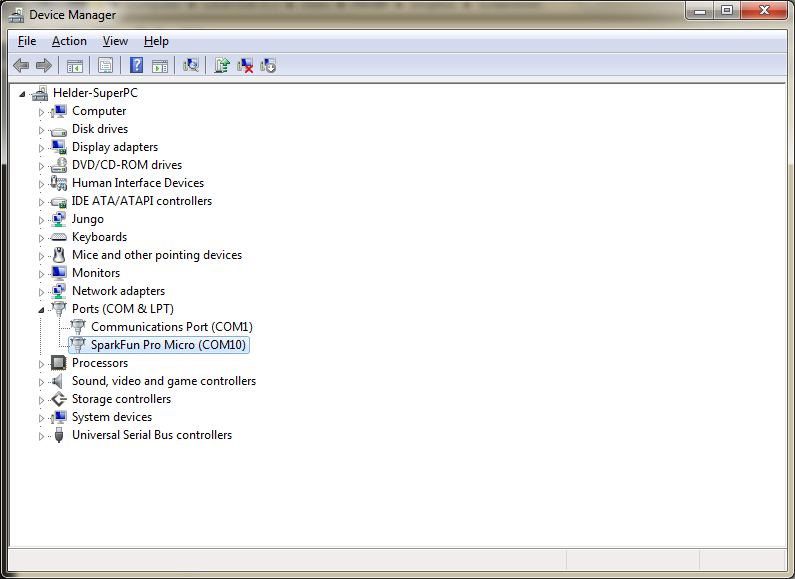
Take note of the COM port (yours will be different) and leave the Device Manager Open.
Programming:
Open up the Arduino program:

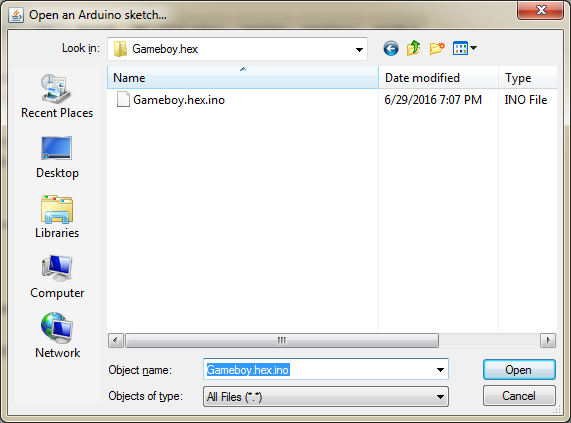
Go to the GBZ_Controller folder then No Analog then Gameboy.hex and choose the file Gameboy.hex.ino
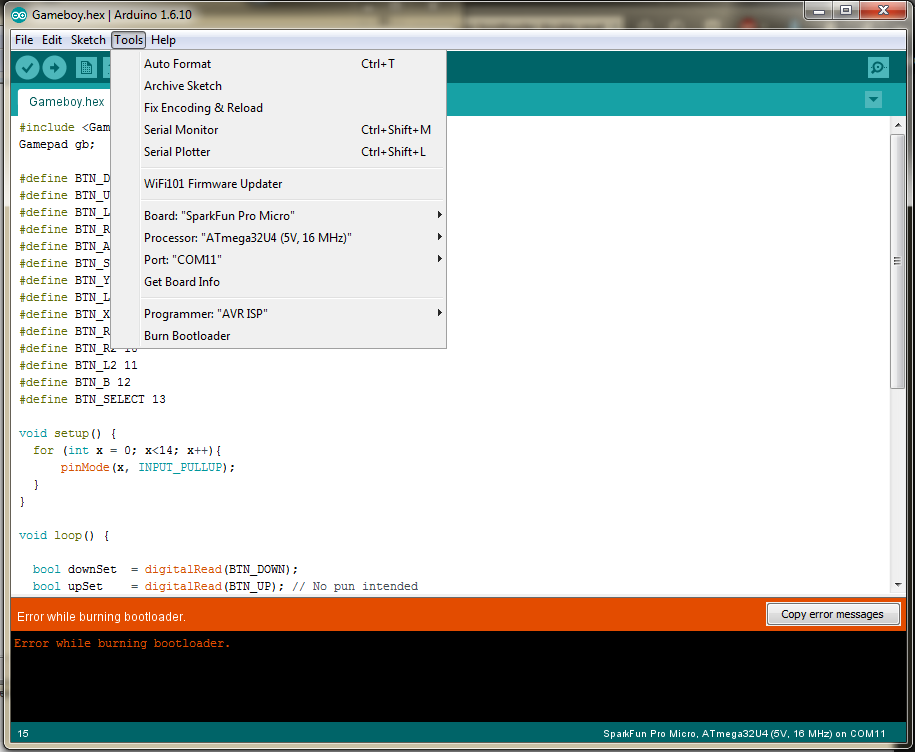
Once done go to Tools and set up the options as follows (your COM will be a different number):

This COM is the normal function of the board but in order to program it we need it to go into Bootloader mode and it will have a different COM number. Put the header with Tactile Switch into the ISP header like in the image above and be sure to press it up against the ISP hole walls and press the button 2 times in quick succession.
Go to tools again and now another COM Port is there!
Choose this new COM post and hit the Upload button the Sketch will compile and then it will upload and hopefully you get a Upload Successful message.
Now this damn bootloader double reset is tough to get into, I literally got into it 3 times out of 40 tries. Best thing to do is try to get into bootloader mode at the end of the compile right before you see it uploading as the bootloader mode only lasts 8 seconds.
I really suggest getting the $3 USBASP to make this alot easier. I plan to use a different bootloader in the boards to be sent out next week to avoid this.


