Page 1 of 2
Dashtag's MintyPi Build
Posted: Thu Aug 31, 2017 1:24 pm
by dashtag
I'm almost ready to start my build, so thought I'd post a pic of the components. I'm just waiting on one component, but can start without it.

- IMG_8059.JPG (2.23 MiB) Viewed 9361 times
10 points for the first person who can see which component is missing (micro SD is not in pic, but I have it)

Re: Dashtag's MintyPi Build
Posted: Thu Aug 31, 2017 1:29 pm
by dashtag
Actually, one quick and probably stupid question, but when testing that the Zero & sound card works, can I use a 2.5A power supply from a Pi3. I assume it will only draw the power it needs and not fry it!! Lol
Re: Dashtag's MintyPi Build
Posted: Thu Aug 31, 2017 1:32 pm
by HoolyHoo
Speaker?
And battery monitoring board and switch if you go that route.
Re: Dashtag's MintyPi Build
Posted: Thu Aug 31, 2017 1:45 pm
by dashtag
HoolyHoo wrote: ↑Thu Aug 31, 2017 1:32 pm
Speaker?
10 points! I think they're on the proverbial slow boat from China!
HoolyHoo wrote: ↑Thu Aug 31, 2017 1:32 pm
And battery monitoring board and switch if you go that route.
Yes, I've ordered one from Helder, and it's on its way

Re: Dashtag's MintyPi Build
Posted: Fri Sep 01, 2017 2:55 pm
by dashtag
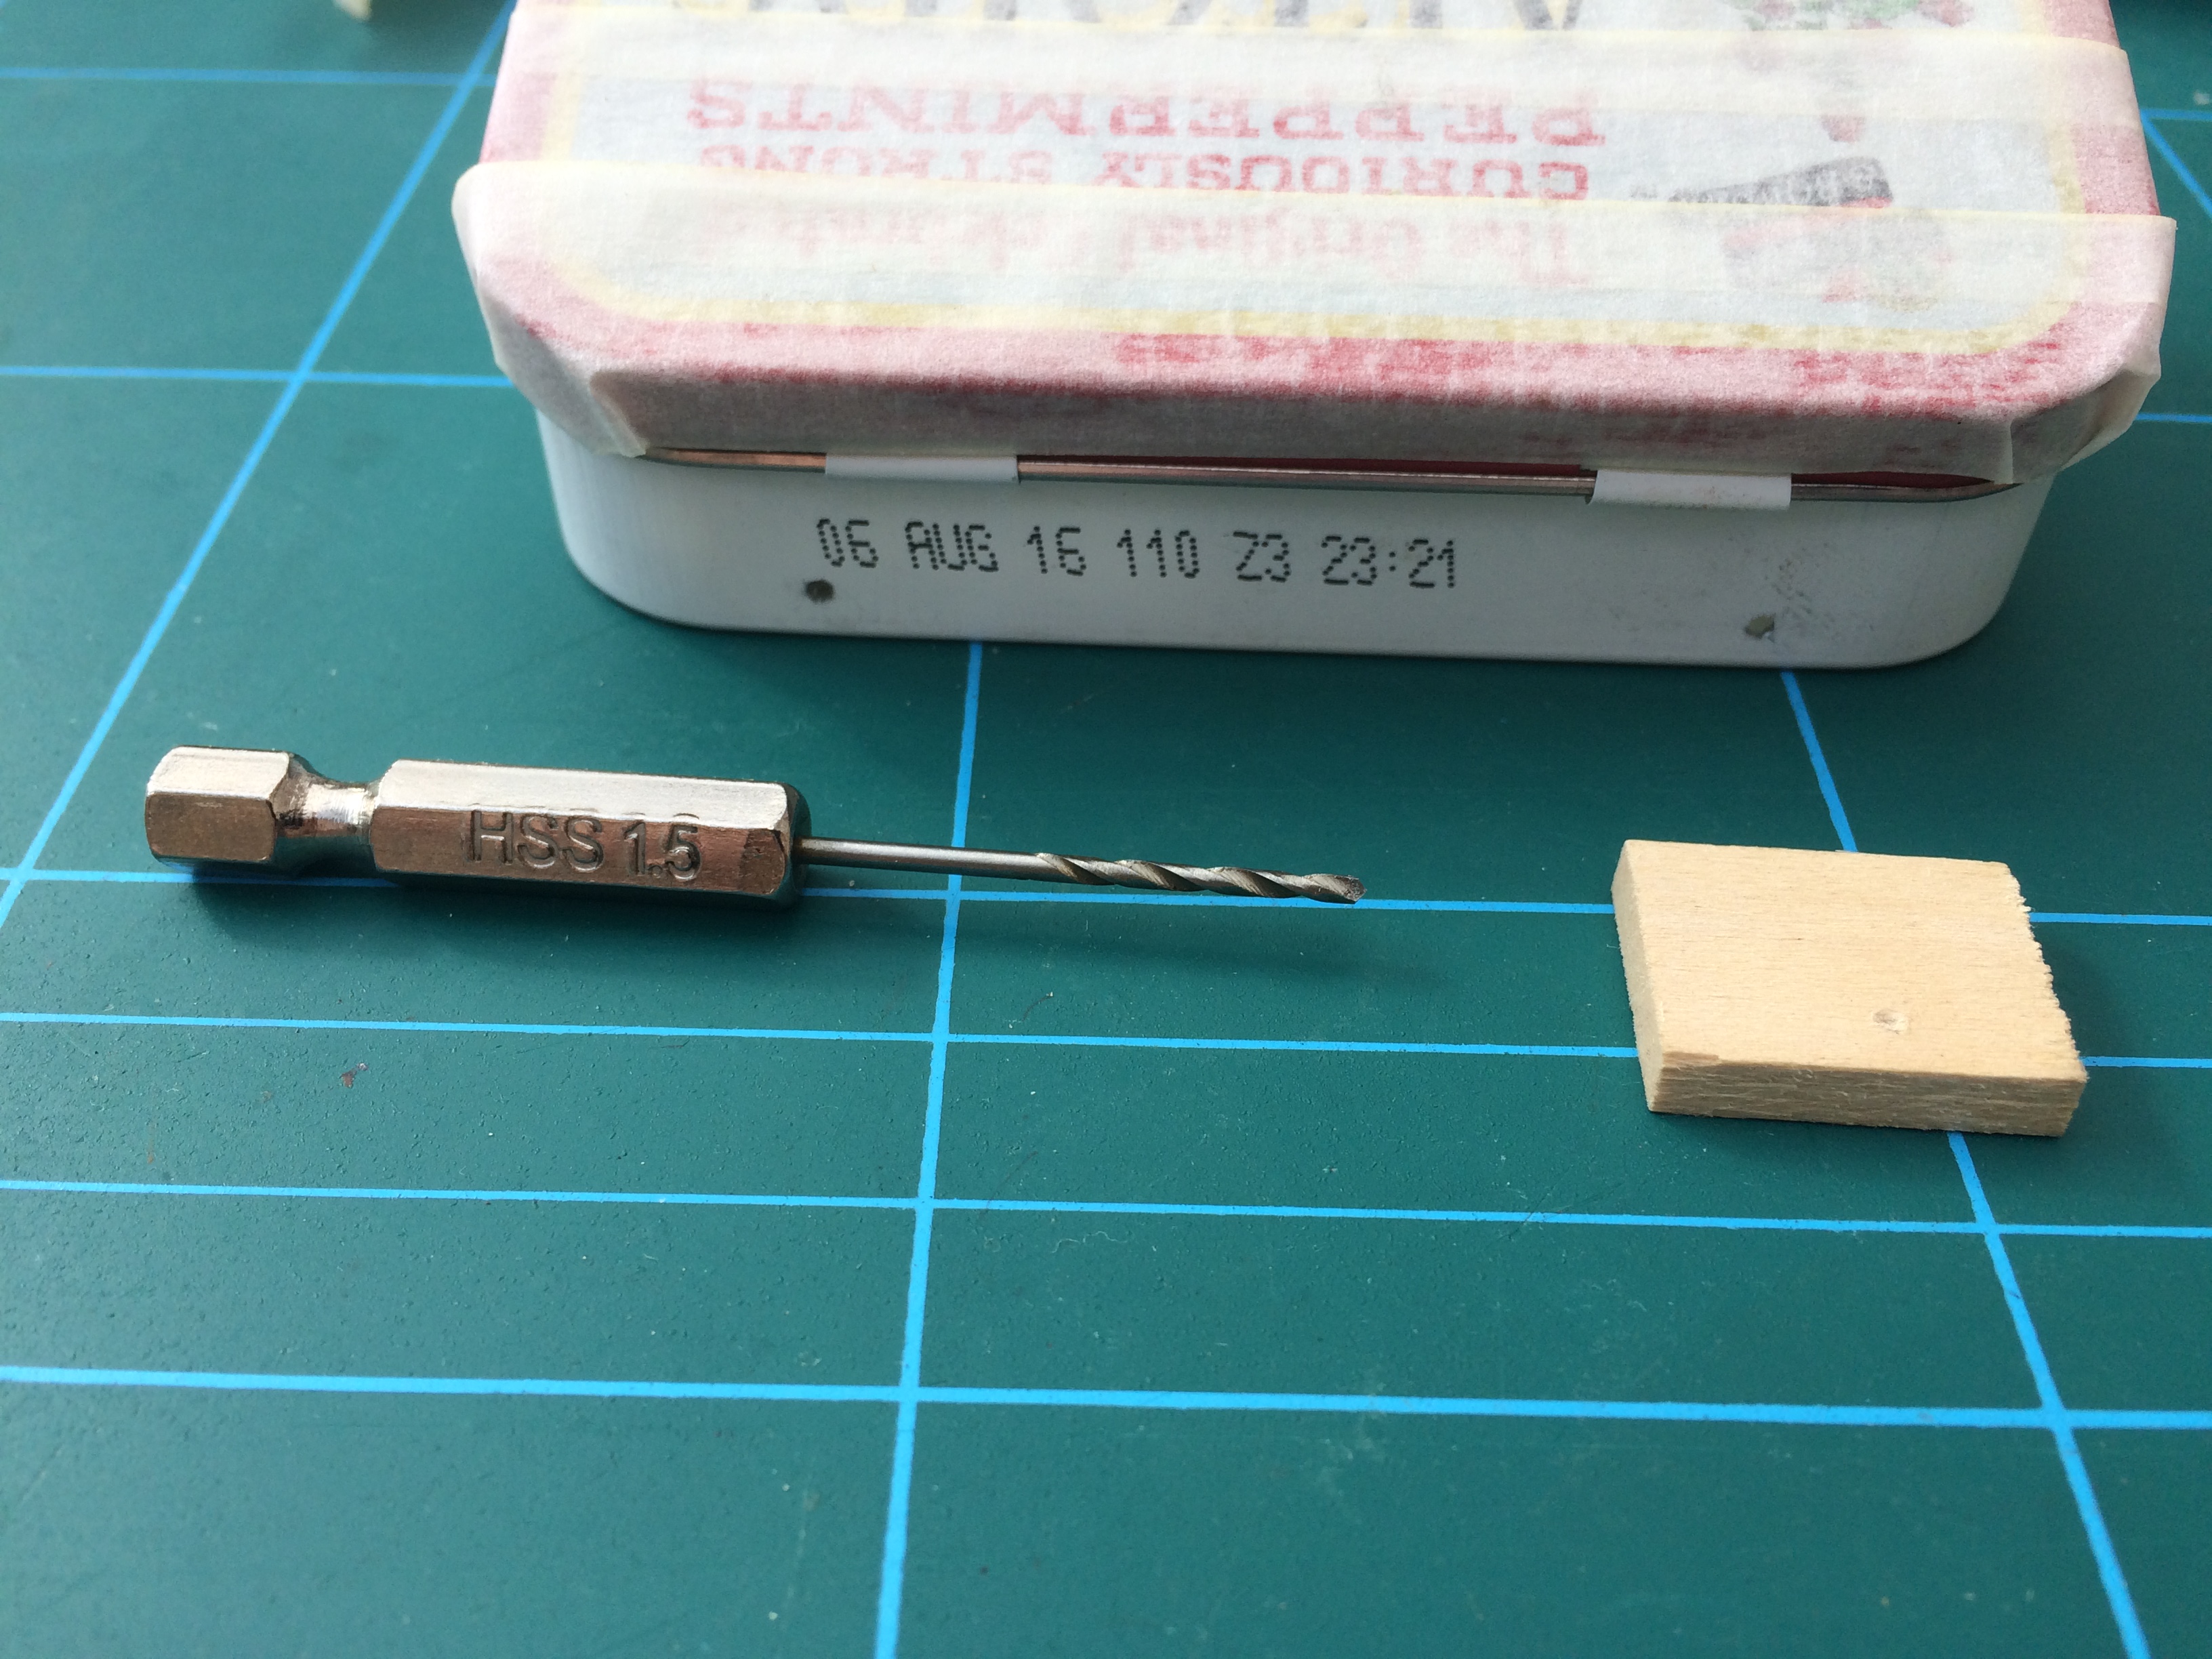
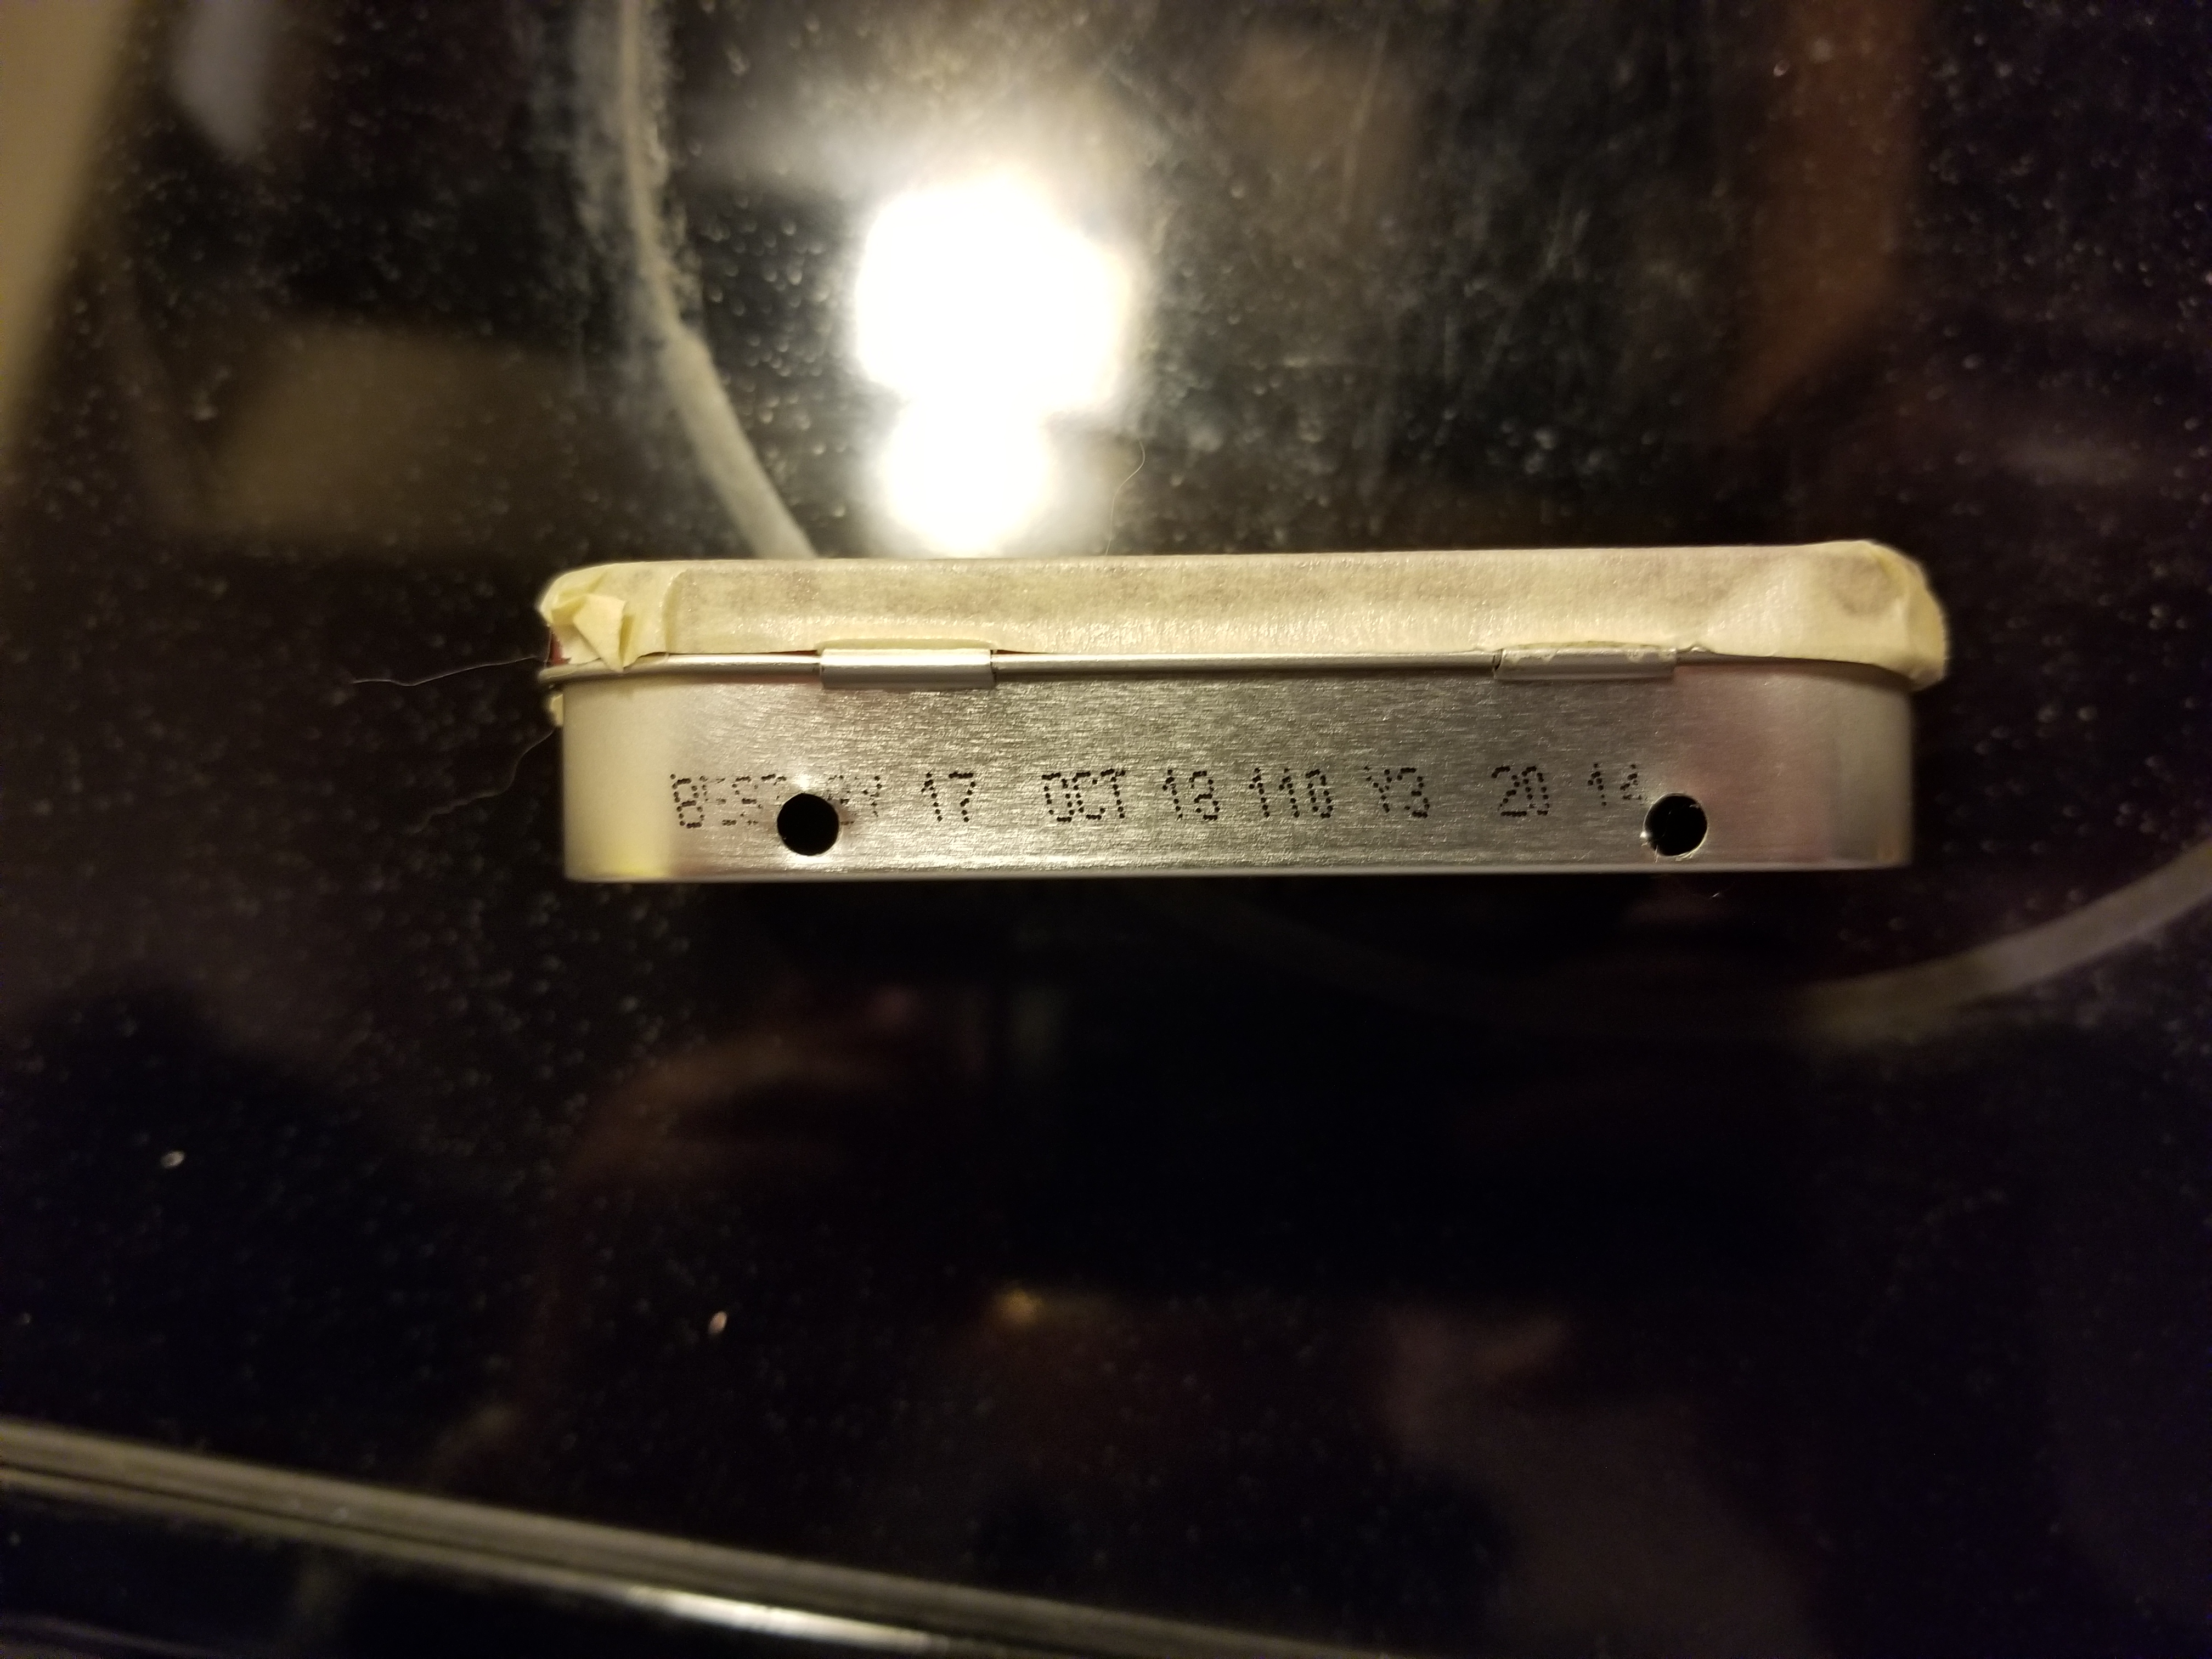
In creating all the holes in the tin, I decided to use a small off cut of wood pressed against the inside so the tin didn't deform. I then manually used 1.5mm, 2mm & 3mm drill bits, and a round file for the button switch holes and flat ones for the others.
- IMG_8068.JPG (1.75 MiB) Viewed 9314 times
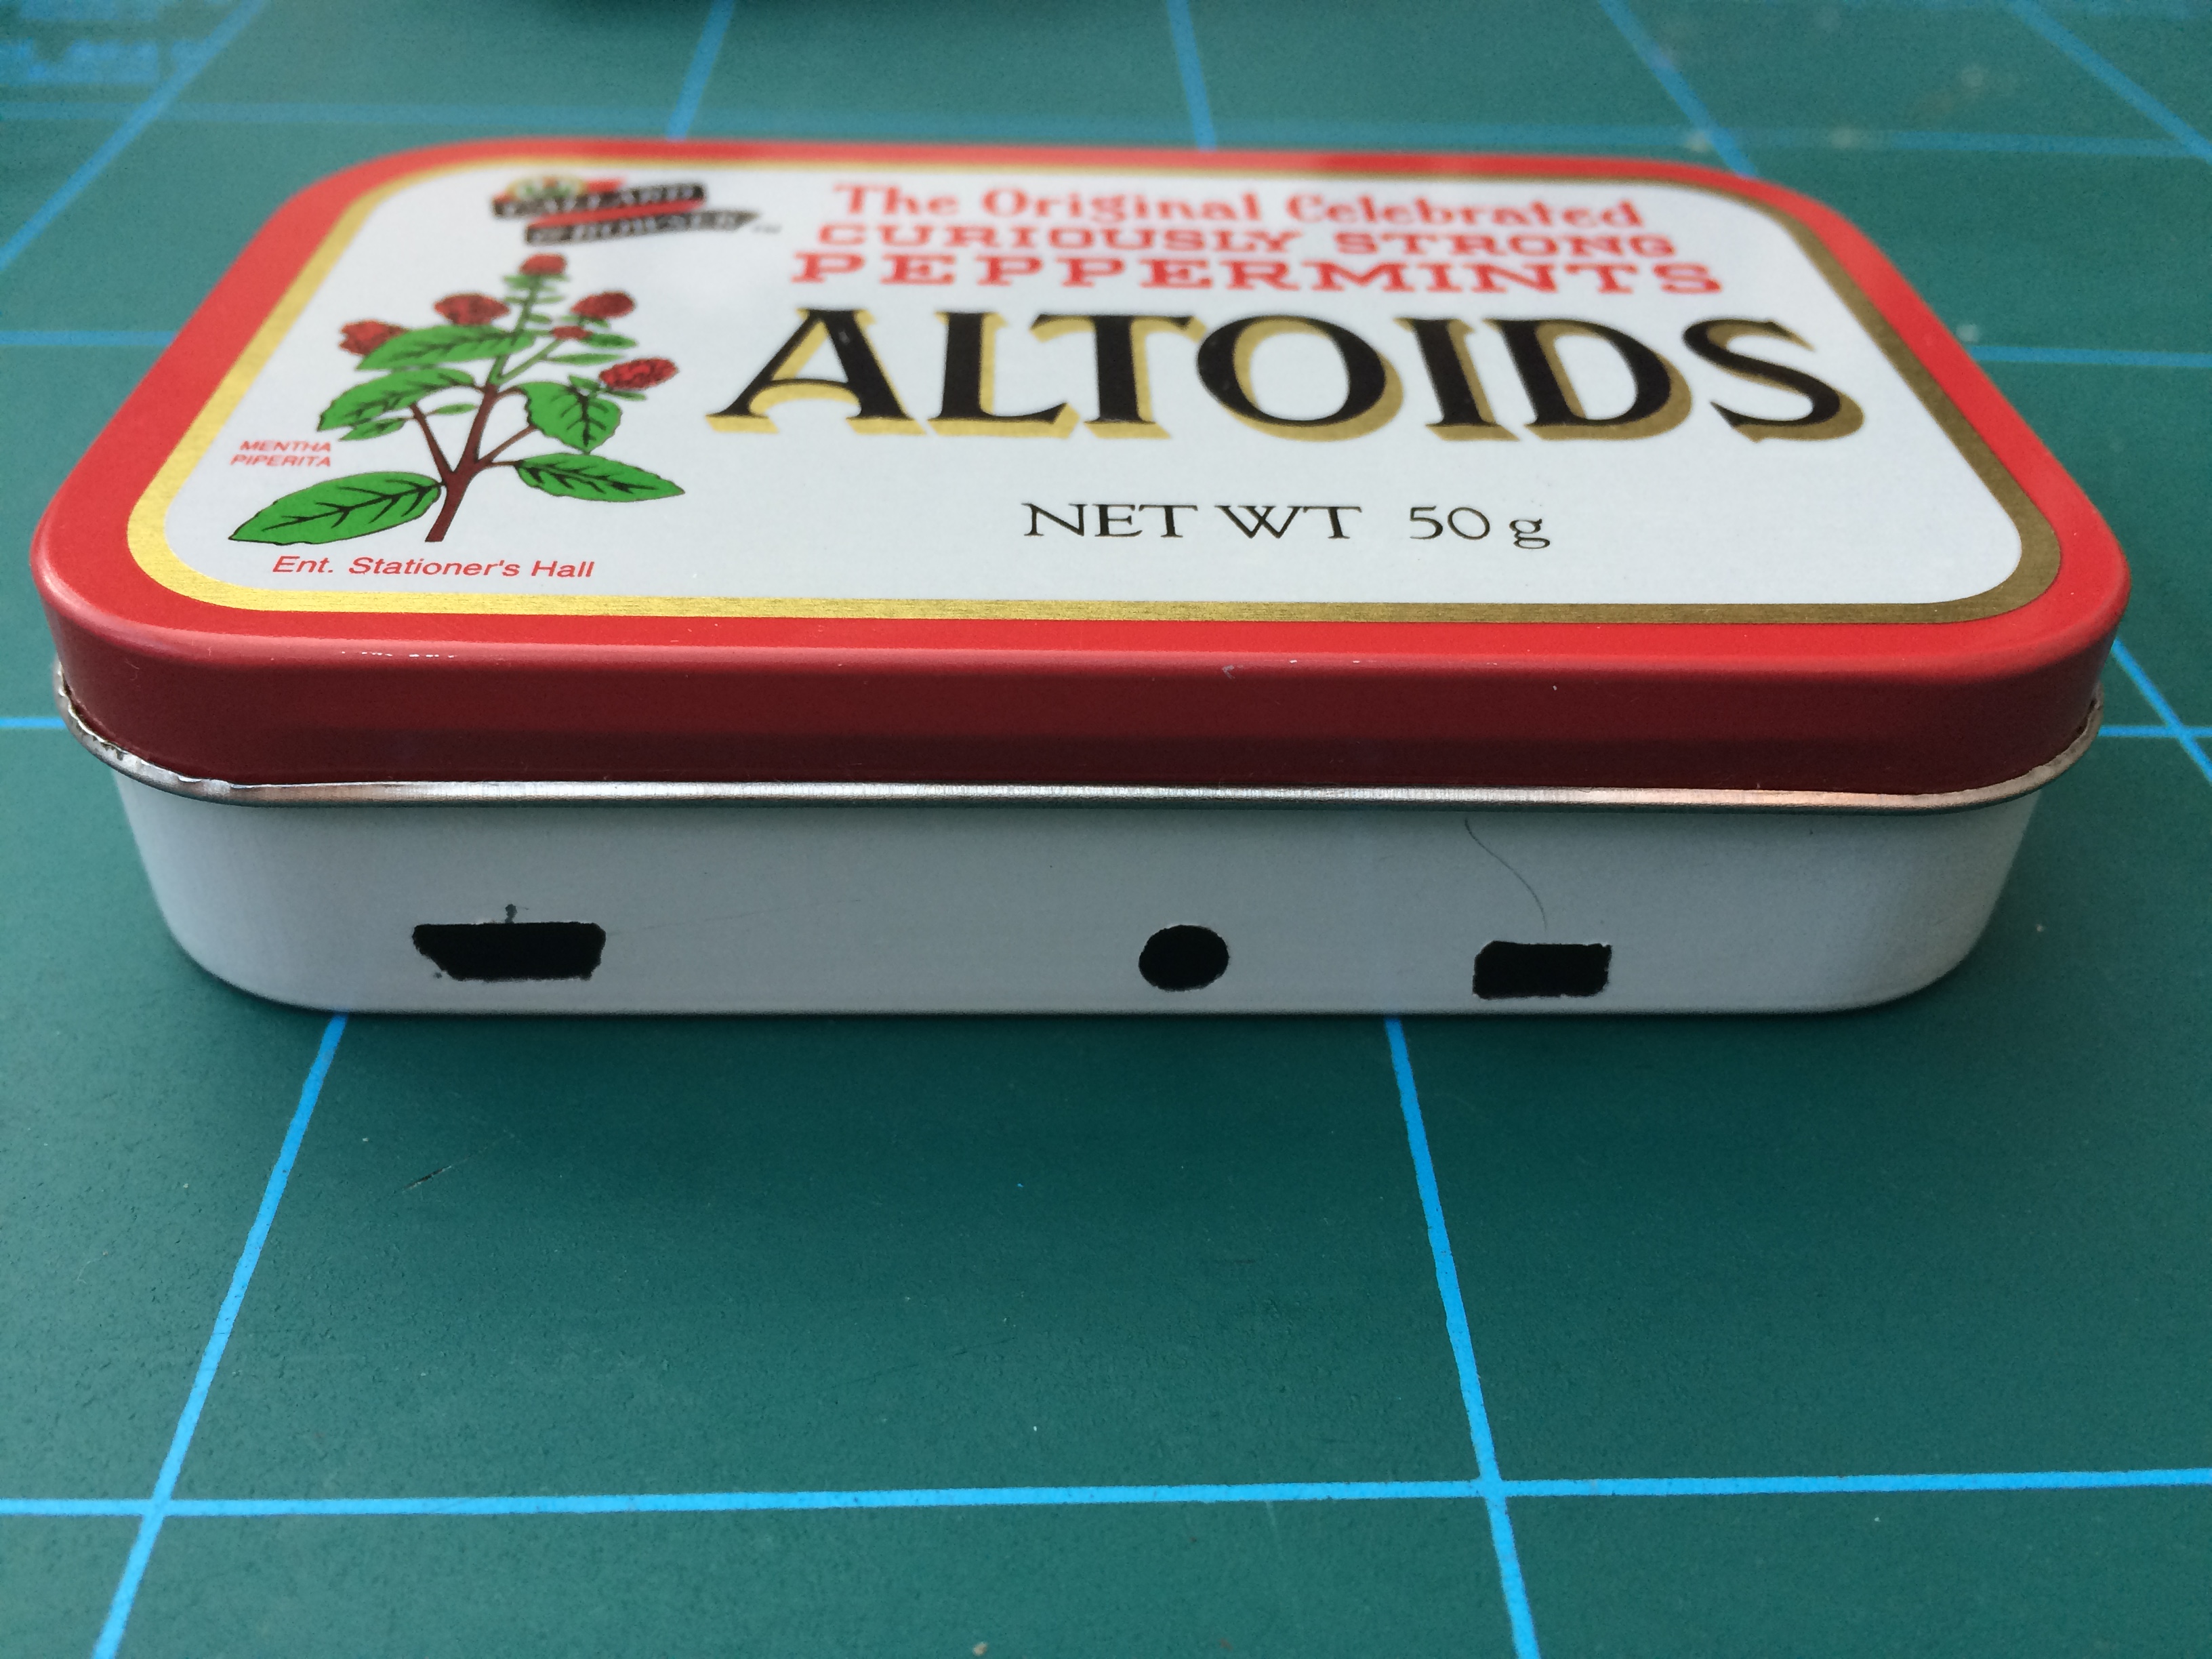
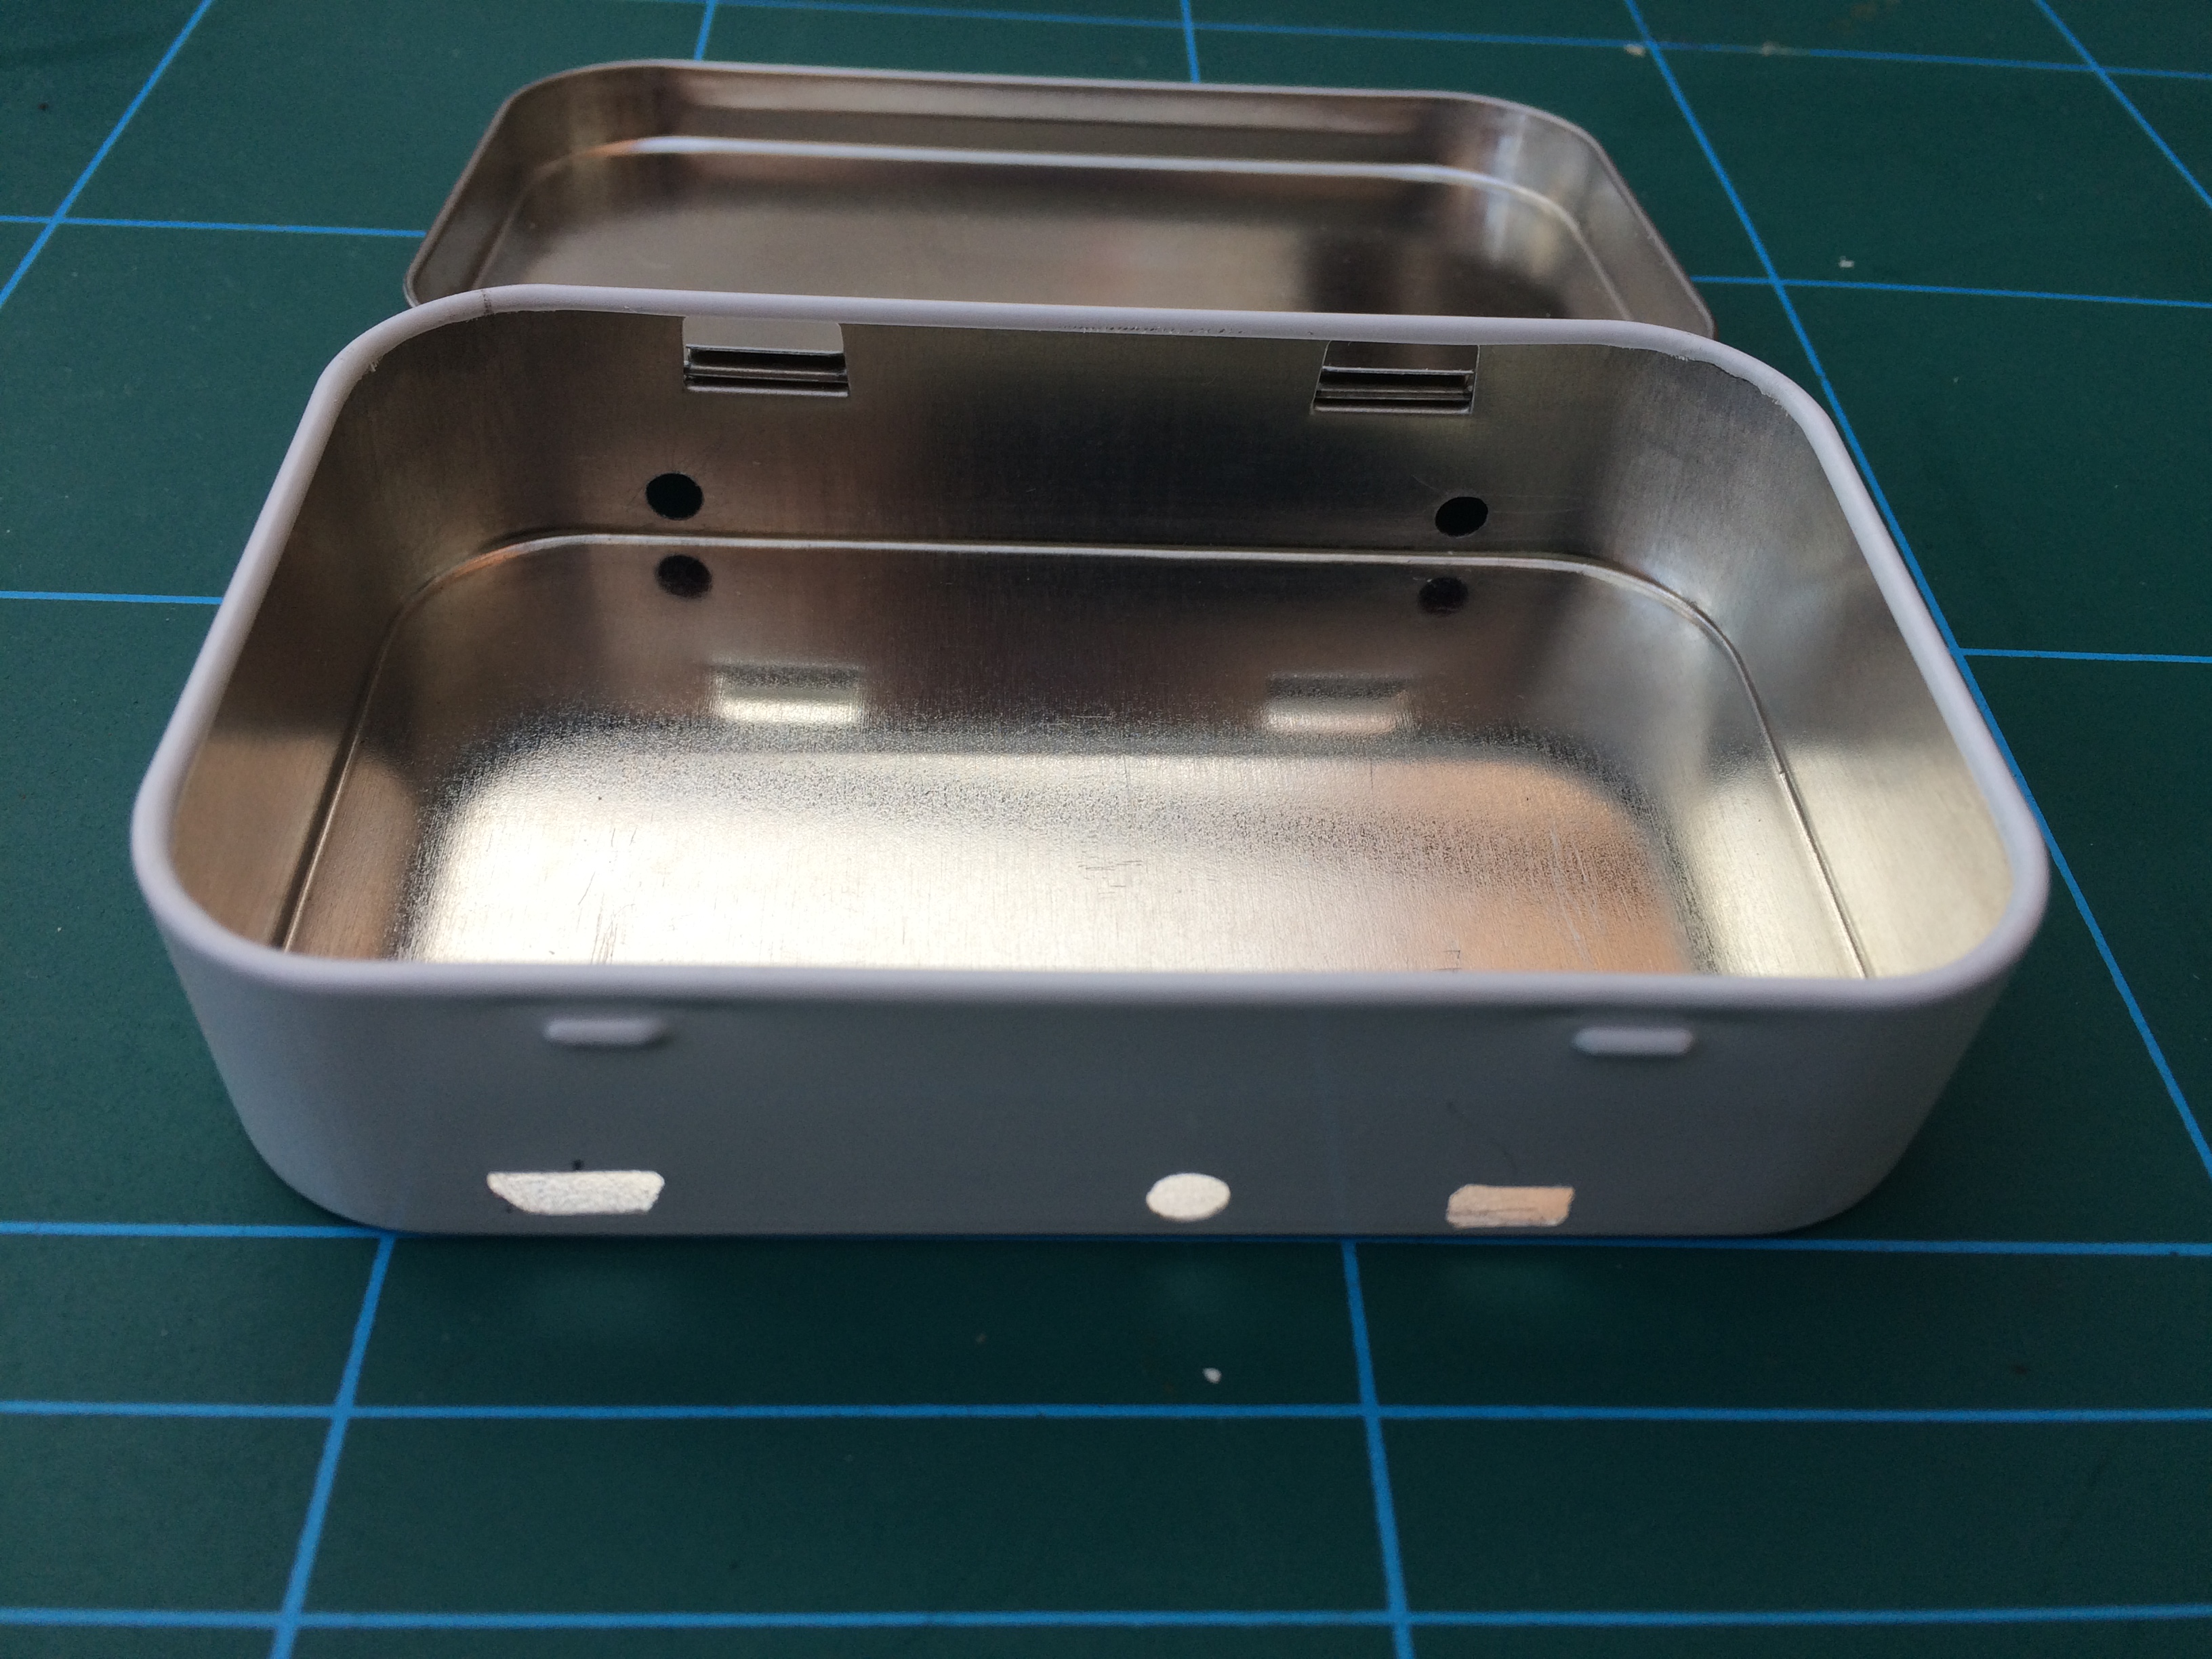
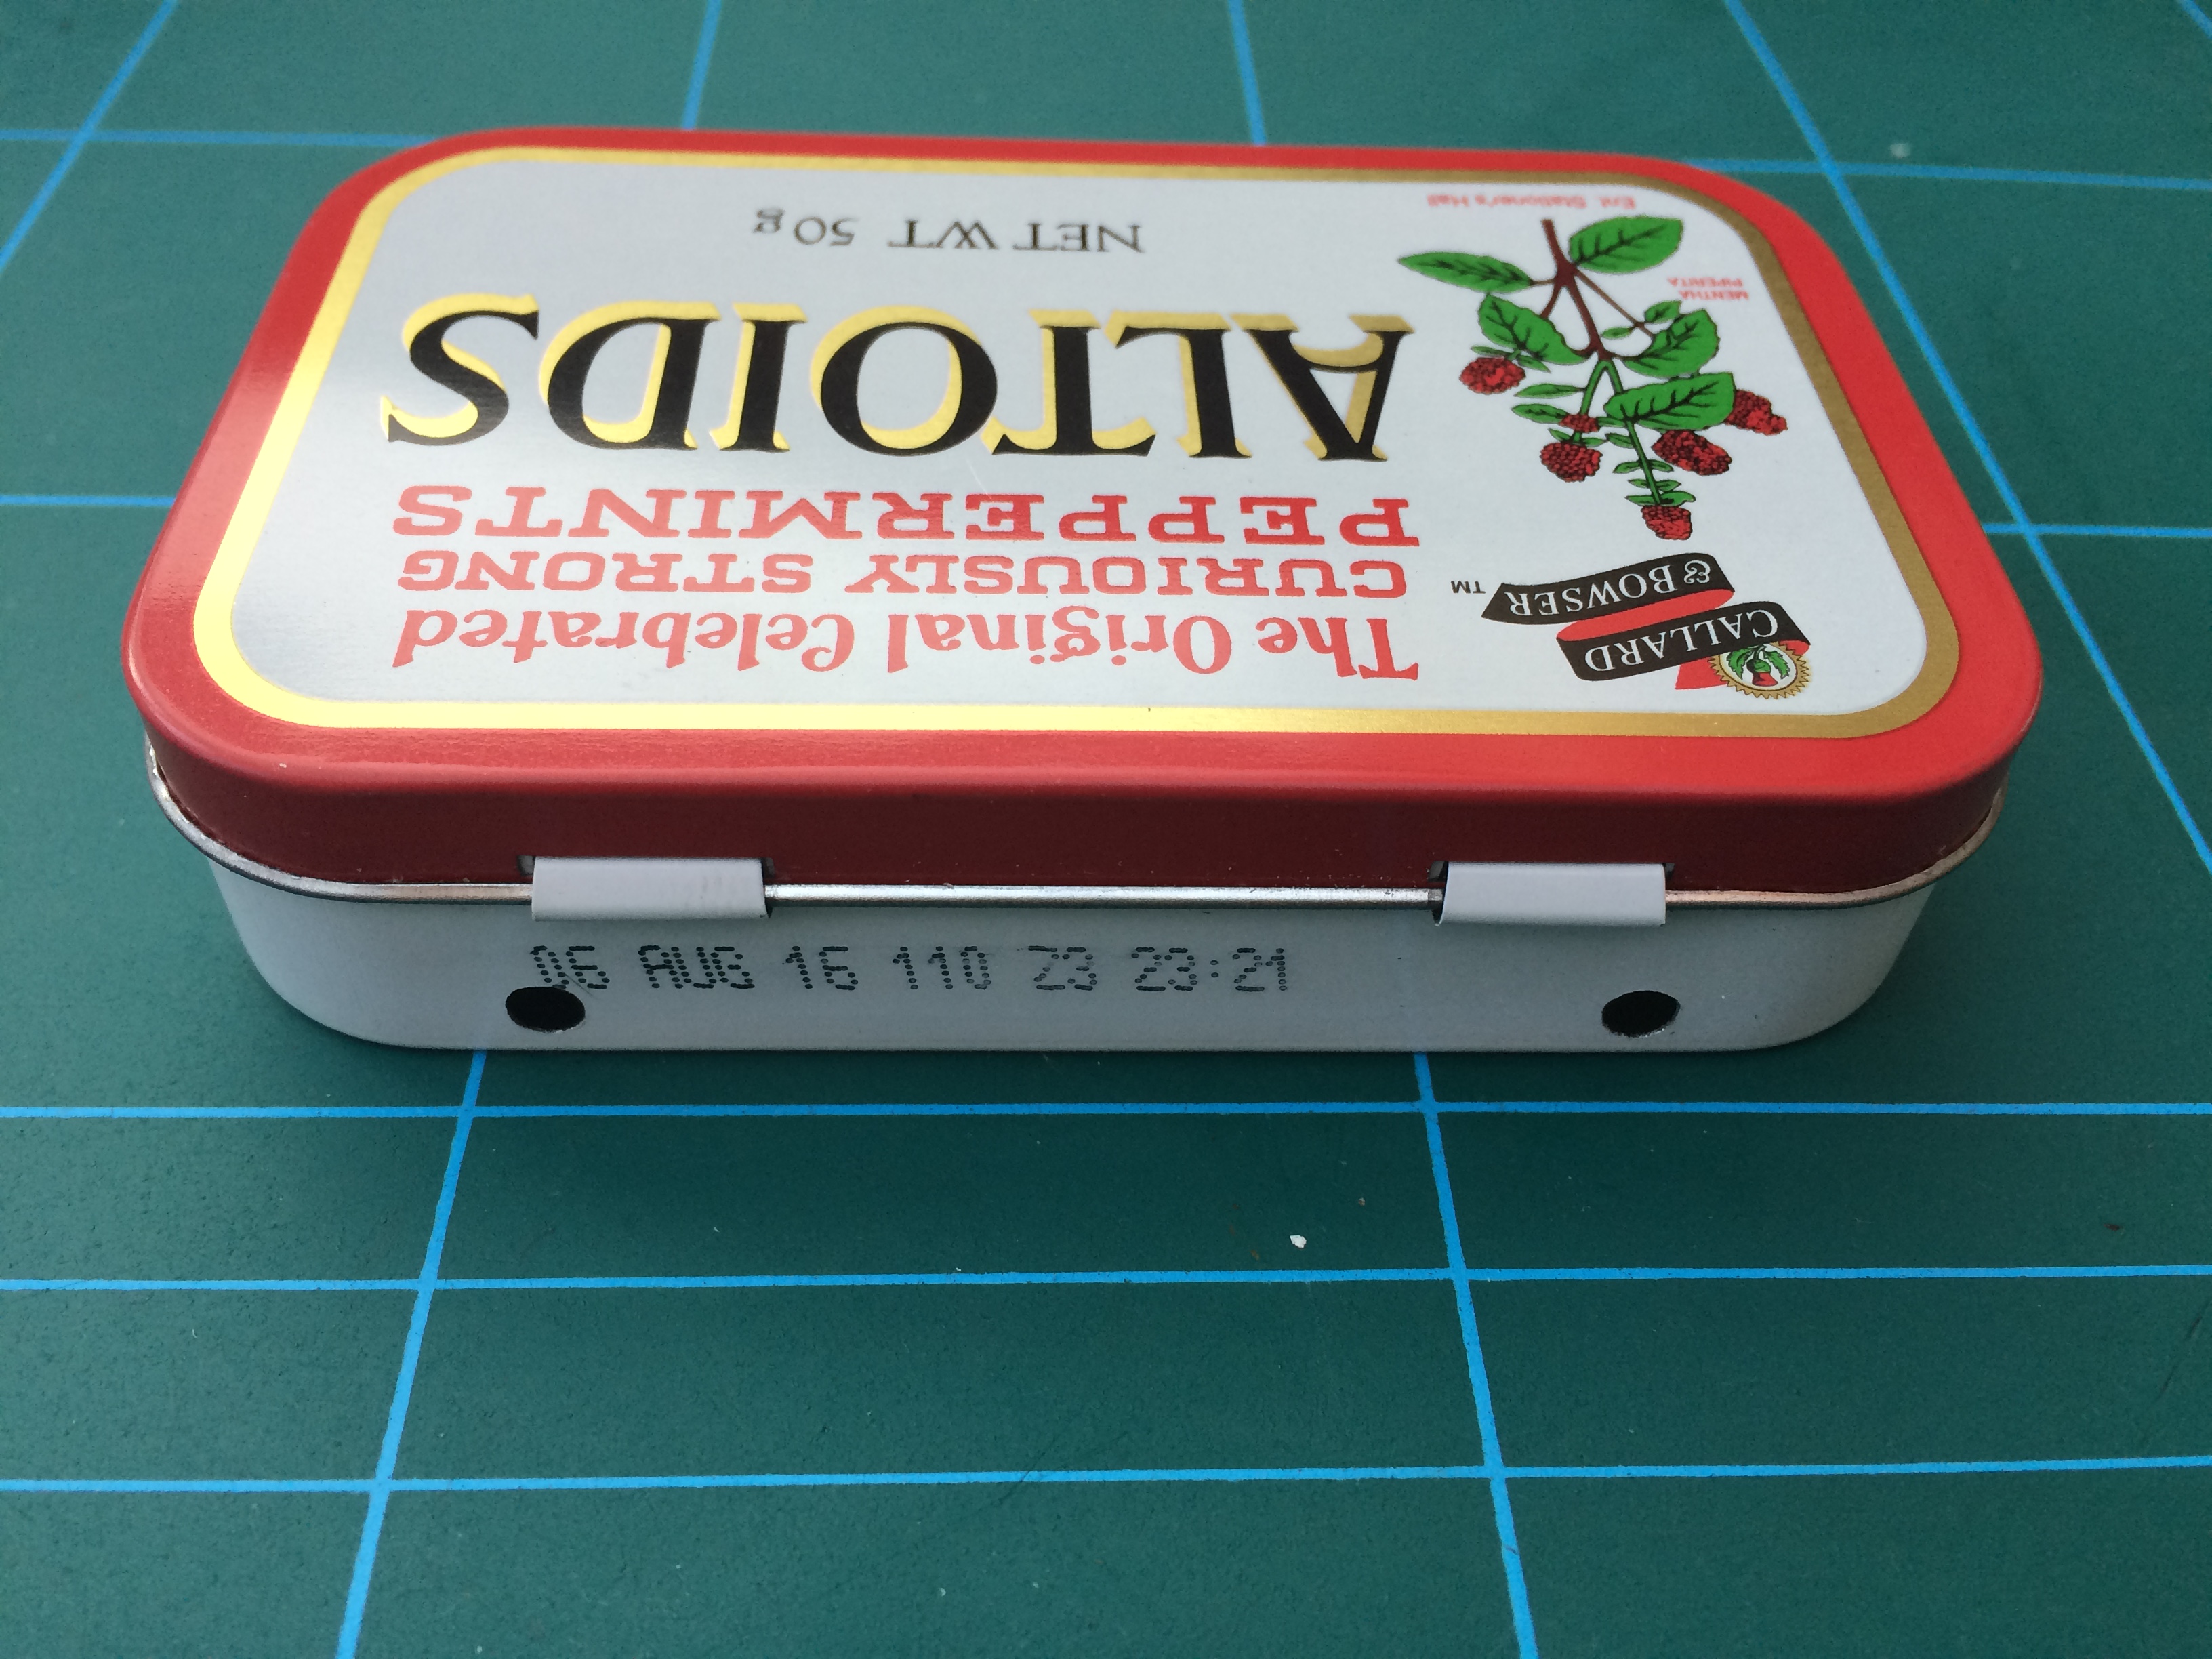
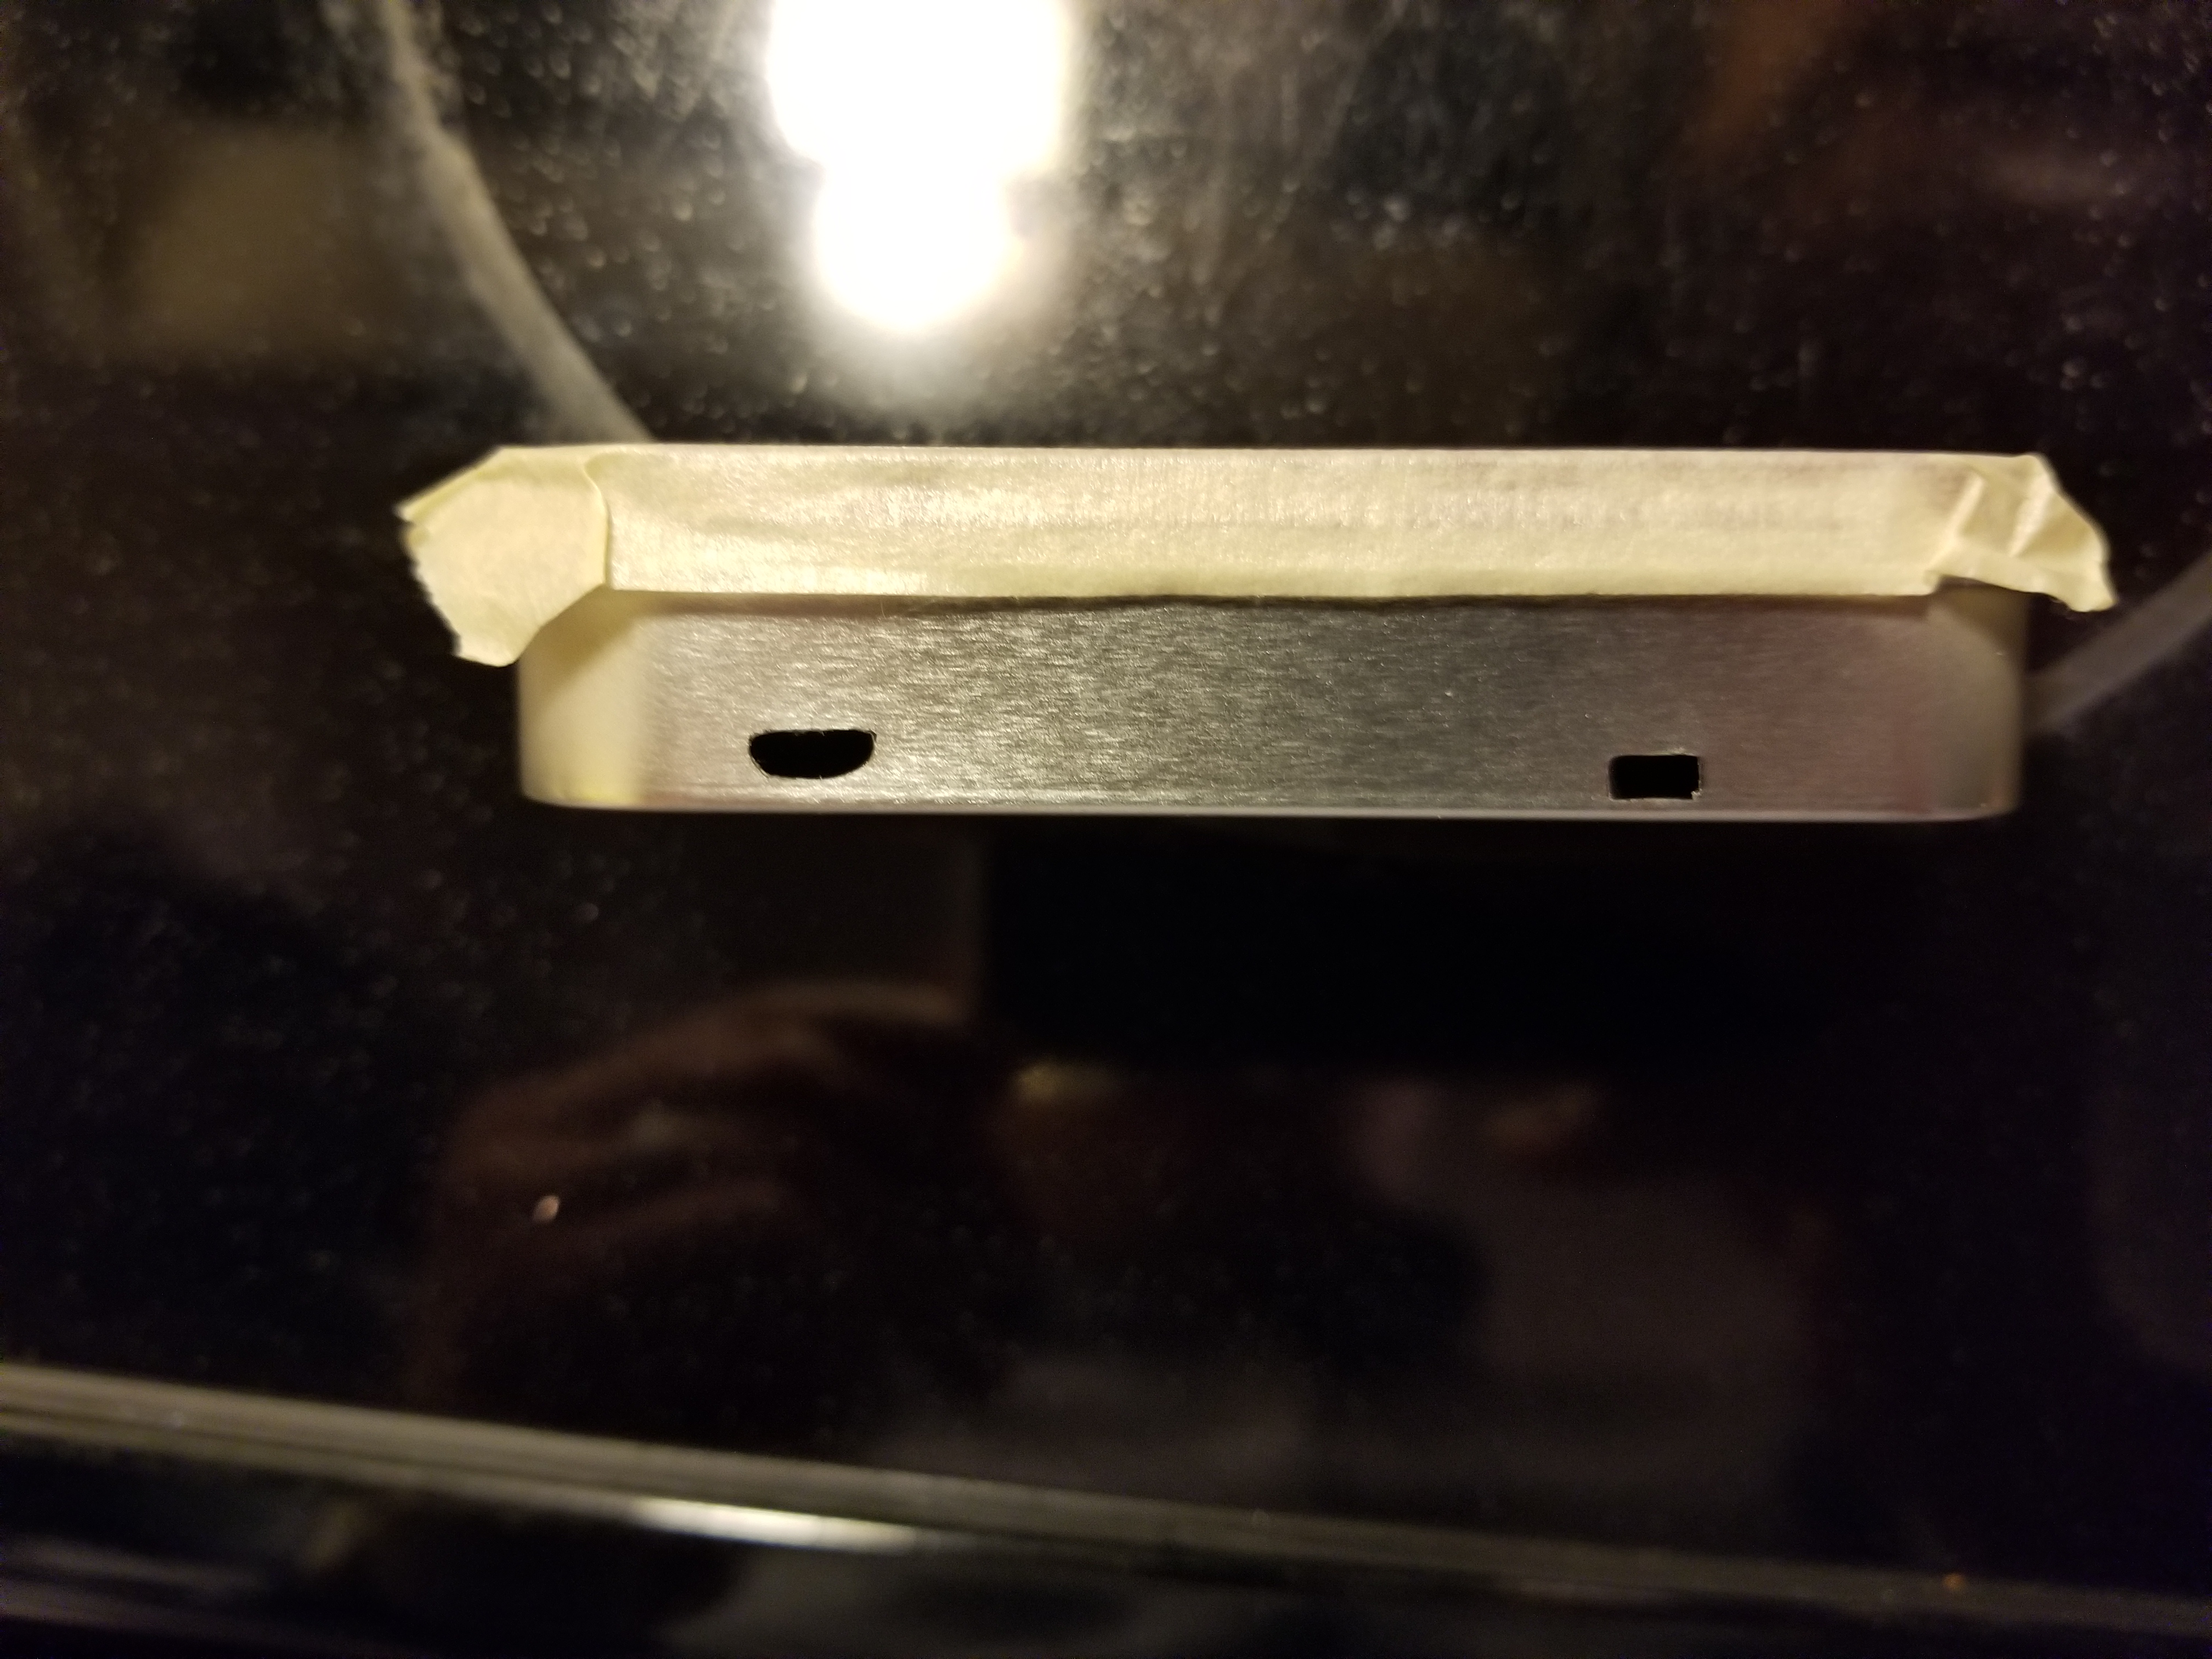
The results:-
- IMG_8069.JPG (1.52 MiB) Viewed 9314 times
- IMG_8070.JPG (1.82 MiB) Viewed 9314 times
- IMG_8071.JPG (1.59 MiB) Viewed 9314 times
I got the inevitable scratches on the white sides, but I think I'm going to spray just the sides white which will also cover the best before date.
Re: Dashtag's MintyPi Build
Posted: Fri Sep 01, 2017 4:16 pm
by dryja123
looks good!
I used the same Irwin unibit that wermy used on his GBZ button holes to make perfect holes for my tact buttons. Just had to spin them by hand.
I like where you put your safe shutdown button. Let me know what button you use to get it to close properly. When I put the L and R button in the front in that position I wasn't able to get it to close because of the Pi making contact.
Here's how my button holes came out using the unibit:
- 20170901_181113.jpg (3.02 MiB) Viewed 9306 times
Bonus front cut, not done by unibit but done by dremel with a very fine diamond grinding bit:
- 20170901_181118.jpg (2.99 MiB) Viewed 9306 times
Re: Dashtag's MintyPi Build
Posted: Fri Sep 01, 2017 4:52 pm
by dashtag
Yeh, yours look really great.
My fingers did ache like hell at the end!

I'm hoping to use the same button as the L & R ones. I didn't even think if it would catch the
Pi. Time will tell!
Re: Dashtag's MintyPi Build
Posted: Tue Sep 05, 2017 11:50 am
by dashtag
Soldering of Pi Zero to MintyPi Button PCB very nearly complete.

- IMG_8079.JPG (1.48 MiB) Viewed 9233 times
The only one that's causing me problems is the Y pad. I've tried pushing the soldering iron in at least 20 times, and still no joy. Any ideas before I solder some wire between the pads?
The only issue I had was with which holes to solder. A tip is to take a photo of the pcb board first, as when you've clamped it all up, you can't see the square outlines around the pads. I had problems with the A, Right, & GND pads until I realised I was soldering the wrong holes! I wasn't even on the same column for the Right pad!
I assumed the position of the text related to which pad, i.e. that the A was on the same row as the X & SEL.
At least my second build will be easier
Re: Dashtag's MintyPi Build
Posted: Tue Sep 05, 2017 3:00 pm
by Helder
Strip some wire and stick it in the GPIO hole, it will push the solder down and make contact then trim the wire to be flush with the pi.
Re: Dashtag's MintyPi Build
Posted: Tue Sep 05, 2017 3:49 pm
by dashtag
Helder wrote: ↑Tue Sep 05, 2017 3:00 pm
Strip some wire and stick it in the GPIO hole, it will push the solder down and make contact then trim the wire to be flush with the pi.
Aha! I'll give that a go, thanks
