Hi everyone. Pierre here from Quebec city Canada so forgive my bad english it's because of the cold weather. Instead of polluting the Discord, I have decided to write a follow my builds log. It's my first time building and I am getting a lot of help so big thanks to all I am really enjoying it so far. Here are the specs for my build:
- Low Battery Monitor PCB V1.0
So I have my basic specs parts (thanks Wermy and Helder for speedy shipment) and have started to receive other parts, mostly from AliExpress which is taking a long time because of free shipment. Will definitely look into ePacket shipment next time which is much faster.
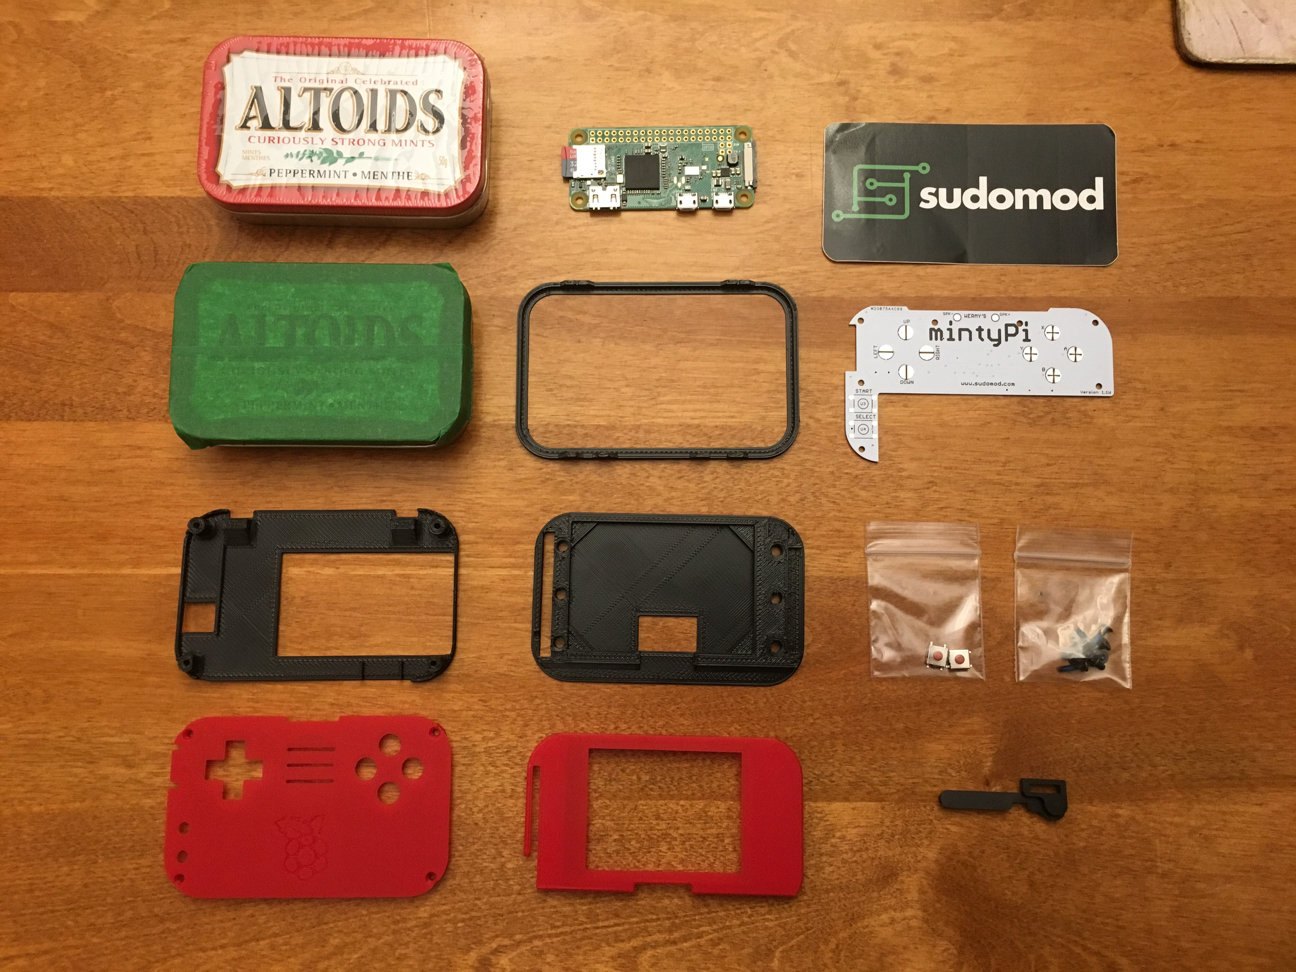
- Parts
- IMG_3876_1296x972.jpg (1.31 MiB) Viewed 5277 times
After watching Wemy videos for second time, firgured out that I had wrong 3D parts (see photo) because I would be using a 2.2" screen with welded wires instead of 2.4" screen with ribbon attachement. So reached out to Wermy who shipped out the right 3D parts for 2.2" screen half.
First order of business was preparing the tin. Used a small one hand dremel I got from my local electronic store and a 3D printed guide Wermy sent me. Worked out good and fast very pleased with result. Will be doing small adjustments with hand file later when I get parts for final fitting.
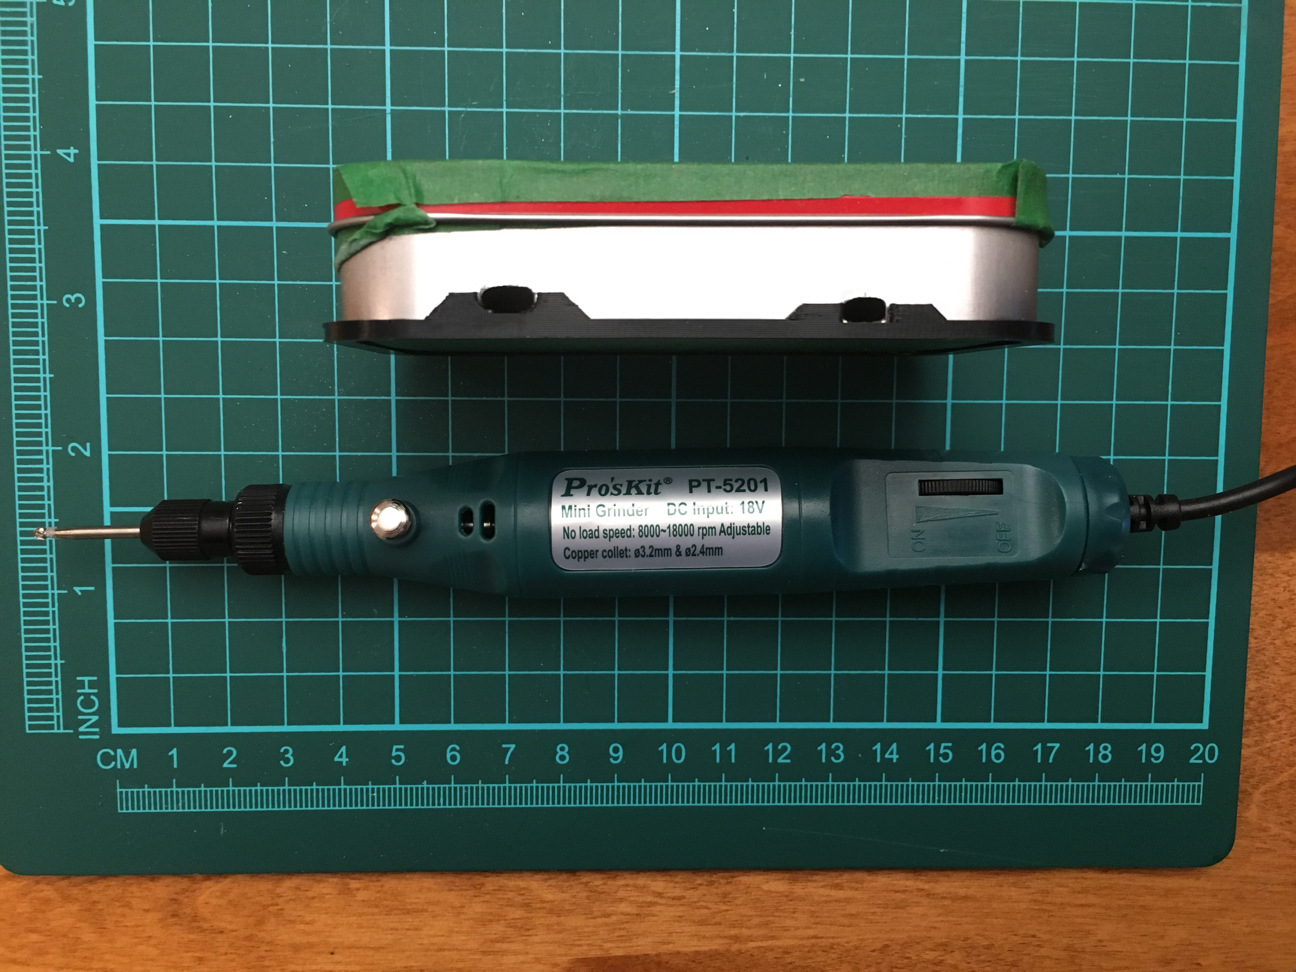
- Preparing thin
- IMG_3878_1296x972.jpg (1.22 MiB) Viewed 5277 times
Next up fusing the pi Zero to the board. Very nervous because first time welding. Took advice and practiced a bit on other parts but visibly not enough because after testing continuity, I had to start over a few points thats why you see darker marks where it got hot. Changing for smaller pin tip on welder helped solder to reach bottom board.
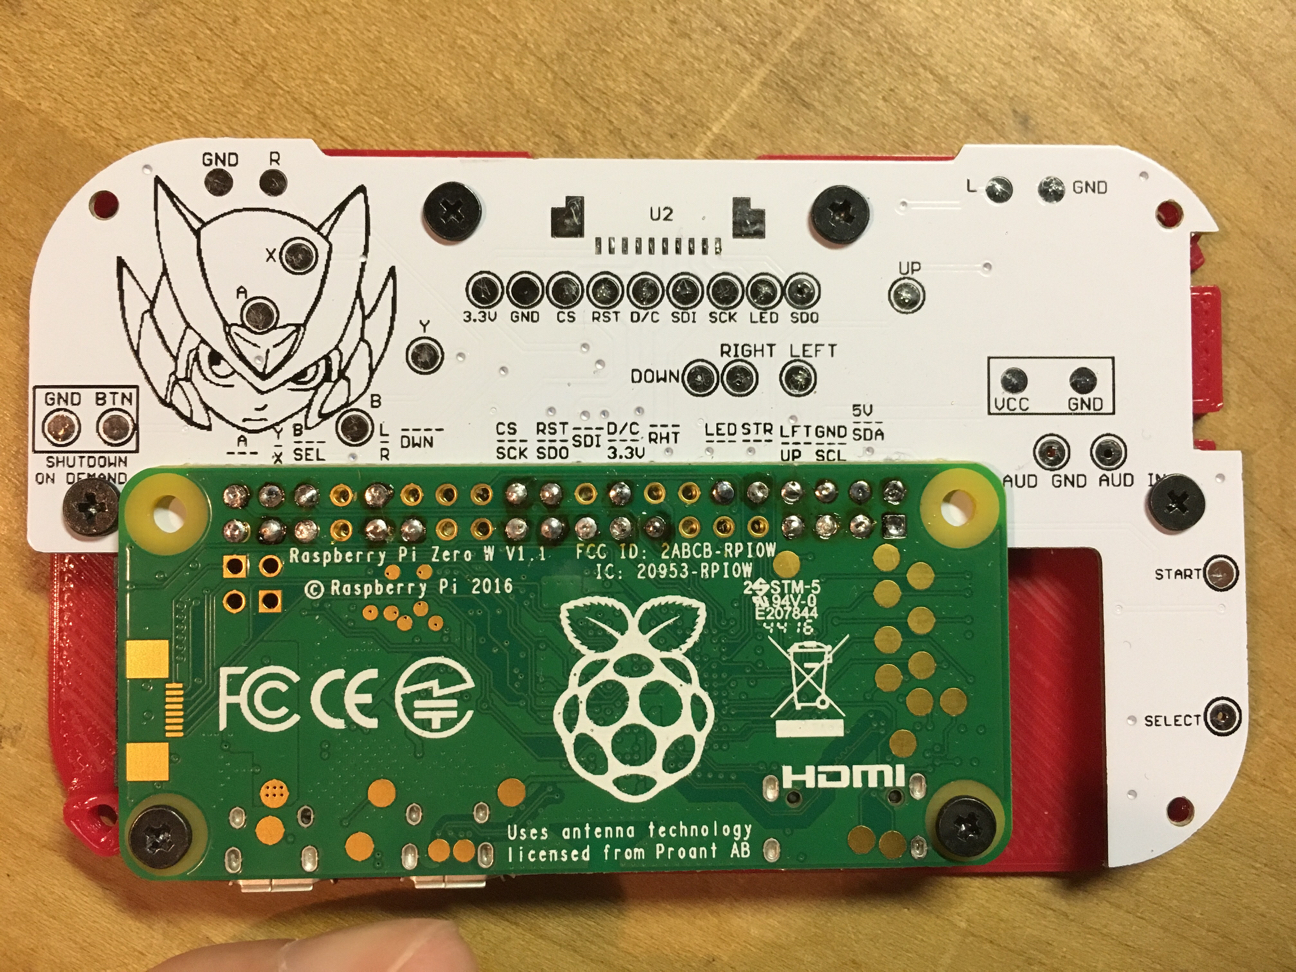
- Fusing pi and board
- IMG_3891_1296x972.jpg (1.43 MiB) Viewed 5277 times
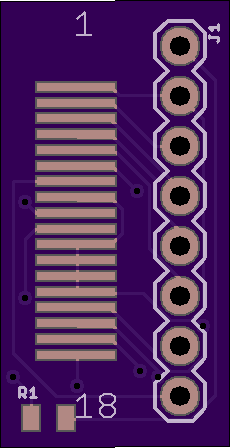
After following conversation on Discord, learned Helder had a few Low Battery Monitor PCB so ordered one of those and installed it.
Getting better with iron.
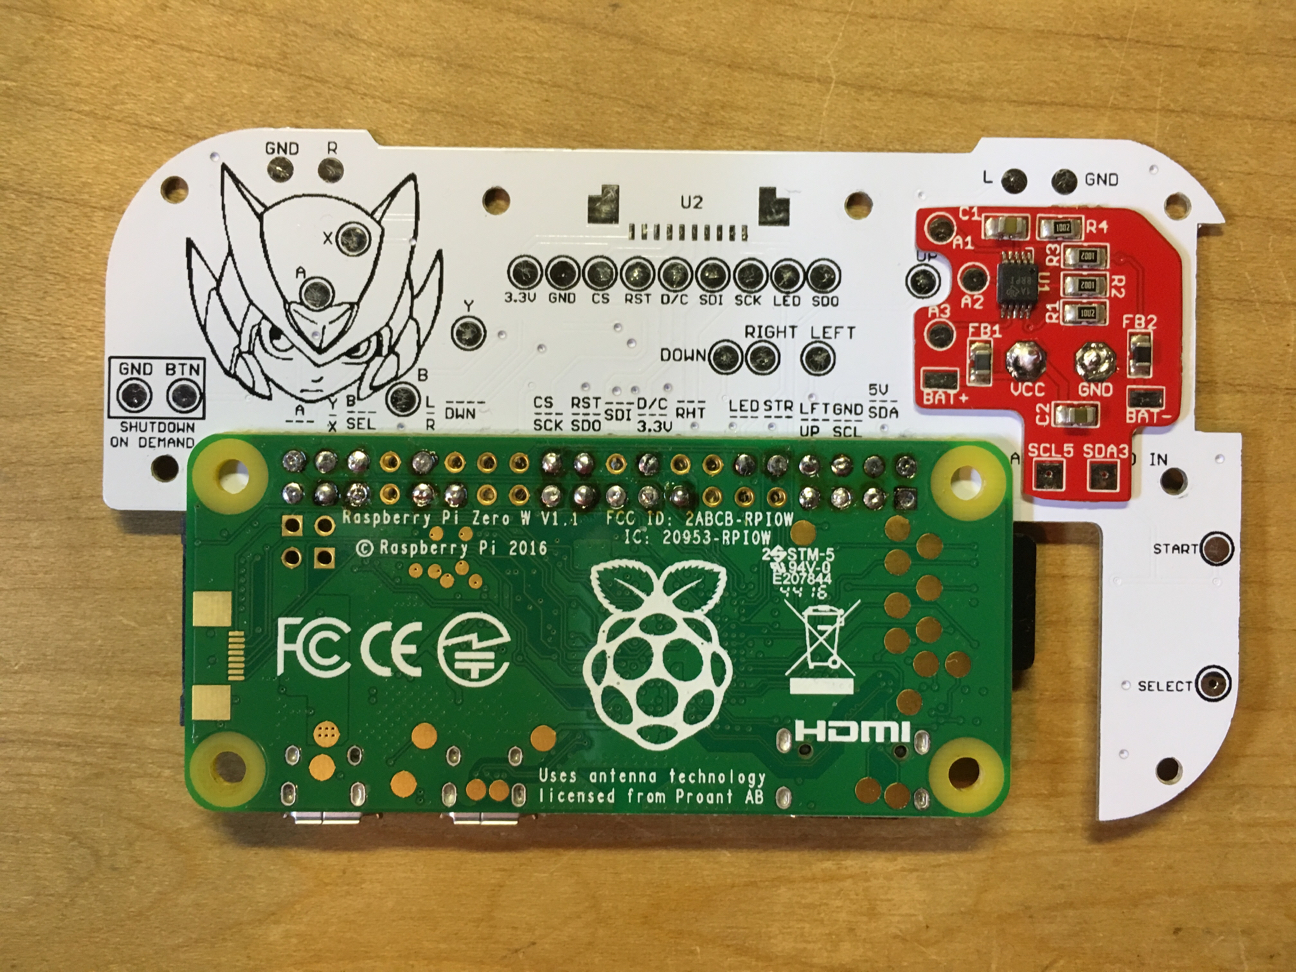
- Low Battery Monitor PCB V1.0
- IMG_3974_1296x972.jpg (1.39 MiB) Viewed 5277 times
Got a local guy to print extra 3D parts. I got the STL files for the print from the "FAQ" section on the Wiki build page here:
https://www.sudomod.com/wiki/index.php? ... intyPi#FAQ
The quality was far from Wermy parts but for the price, can't complain. Printing 23 g is very cheap.
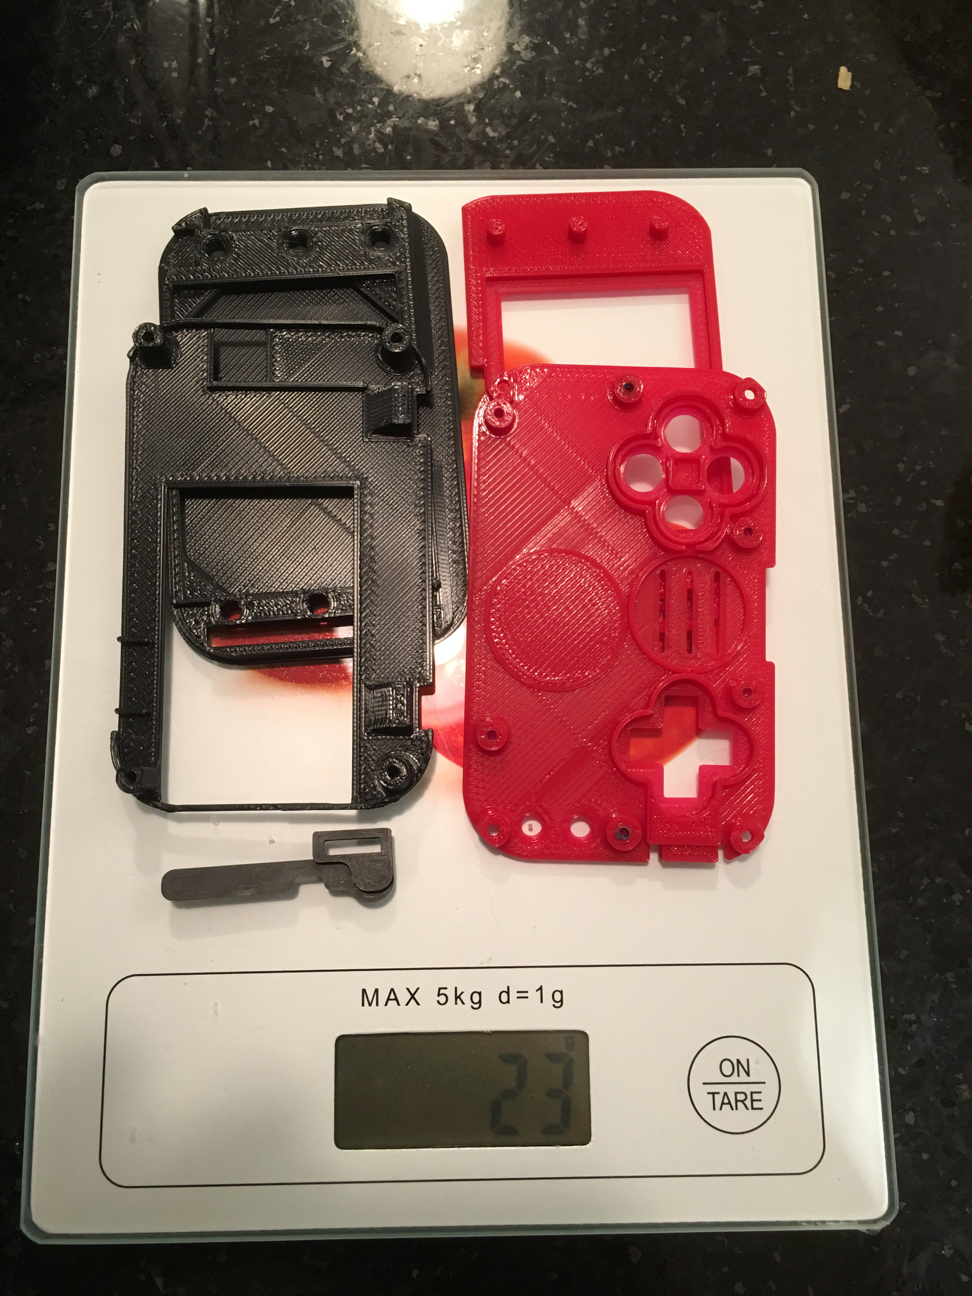
- 3D parts
- IMG_3896_1296x972.jpg (1.37 MiB) Viewed 5277 times
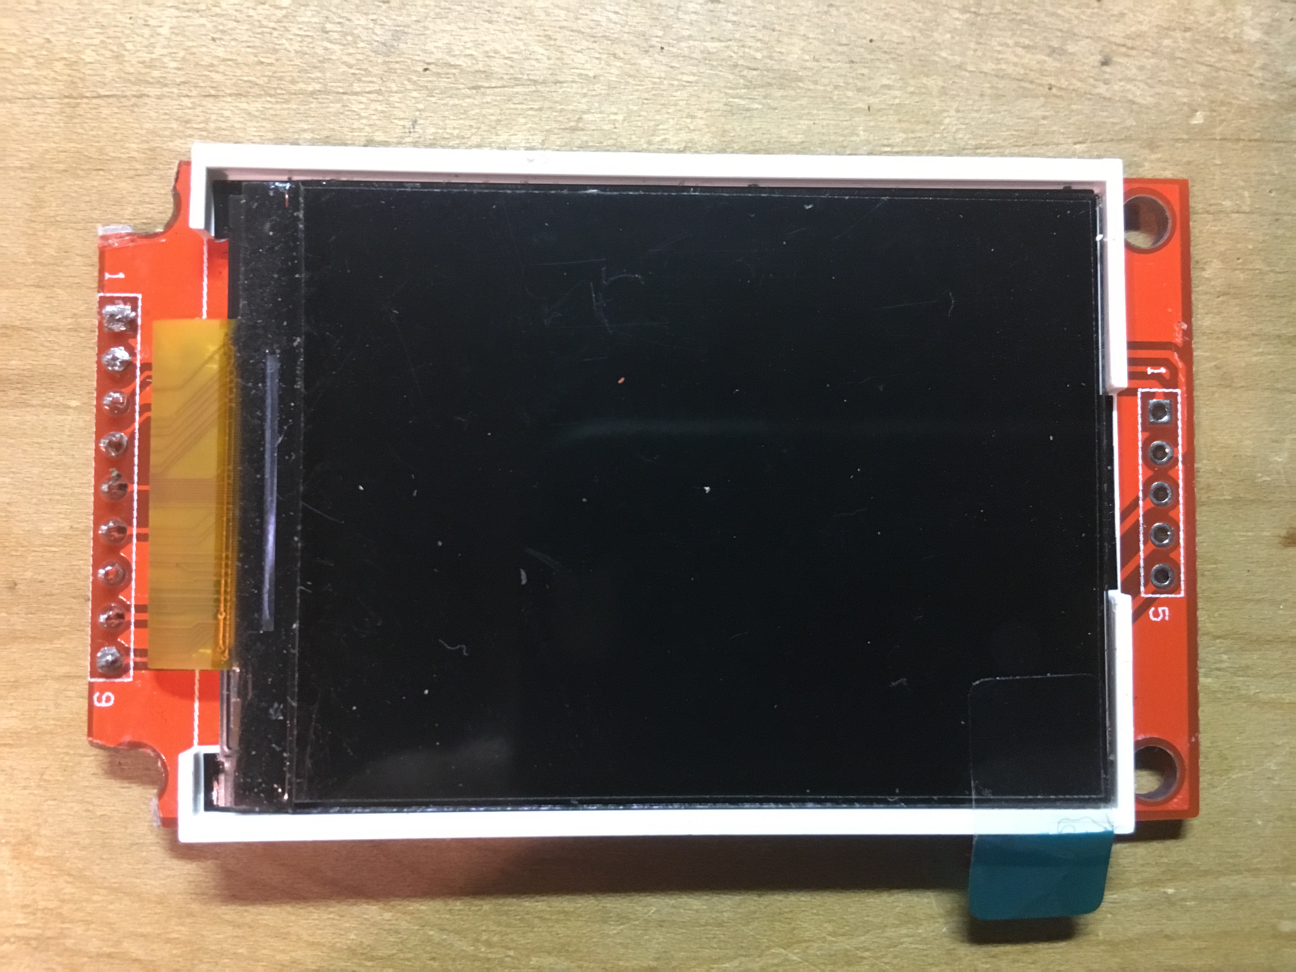
Since I have extra parts, ordered second kit this time from Helder with 2.4" screen and ribbon attachment. Not much difference between 2.2 and 2.4 screen.
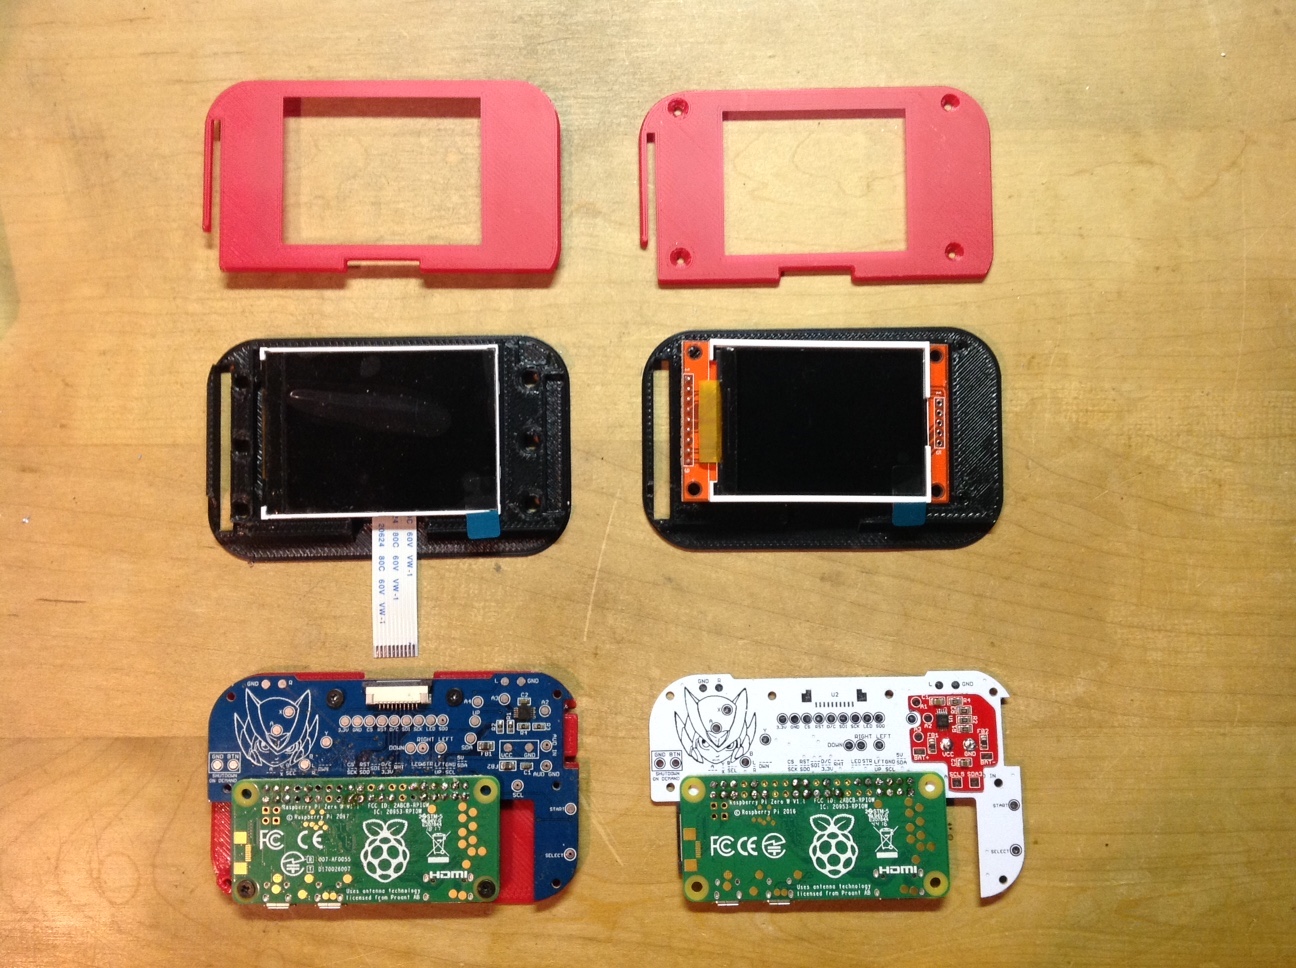
- Compare 2.2" and 2.4" - Front
- IMG_1844.JPG (473.09 KiB) Viewed 5277 times

- Compare 2.2" and 2.4" - Back
- IMG_1845.JPG (475.97 KiB) Viewed 5277 times
The 2.2" screen did not fit 3D parts as is so needed to remove SD card reader and pins. Better to snap off pins then cut. If you cut, you will need to file them down for fitting.
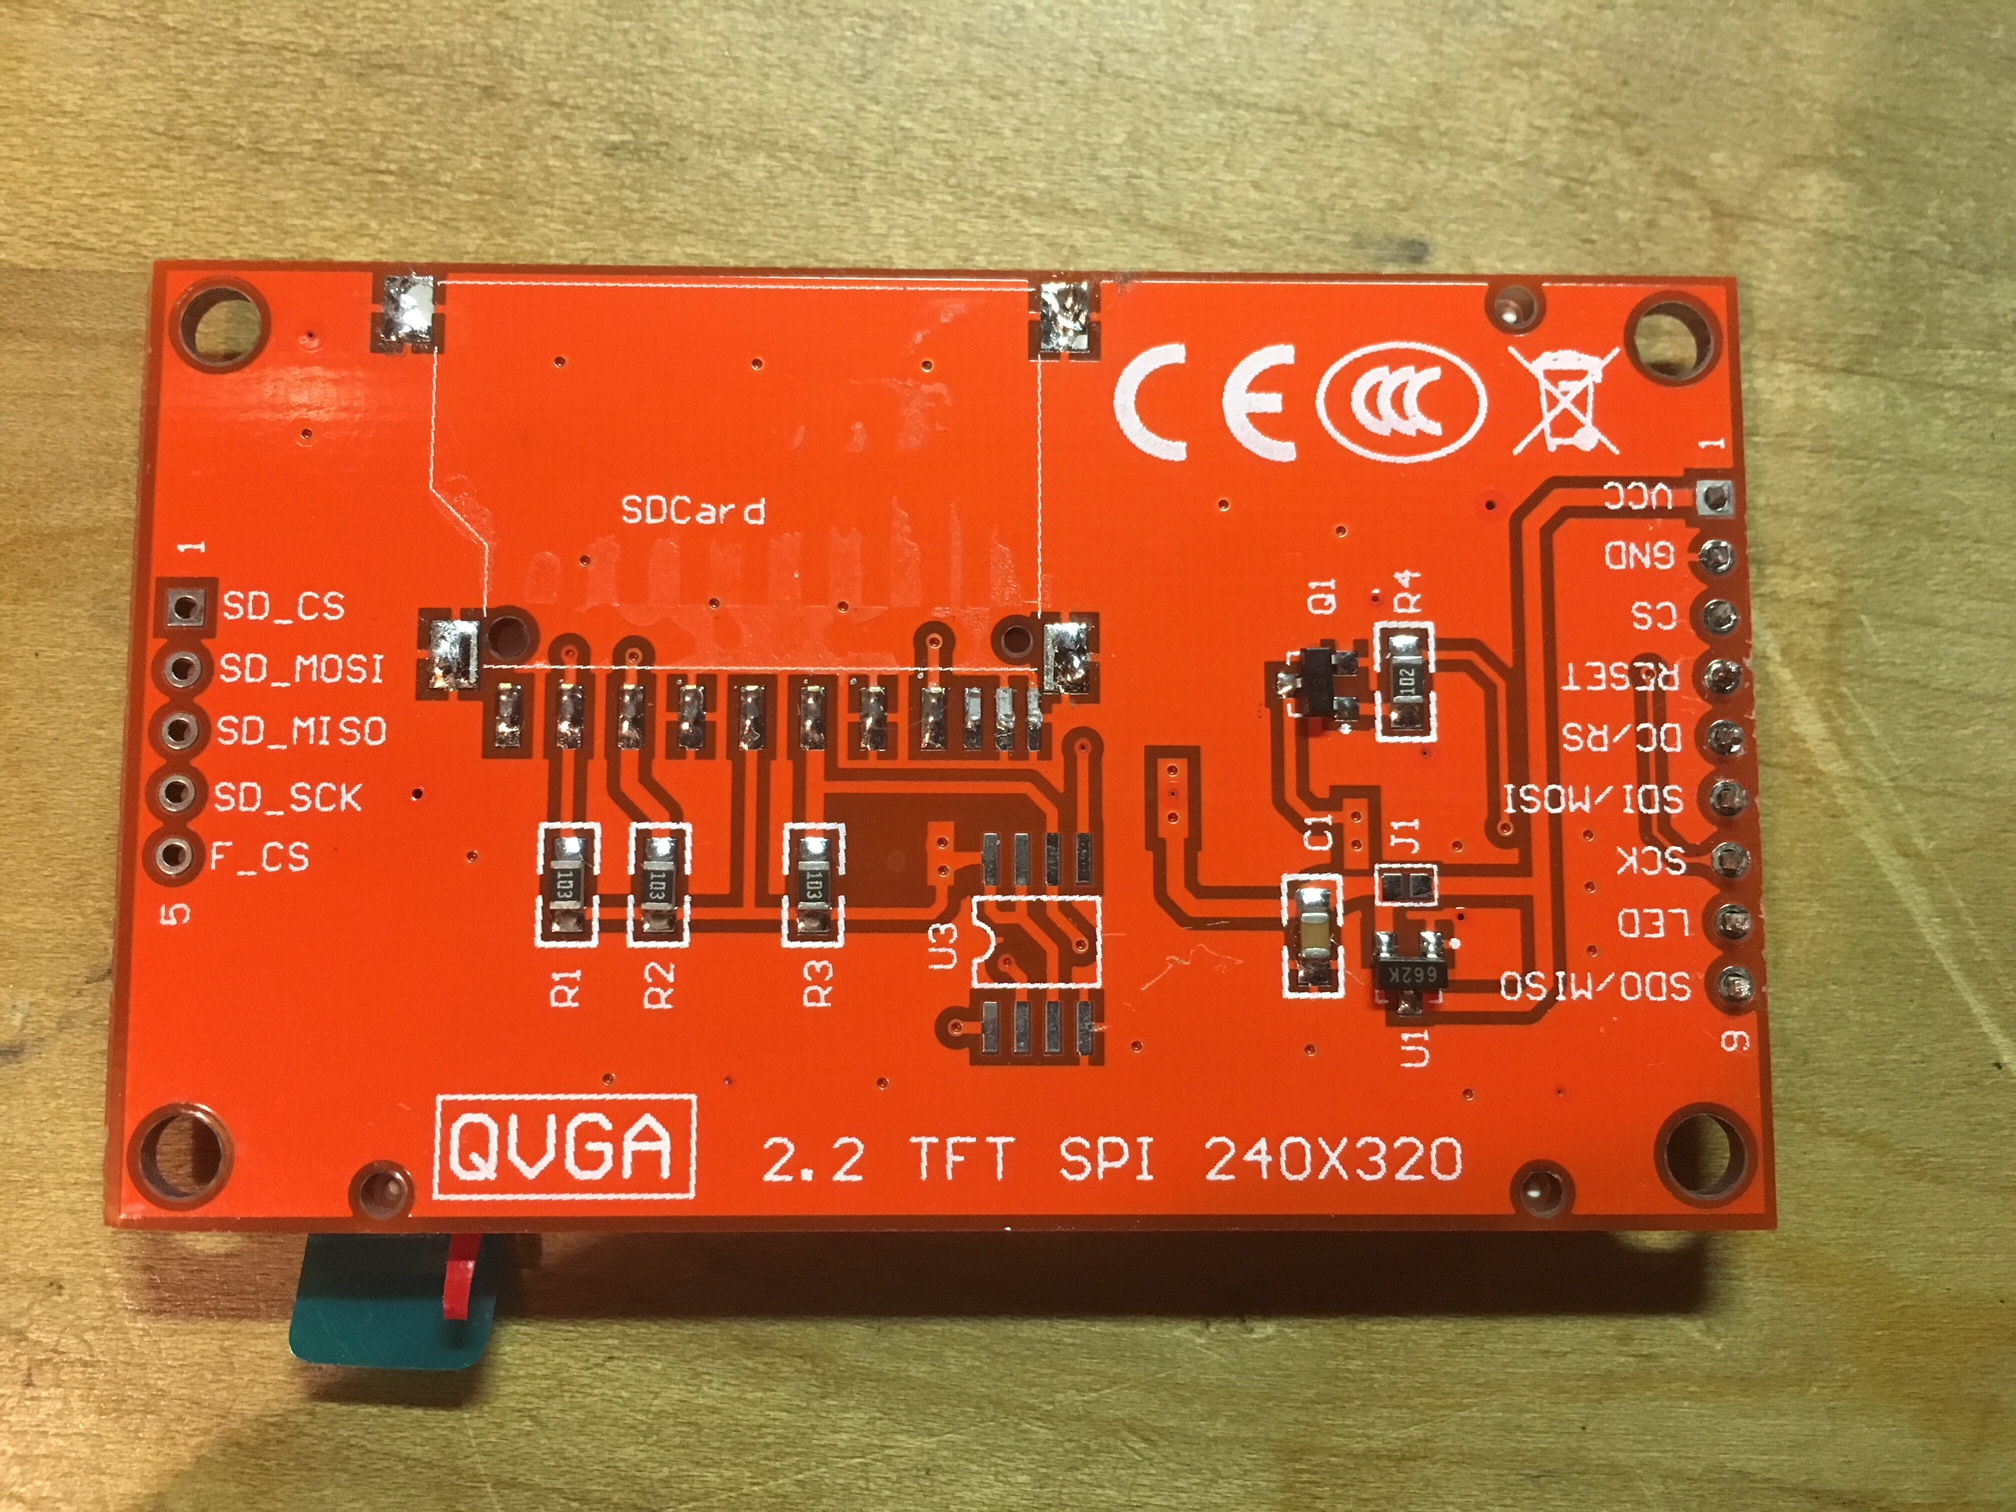
- Remove screen SD card reader
- IMG_3991.jpg (1017.99 KiB) Viewed 5277 times
If you keep screen board, 3D screen holder needs small modification in left screw corners to fit screen in.
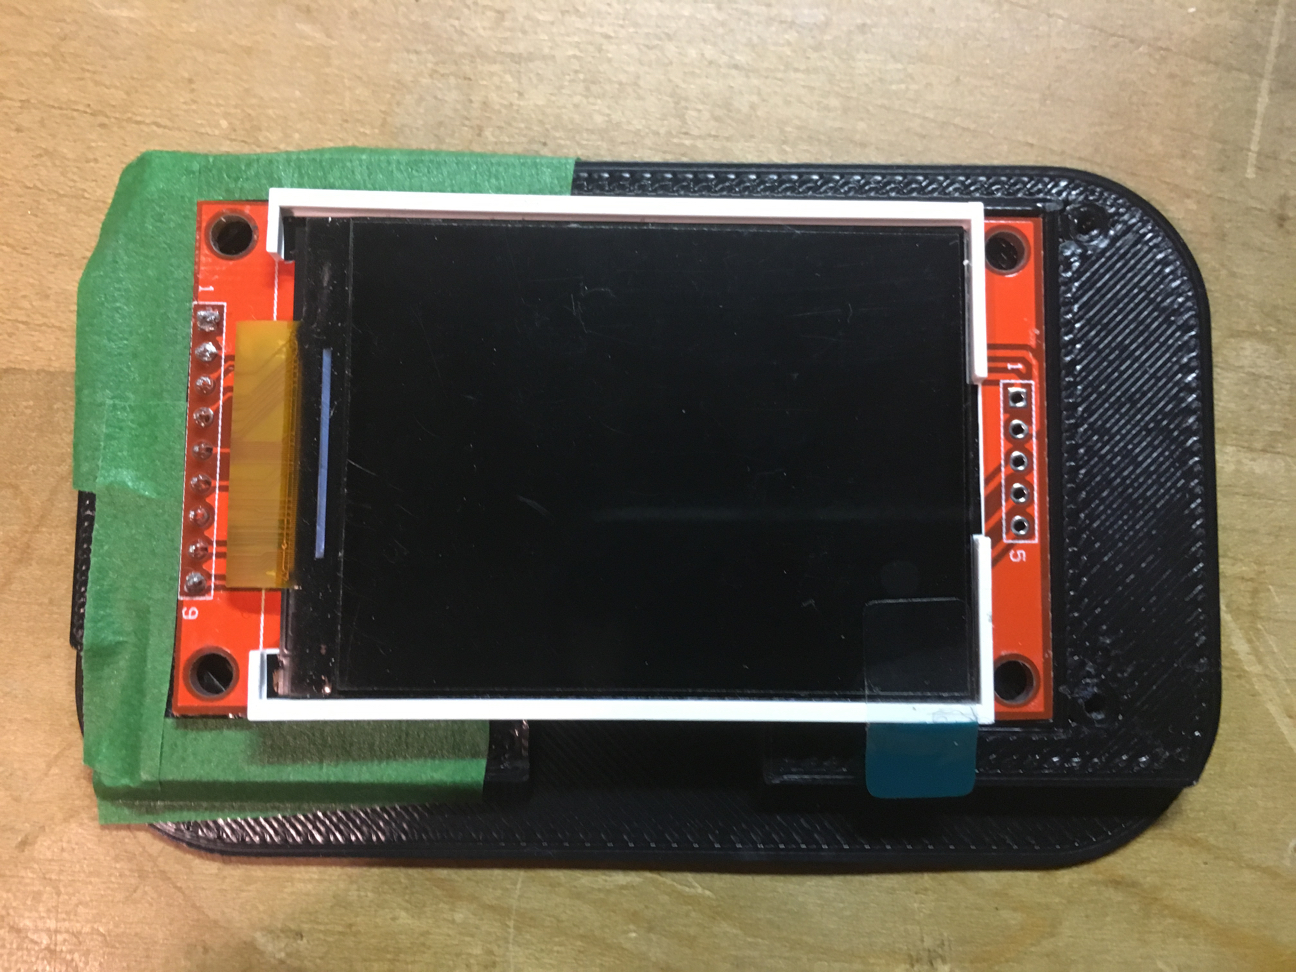
- 2.2' 3D screen holder
- IMG_3995_1296x972.jpg (1.18 MiB) Viewed 5277 times
You could always change 3D model before print or other option is to use a minimal board iliPlate from OSH Park like this one I was told would also work.
- iliPlate.brd
- 6a019baece8d7a75c03c9d9d6e473b5b.png (3.96 KiB) Viewed 5277 times
https://oshpark.com/shared_projects/zUNmnlLF
I decided to kept screen board to save cost and also am thinking is safer to weld to wires instead of ribbon considering my newly learned skills. To make it work (fit), I also had to cut corner of board where screws where landing.
- Screen board corner cut
- IMG_4001_1296x972.jpg (1.15 MiB) Viewed 5277 times
Thats it for now waiting on parts.


