So I starting this build late because I wanted to make it with custom parts and follow along with Wermy (who ,we all can agree, is a major influence/mentor on this). I see a bunch of people doing the same thing so I'm not going to show yall the inside like everyone else. I want to be different. It going to be a challenge but if it works out like i imagine it. I will be thrilled. Call me Frankenstein lol.
- STEP 01
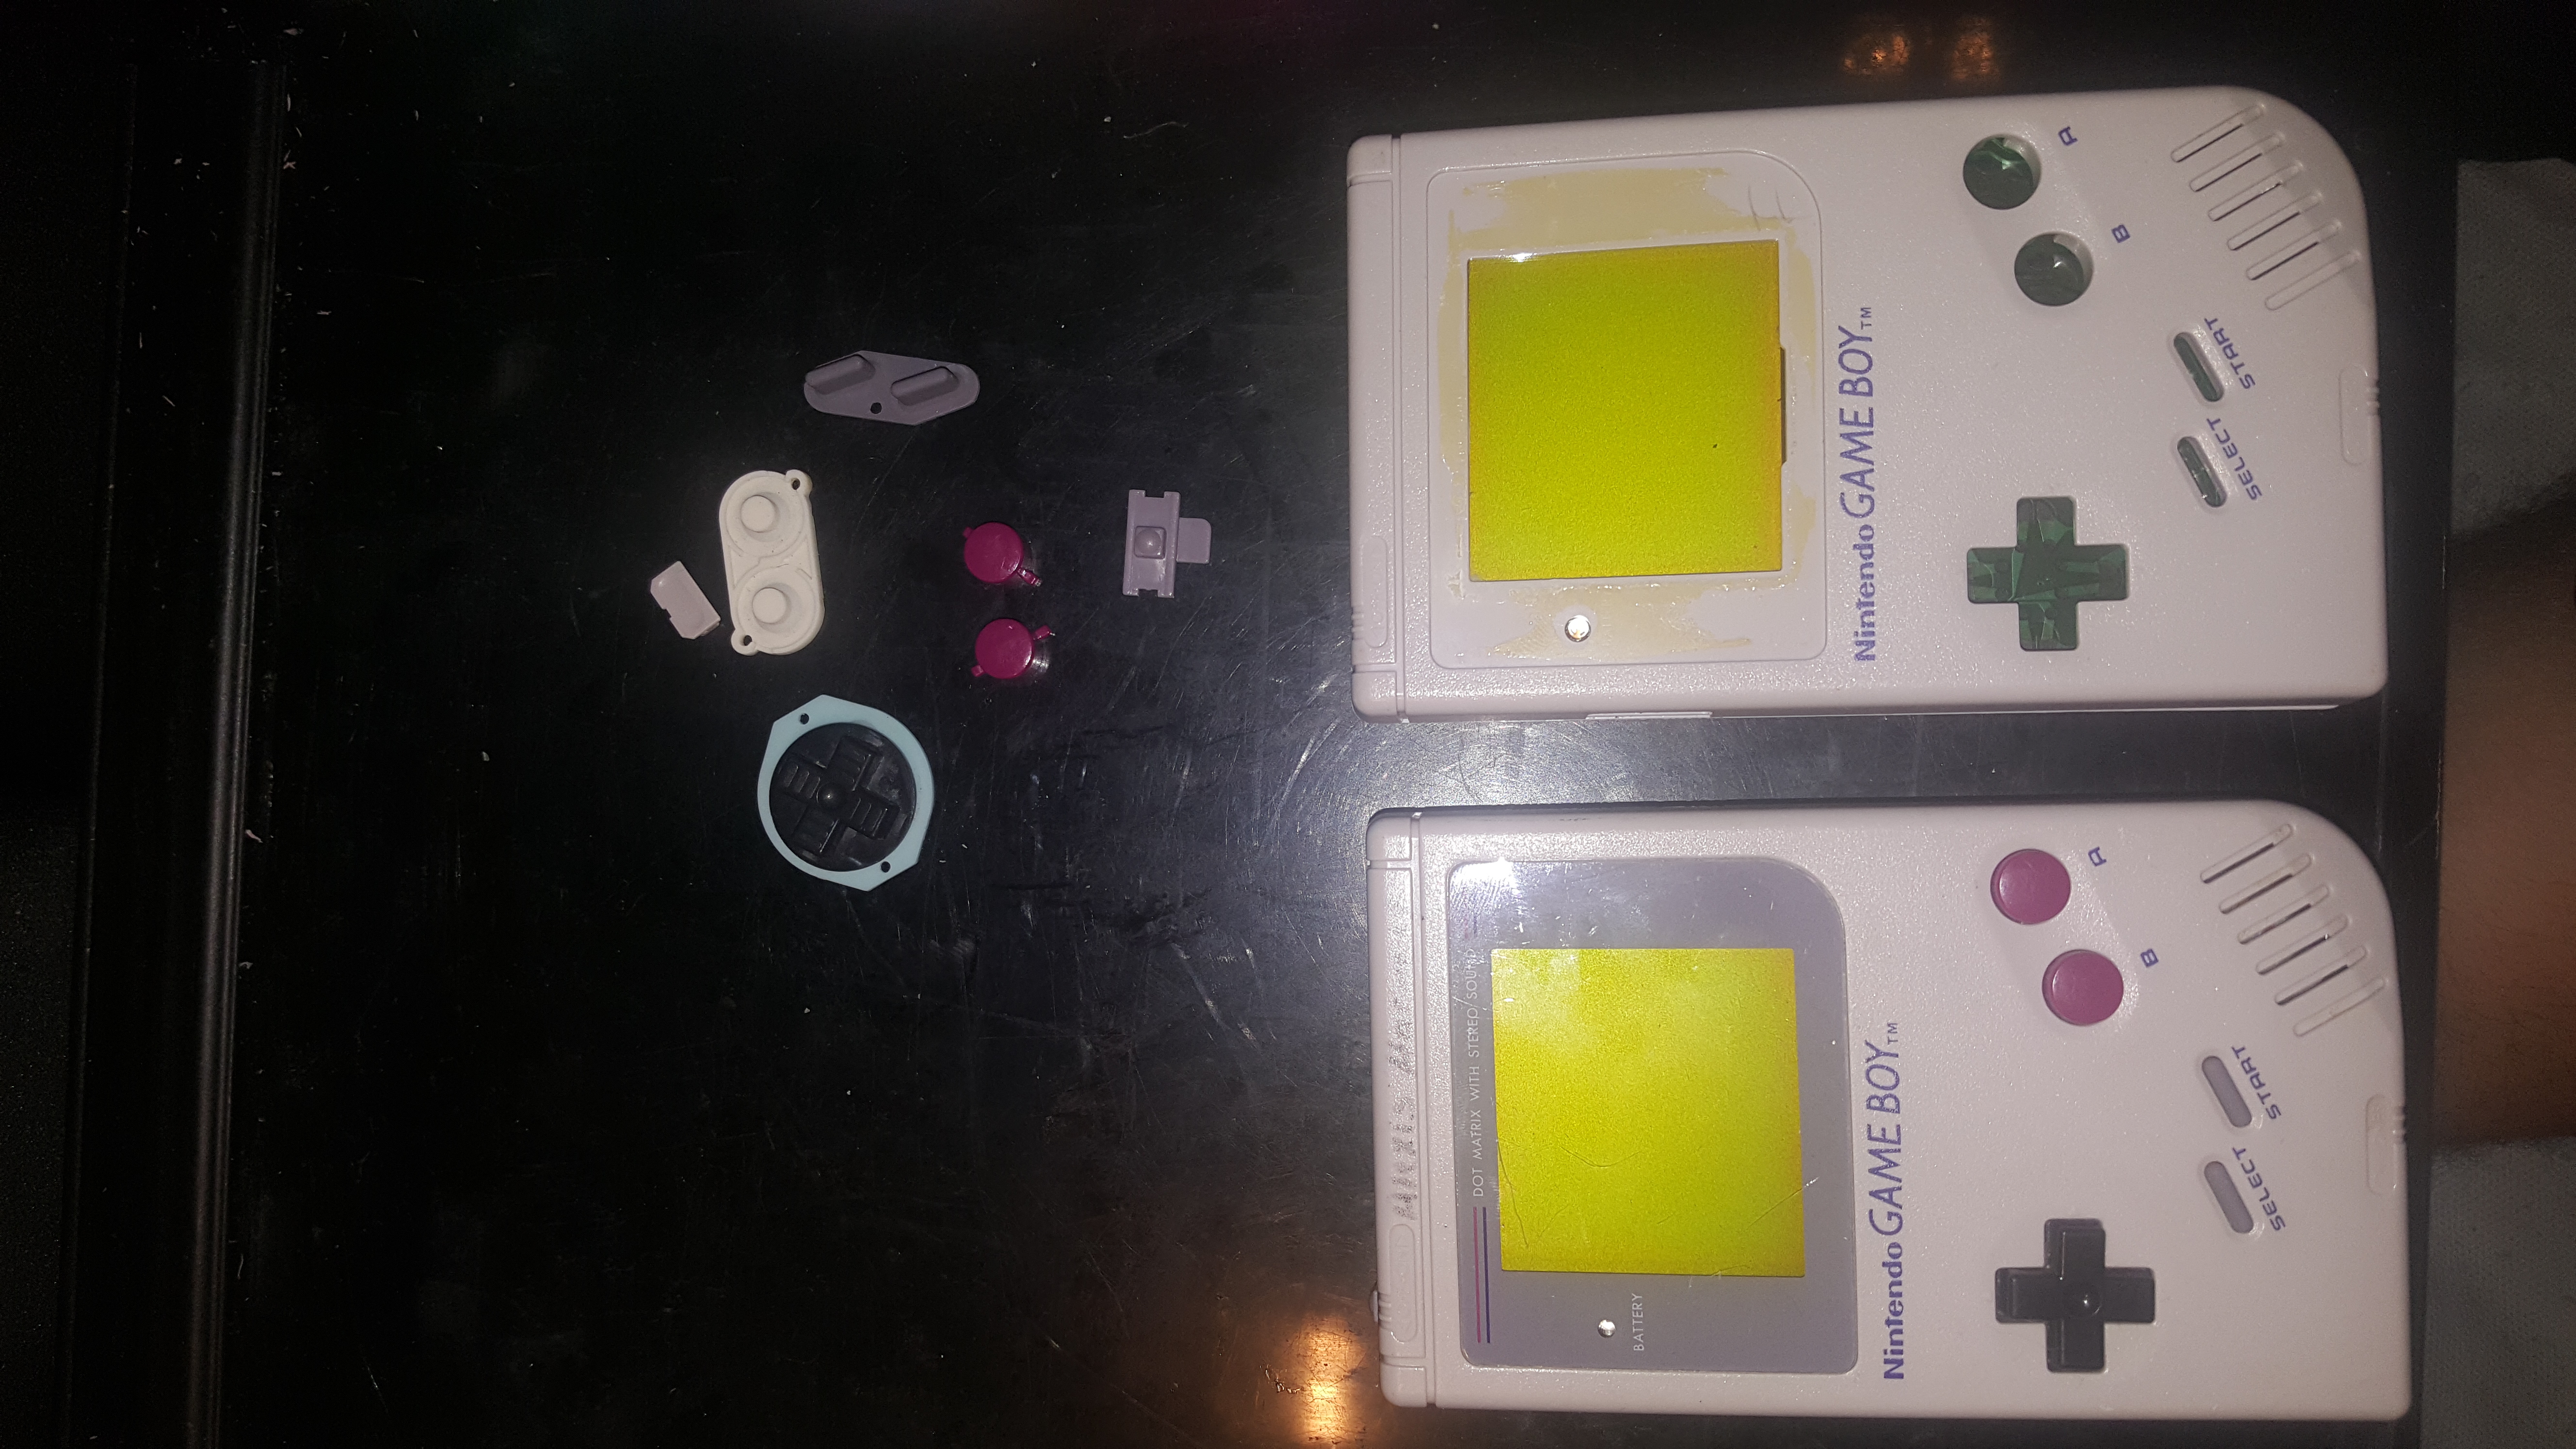
- 20160904_194218.jpg (4 MiB) Viewed 6057 times
I bought 2 broken DMG-01 on ebay for cheap. I got 2 for the price of one so I'm not complaining lol. Plus I'm gonna need the 2nd one for more modifications. I heavily modifying the case. It's gonna be tricky but possible.

- STEP 02
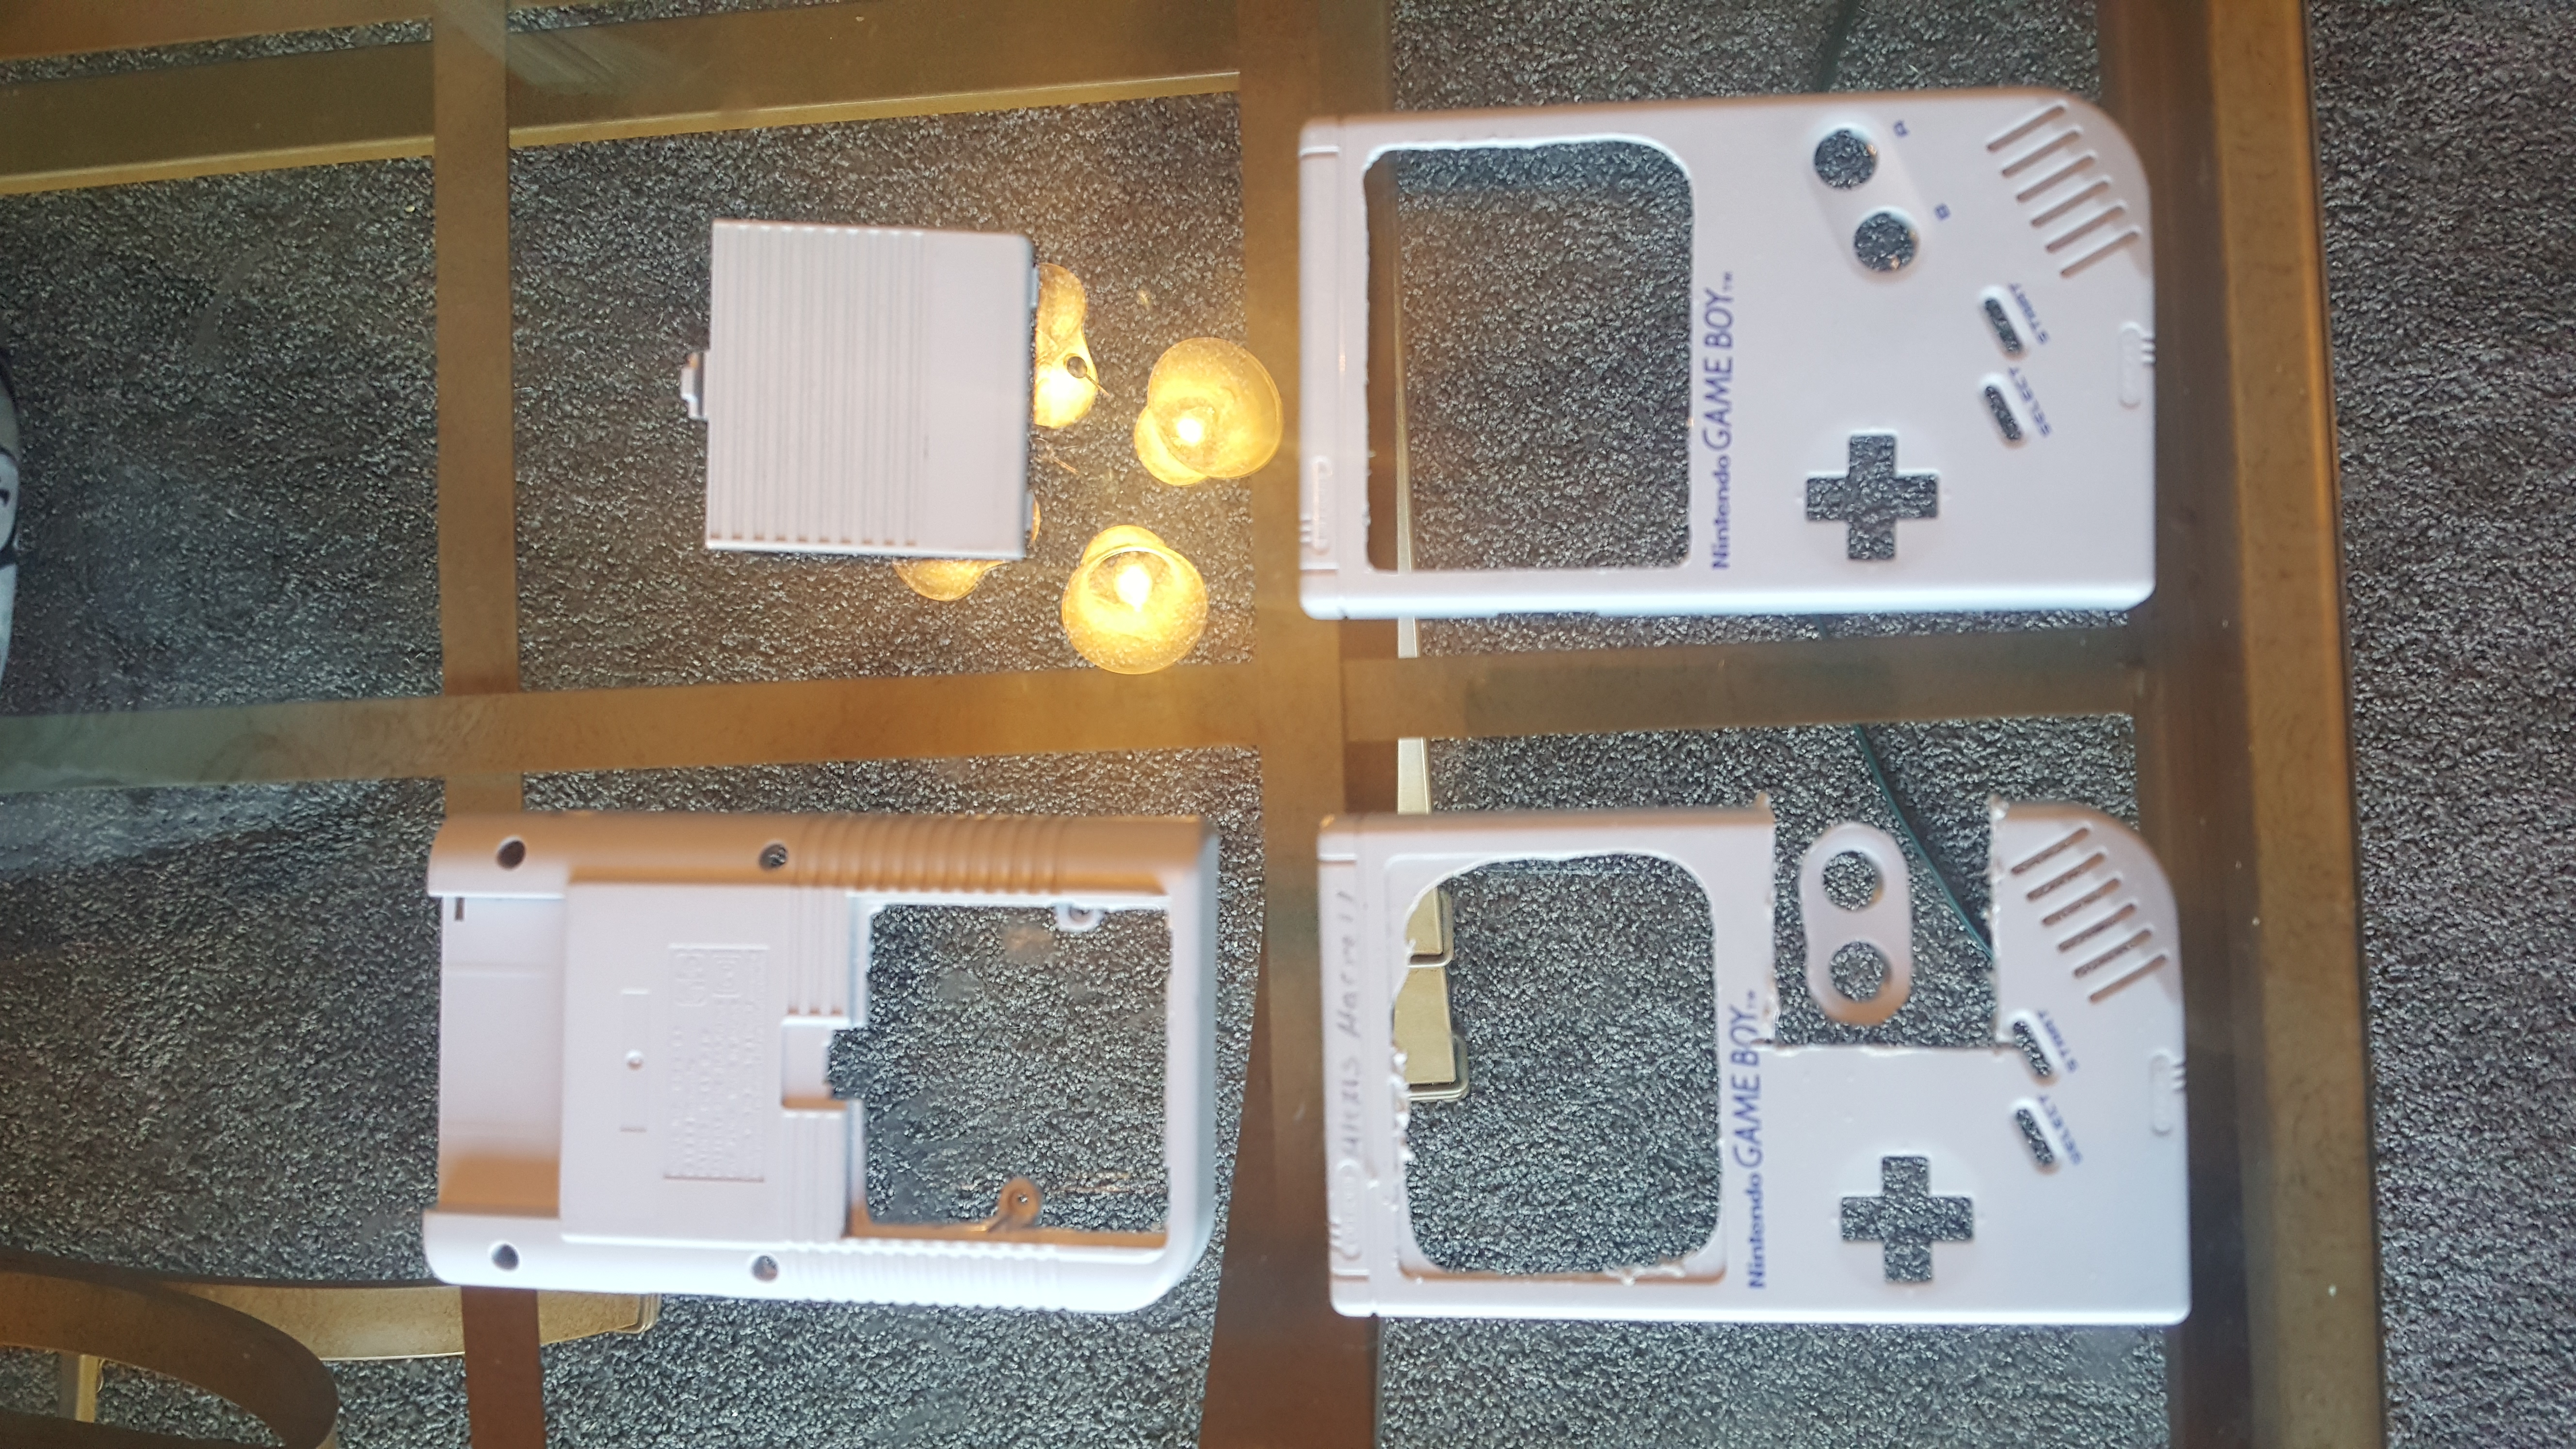
- 20160906_101246.jpg (4.48 MiB) Viewed 6057 times
Broke down both of the DMG-01 because I'm going to modify it. I'm going to use the one on the right because it's stained less.

- STEP 03
- 20160909_101224.jpg (4.09 MiB) Viewed 6057 times
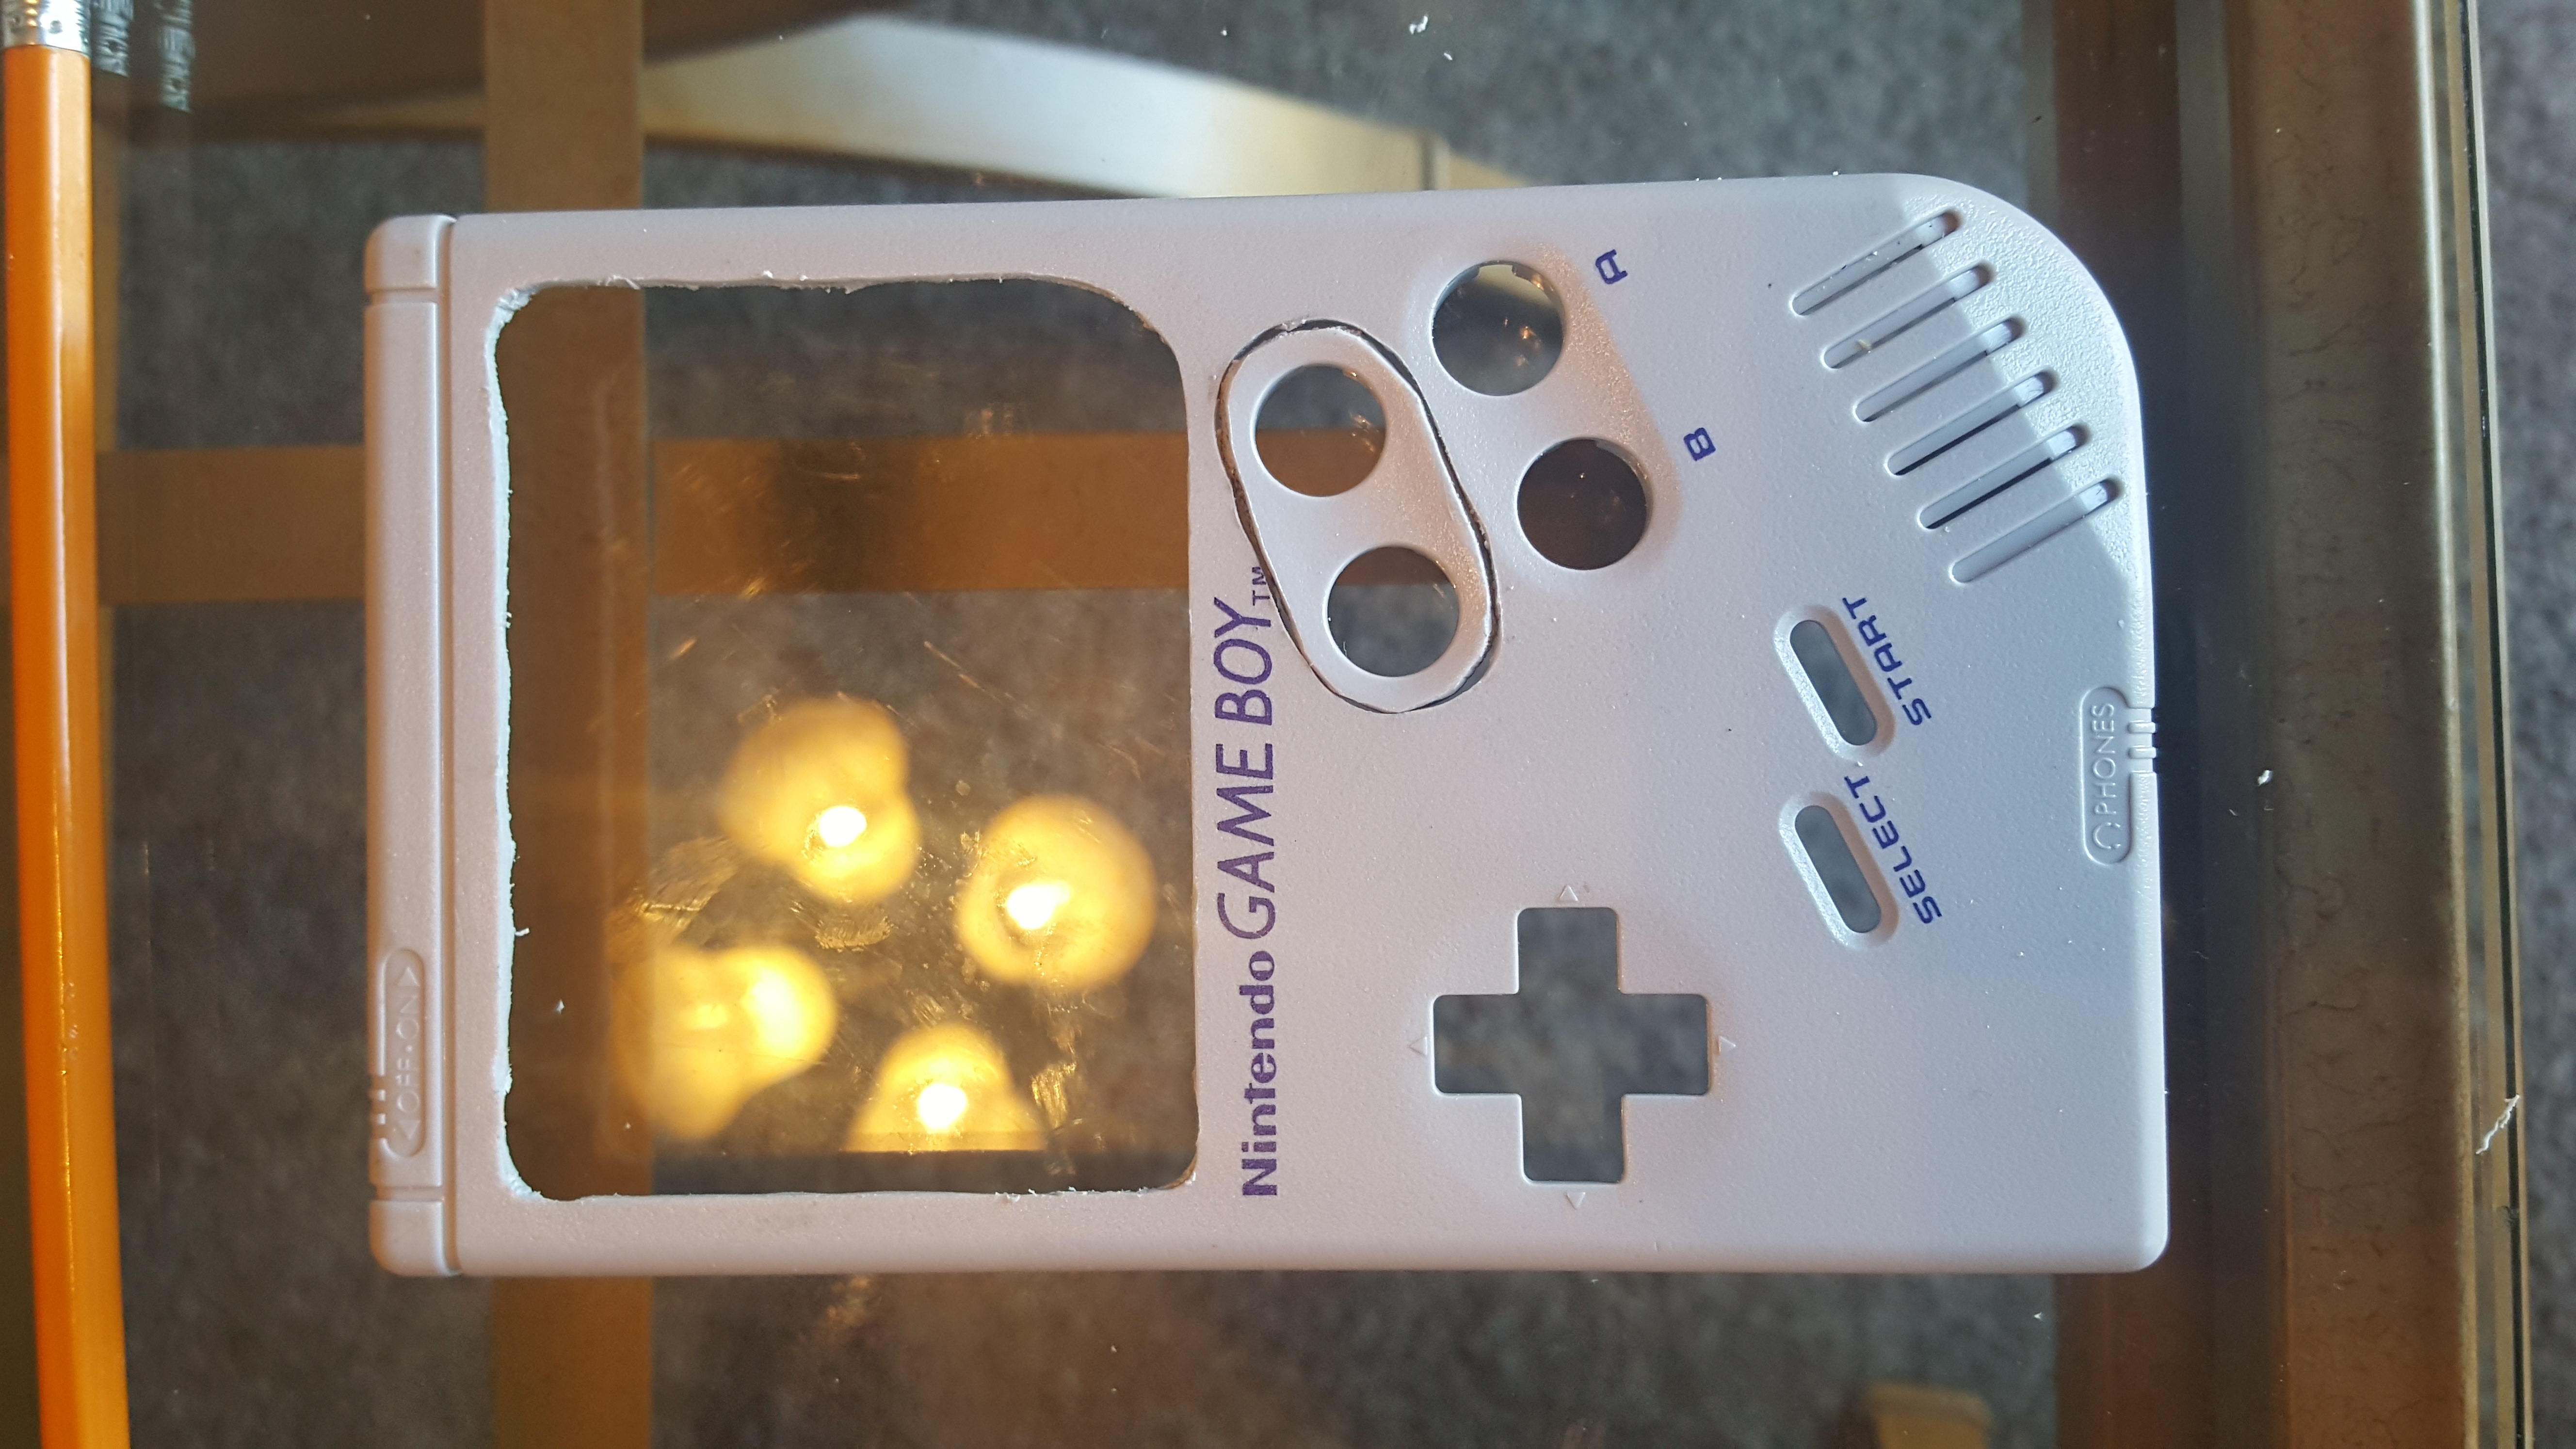
I put red marking on where I am going to cut. I did the back too (forgot to take picture but its the same layout as Wermy). The key here is to take the groove between A and B buttons and put it between X and Y buttons on the other case.
- STEP 04
- 20160911_093331.jpg (4.34 MiB) Viewed 6057 times
I got them all cut out...I messed up with edged around the screen area (I thought i had the right tools but didnt ). No worries. Simple fix with some molding epoxy.
- Pilot holes
- 20160911_094238.jpg (2.96 MiB) Viewed 6057 times
- Layed on top to trace
- 20160911_094305.jpg (2.96 MiB) Viewed 6057 times

- 20160911_100204.jpg (2.74 MiB) Viewed 6057 times
- Barely fit.
- 20160911_100222.jpg (2.92 MiB) Viewed 6057 times
- Hot glue
- 20160911_101706.jpg (3.29 MiB) Viewed 6057 times
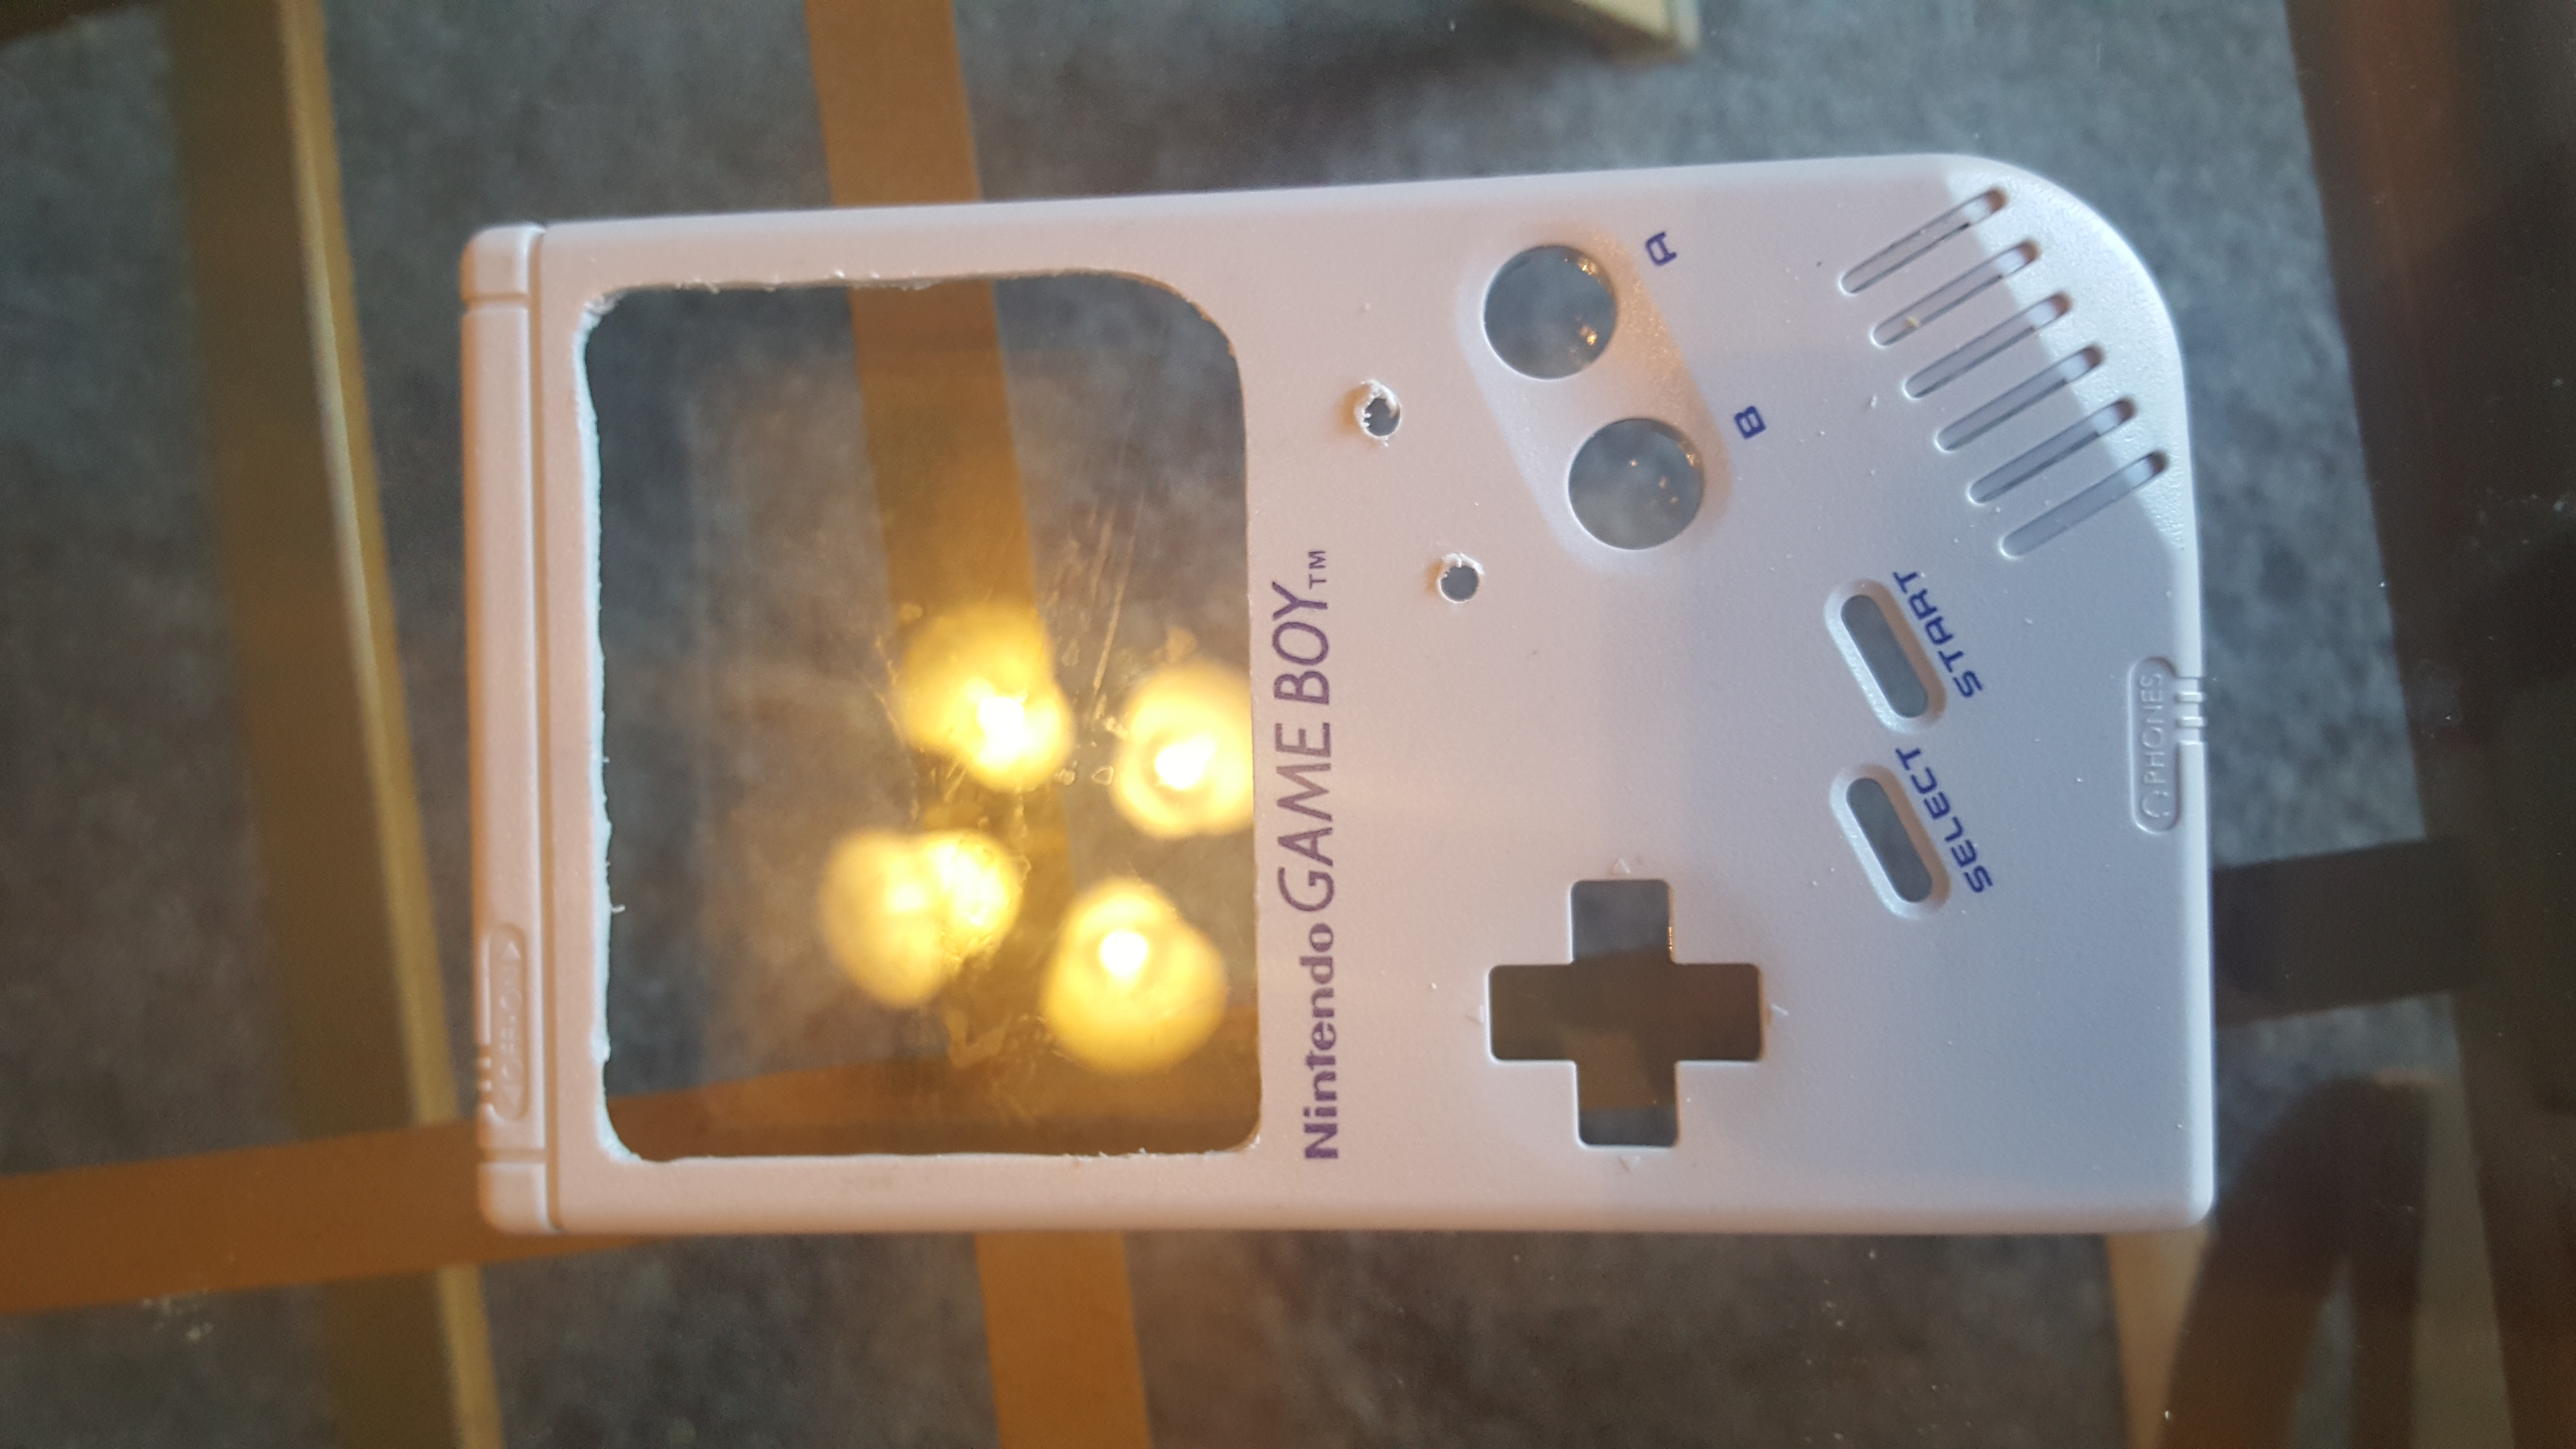
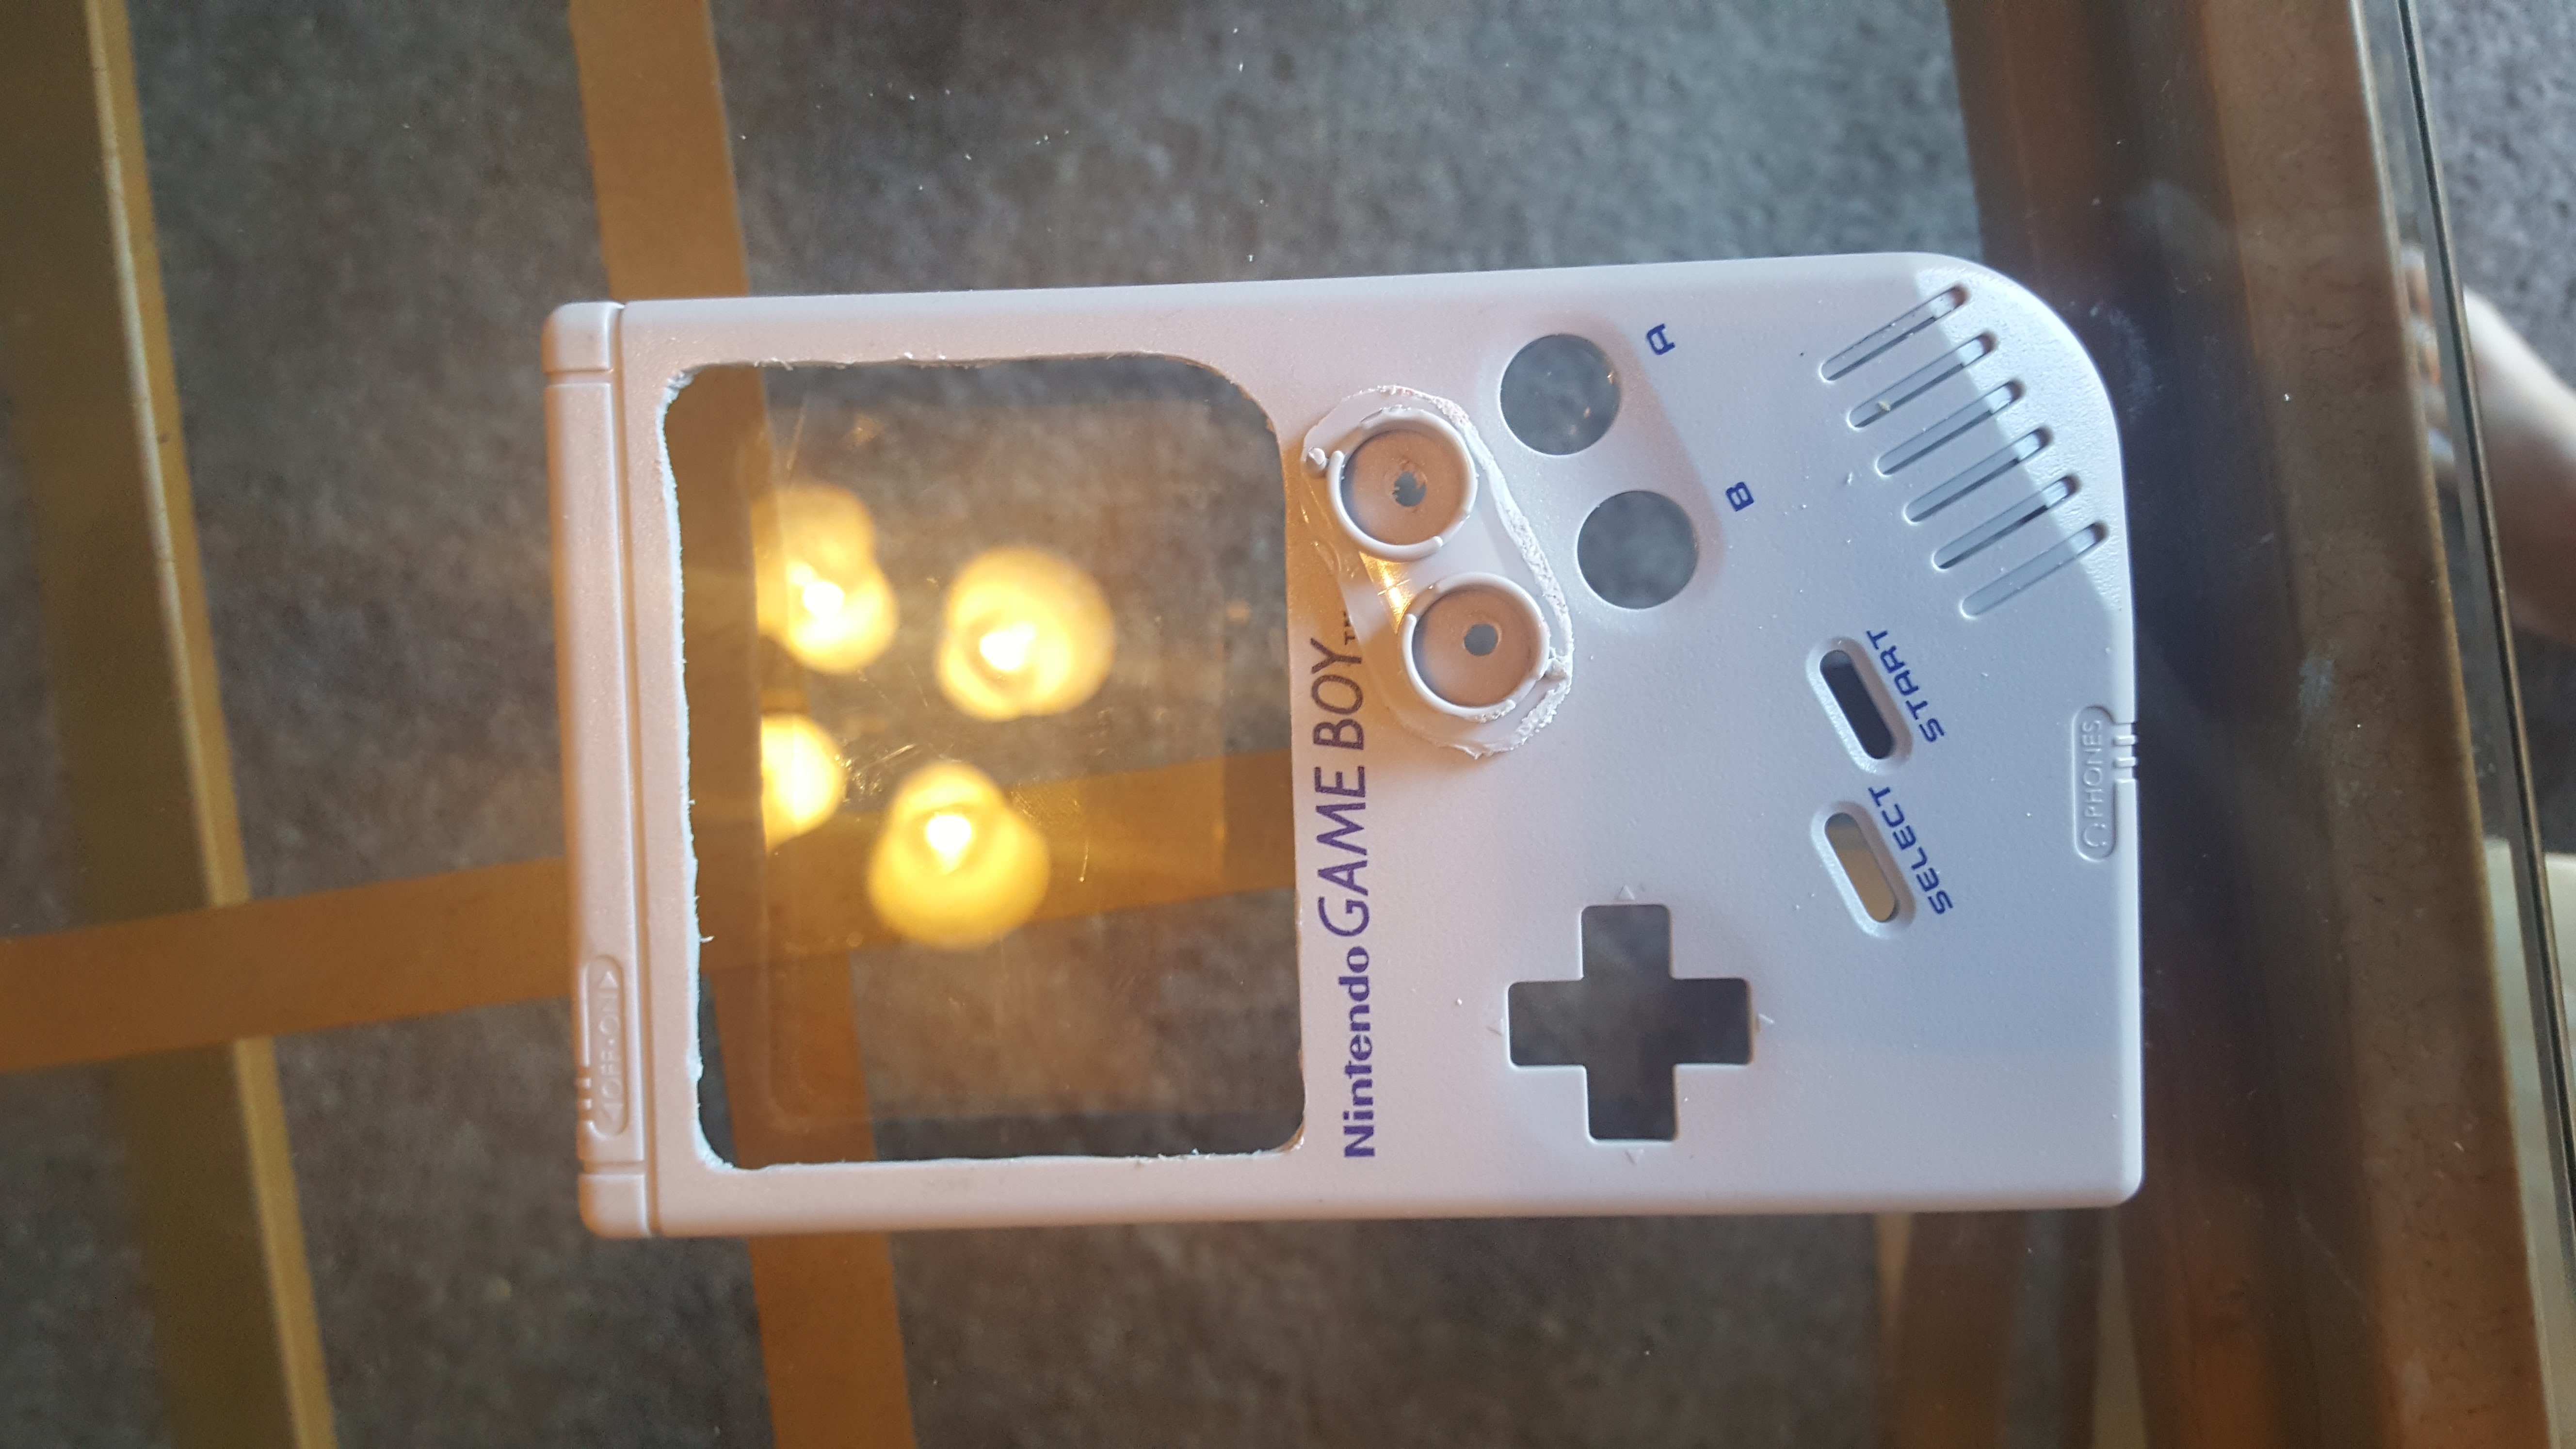
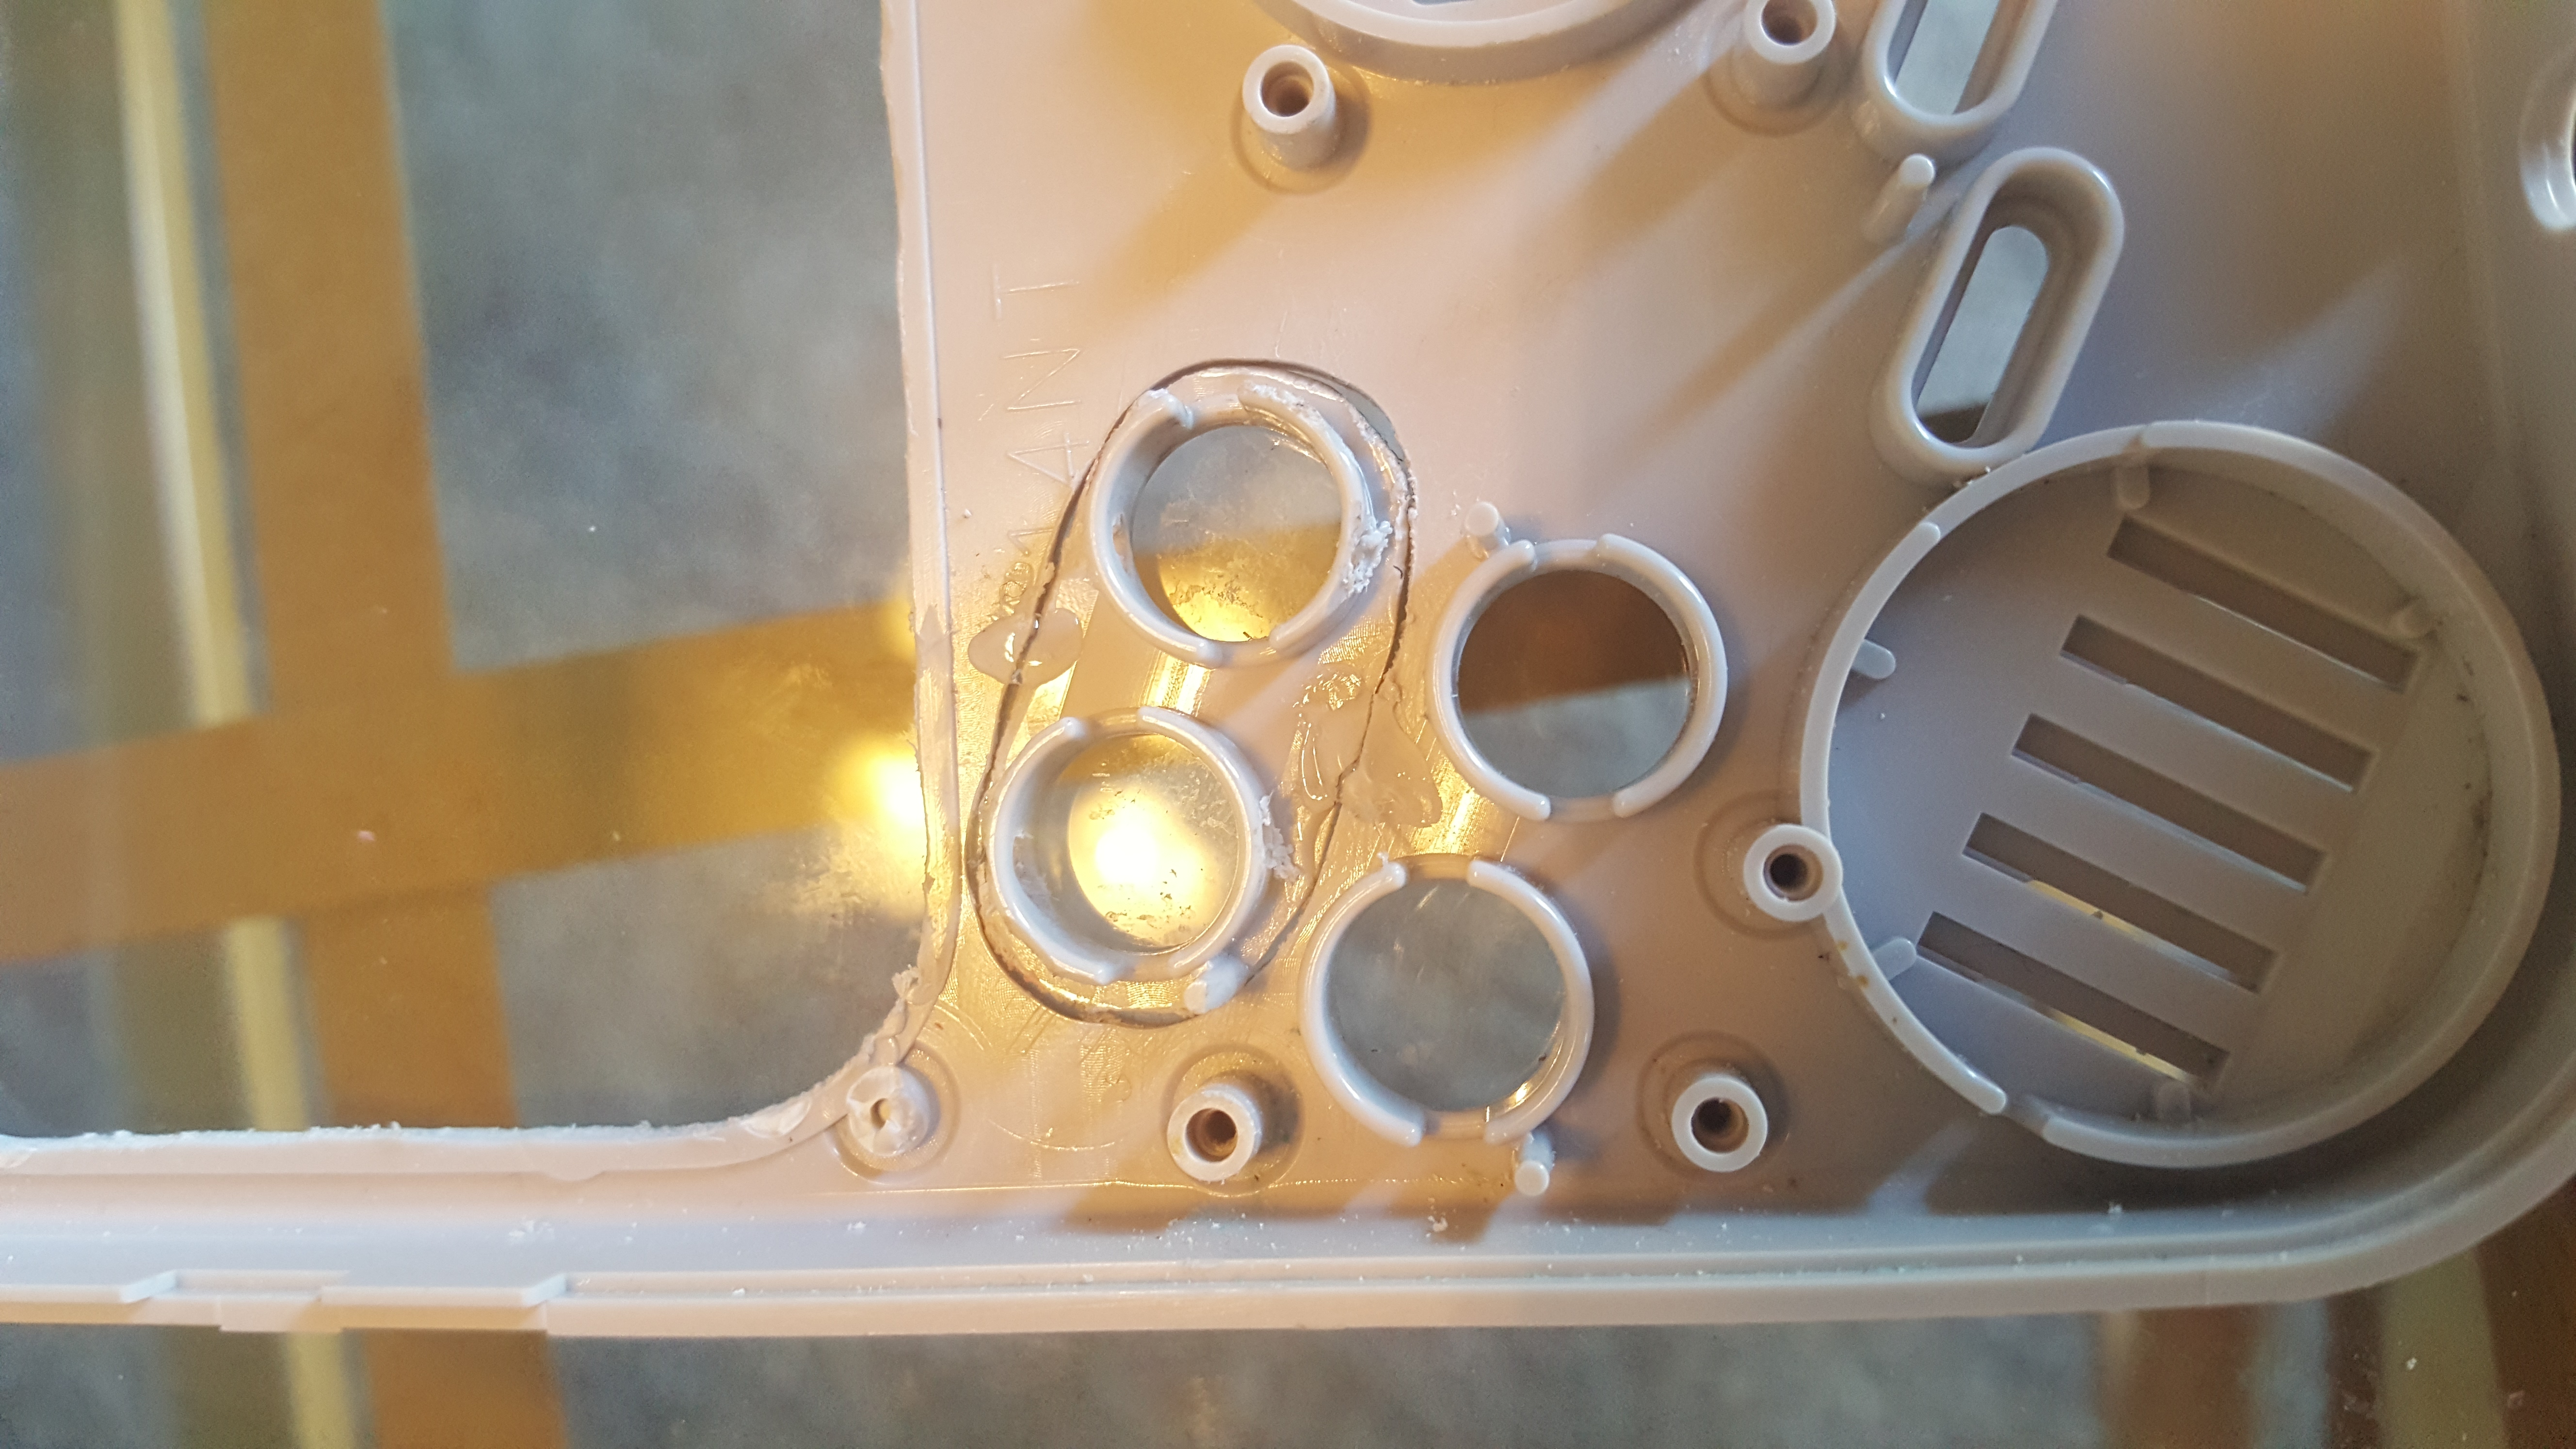
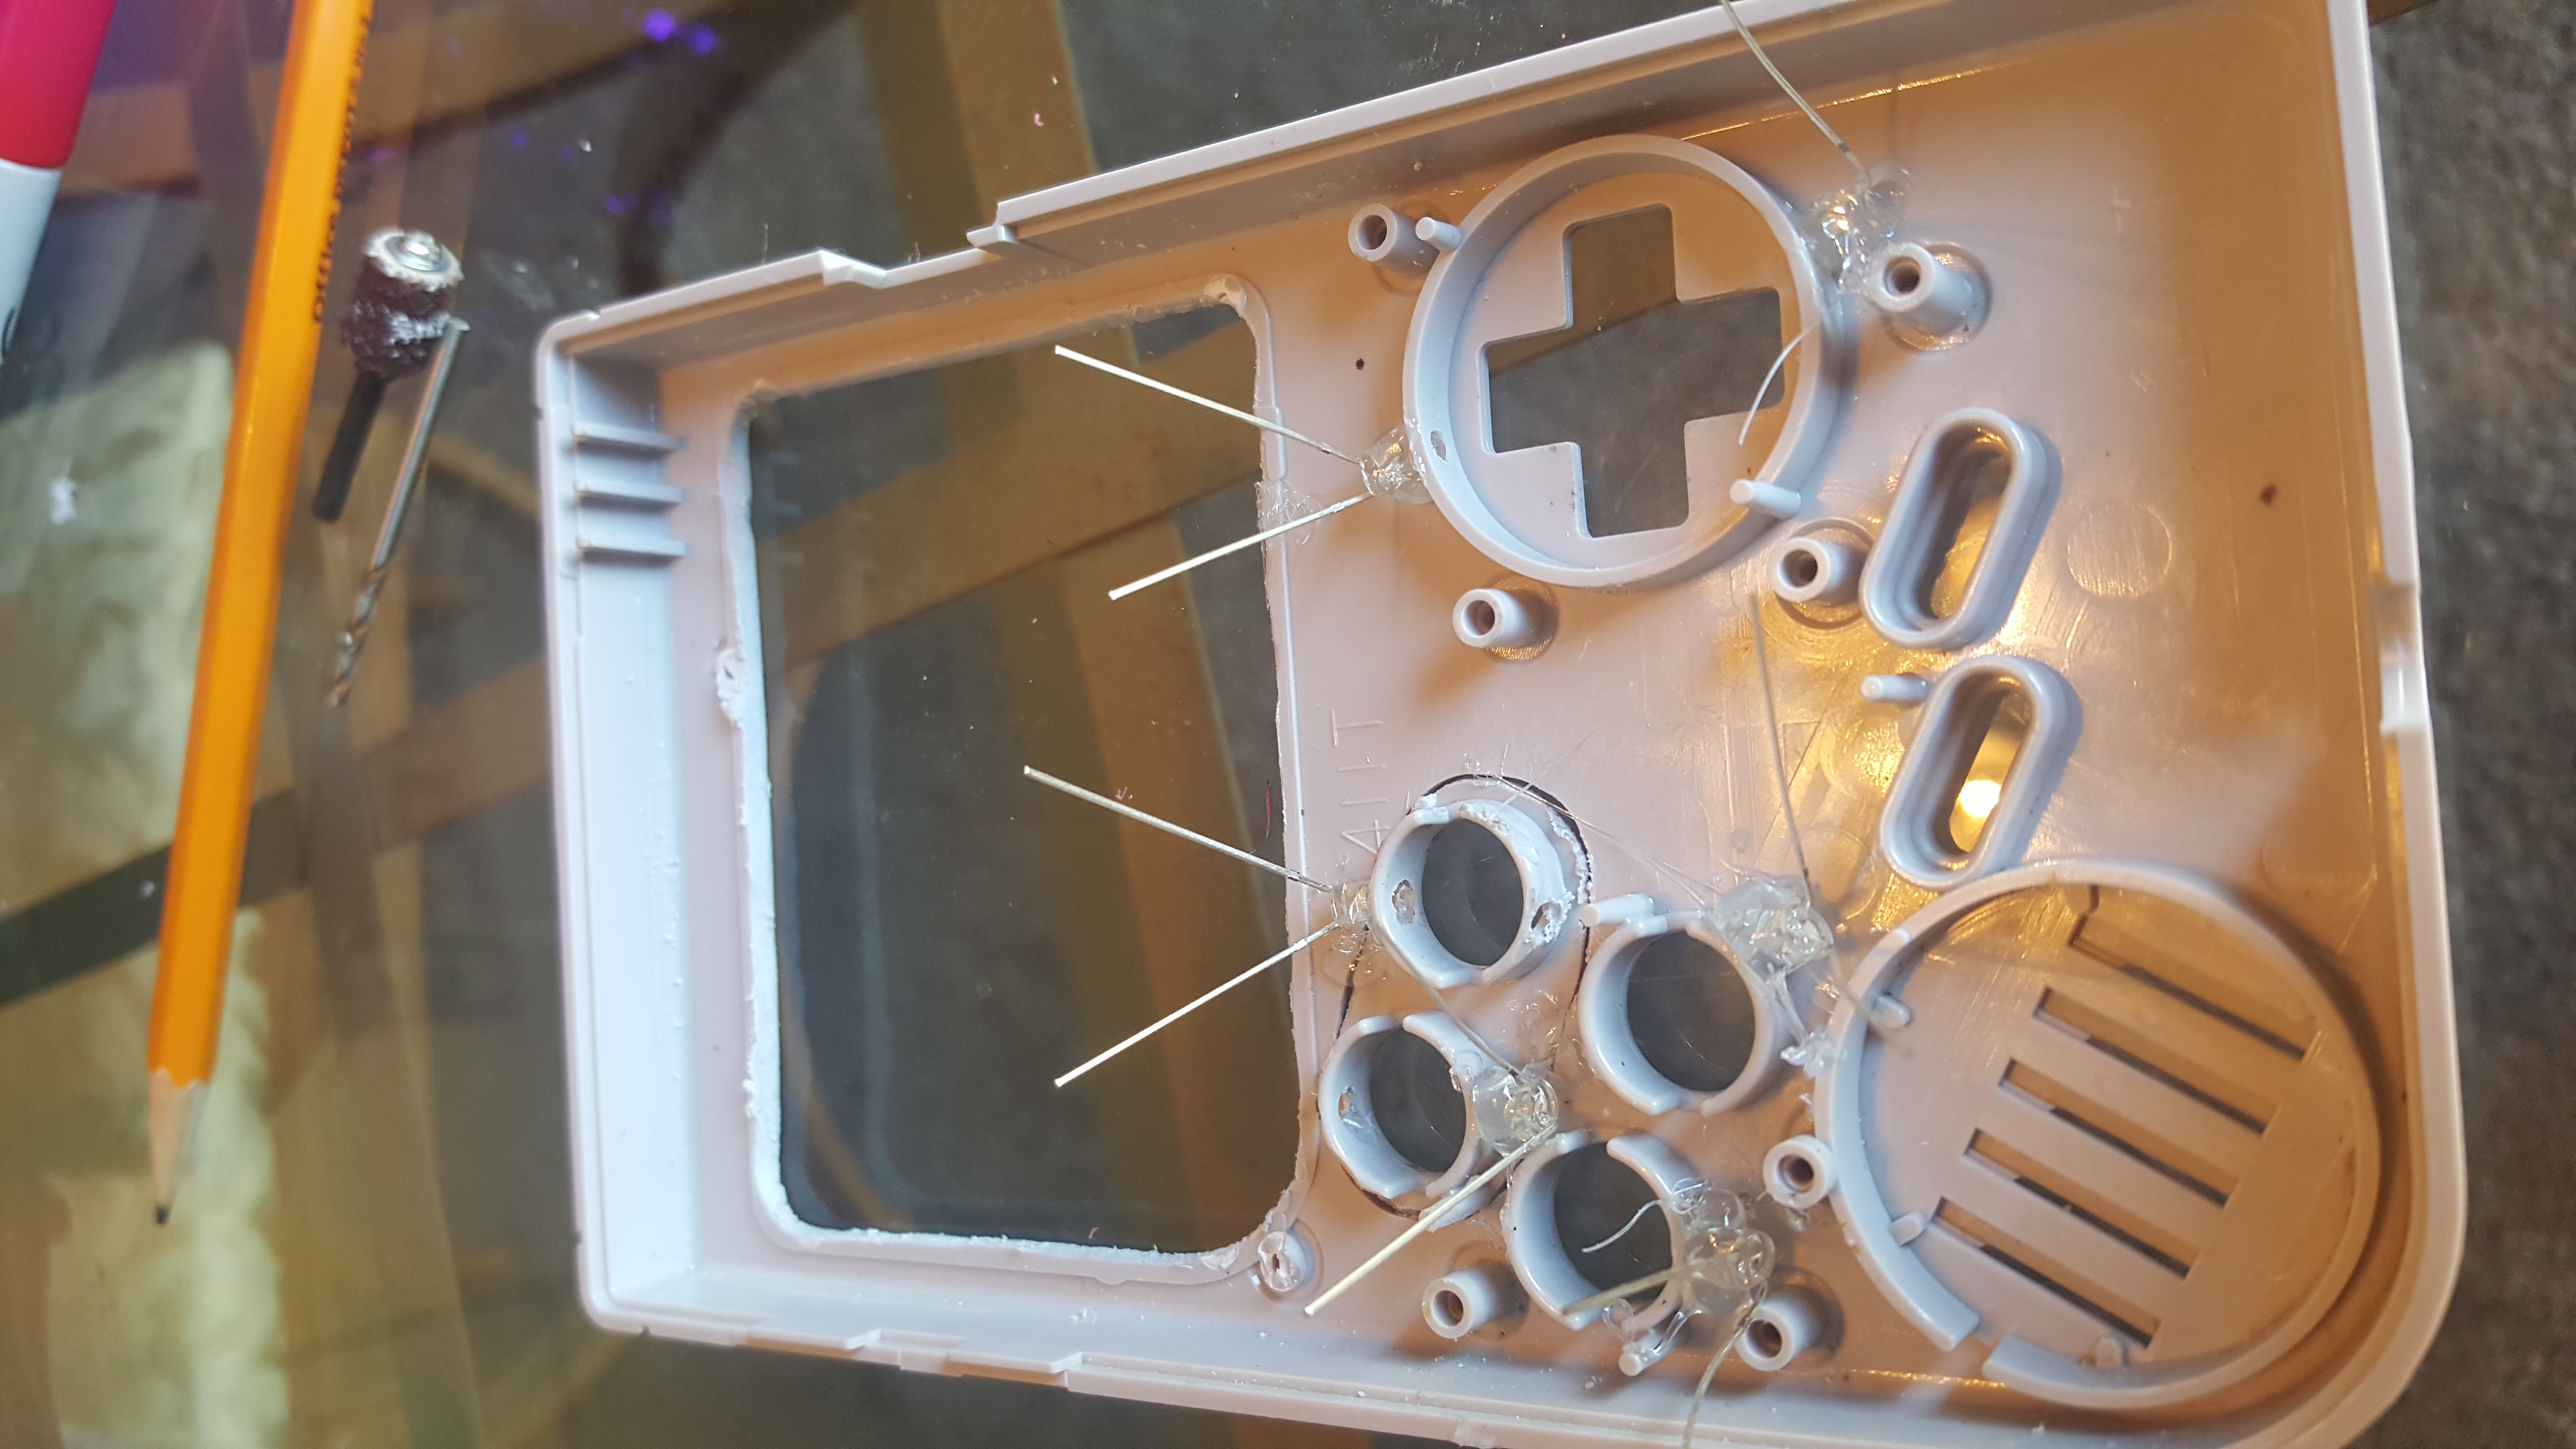
I took the template that was sent with the pcb board and lined up the A and B buttons. Took a thumbtack and marked where center was on X and Y. Then made two pilot holes. After, I took the A and B button wells from the other case and layed it on top amd traced it with a pencil. Drilled more pilot holes to and started dremel away little by little. They barely fit which is good. Turned it over on a flat surface so its flat and level. Put two light dots of hot glue so it wont move around on me.
- LEDs
- 20160911_105248.jpg (3.24 MiB) Viewed 6057 times
Now before I make this permanent, I drilled some holes because I don't know if I will be able to do it later. I added 2 LEDs for the D-Pad and 2 LEDs for the X and Y (just incase the epoxy gets in the way later). Each button has 1 LED except start and select because they are not clear so I'm not going to worry about it.