I'm not use to write in forums but i loved this project and so i'm here writing (with my bad english).
I'm a really beginner with raspberry (this is my first raspberry ever!)
I want to share my experience with this project:
I could not find the Pi Zero so i used the Raspberry pi B+ (but i think that this is going to work also with the others model, depending on the dimensions)
My hardwares are:
Raspy B+
- 3.5" PitFT Adafruit display
- 1300 mah lipo battery (better if bigger)
- Original Buttons (i have to add more, but i don't have time)
- Lipo Booster and charger
- Wires( lot of wires
The only thing that i made different is to take off all the usb ports, the ethernet one, and all the pins (on raspberry and on the display).
I made this to add more space inside the game boy.
I don not use any Teensy or stuff like that because i didn't want to waste space with something that raspy can do.
The only problem was that the PitFT monitor use lot of pins, but i changed the buttons pins with the few empty.
I'm going to add some photos to explain better what i do, but in advance i want to thanks the guy that had this awesome idea, the result is amazing, and i love it.
If you have some question please write and i try to help, now the photos
The board without USB Ethernet and Pins

Full view of the game boy

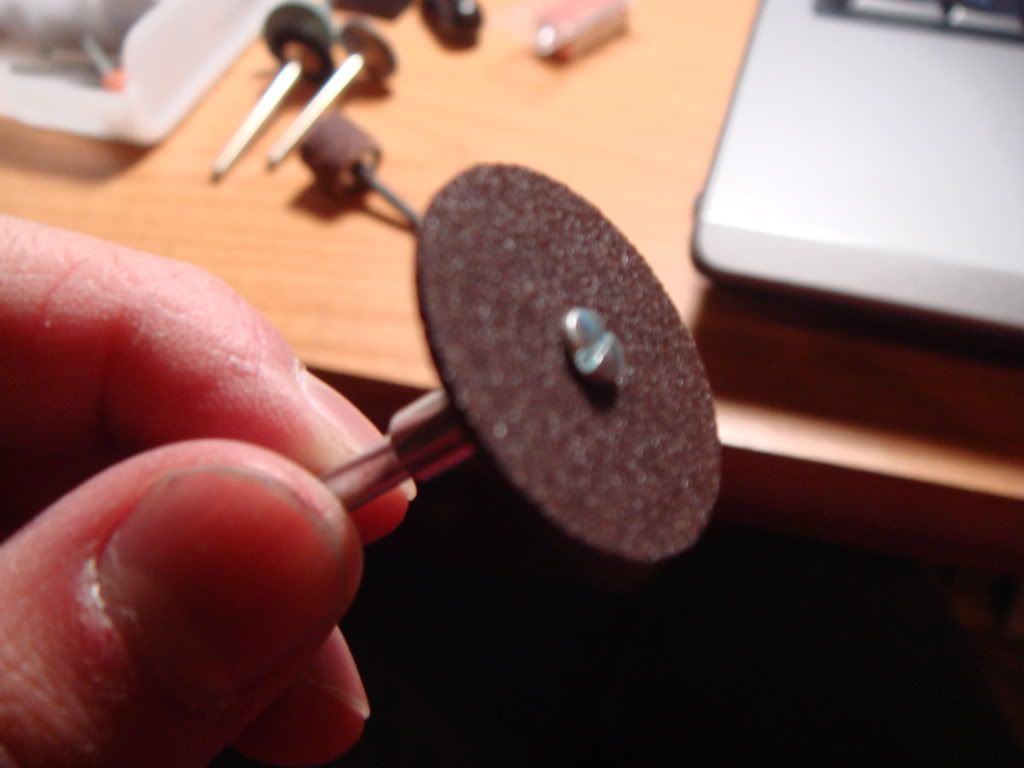
Pins removed with the flat cable (2 cable with 13 wires each)


 [/url]


