first i want to start off by thanking this community for all the help and answered questions. This build took me about 2 months give or take to complete the whole build, with my job taking up most of my time and waiting for parts and delivery this process took a bit longer than i would have liked.
Finished photo first.
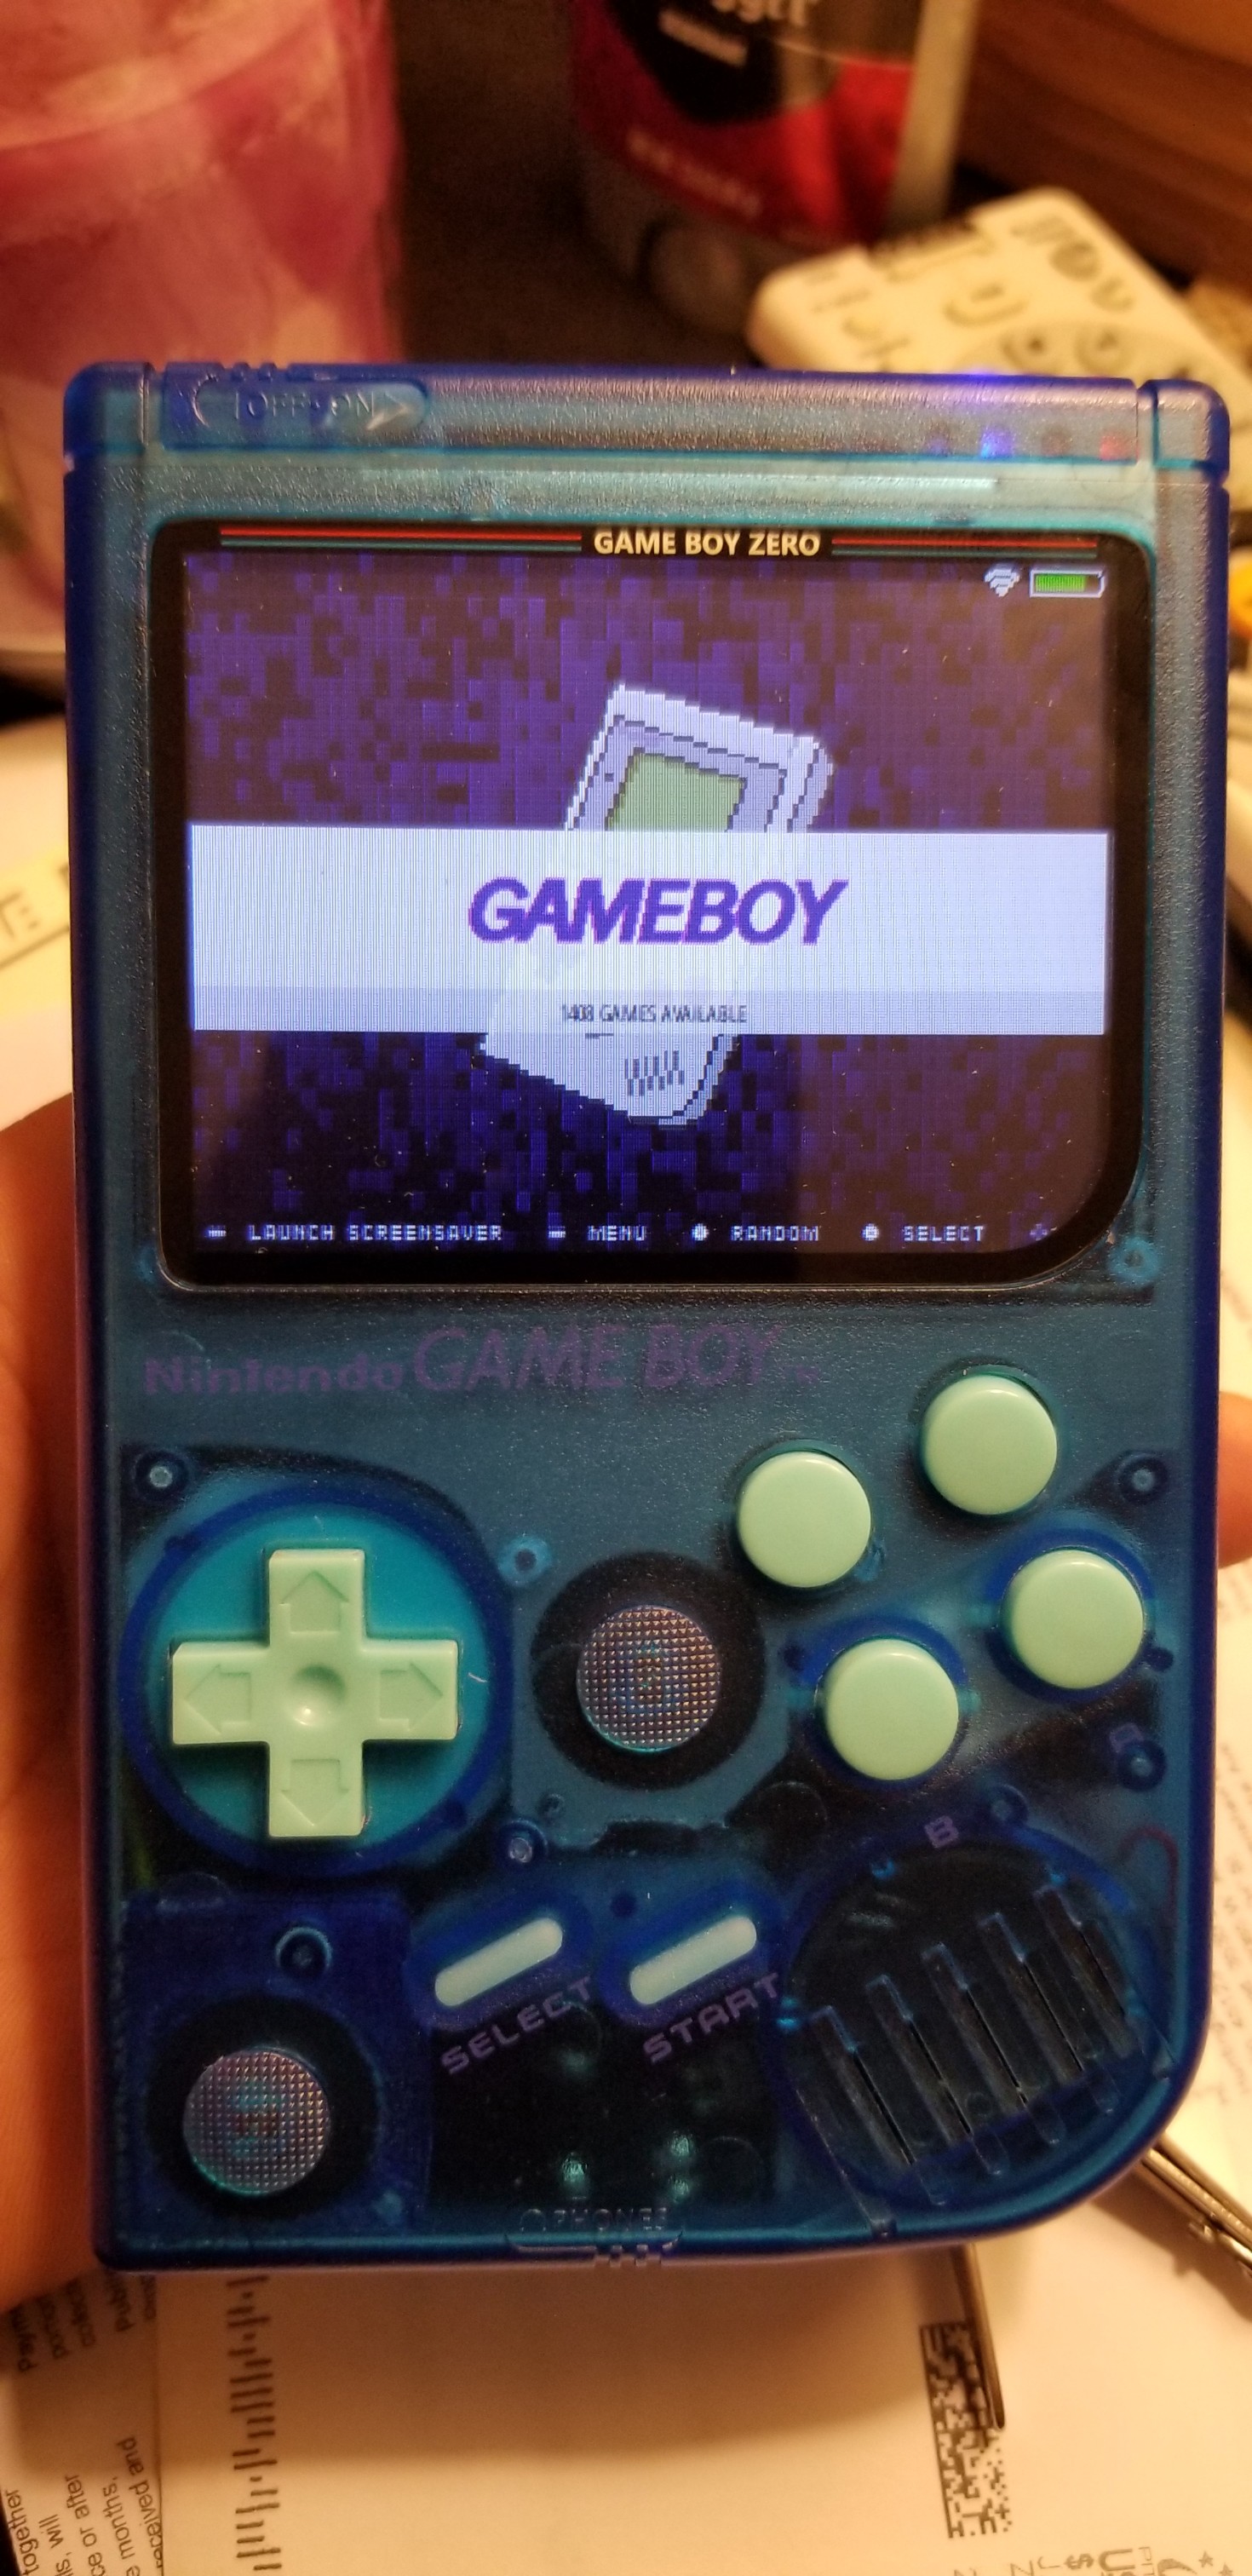
- 1.jpg (793.27 KiB) Viewed 2902 times
So lets get started:
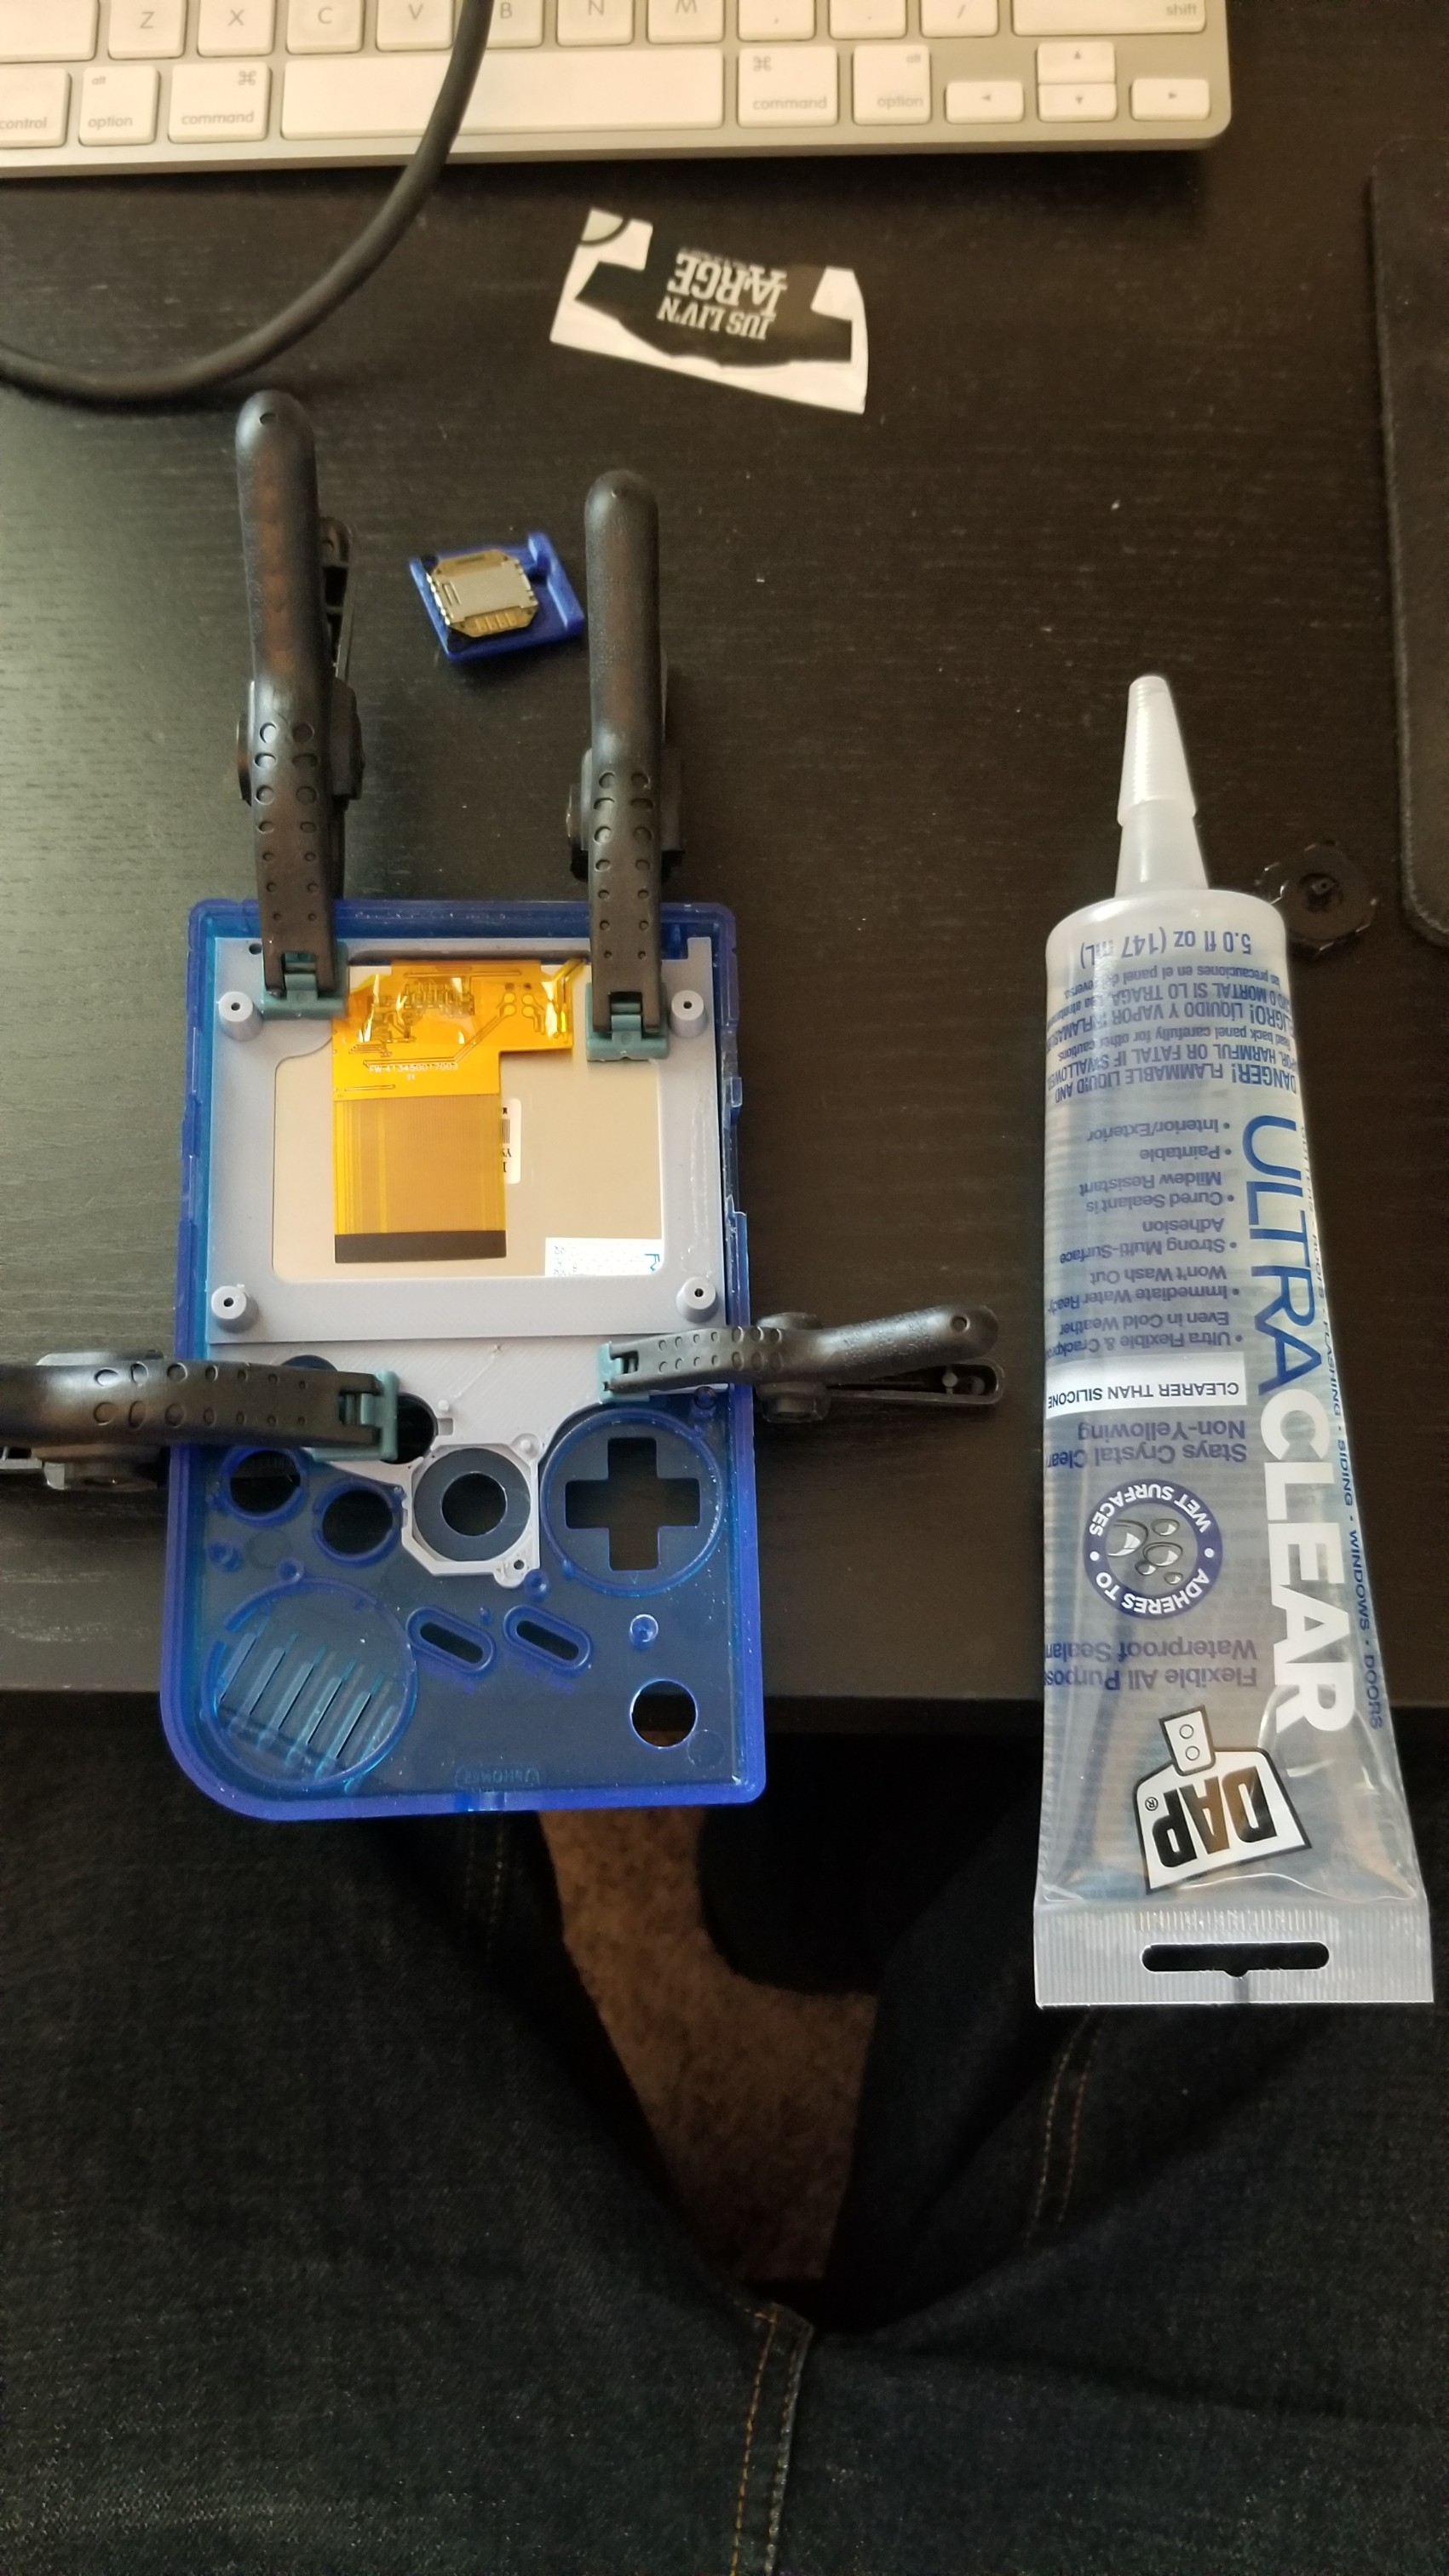
I decided to go with a clear blue case, i didn't get very many pictures of me as i modded the case. but i decided to go with the mandatory 4 button A,B,X, and Y. i also decided to go with 2 joysticks and L1,L2,R1, and R2 buttons in the back. I used HoolyHoos psp screen bracket and and printed up the secondary joystick housing on a 3d printer. I then decided to glue it into place with some super clear silicon as seen below.
- 2.jpg (769.17 KiB) Viewed 2902 times

- 3.jpg (883.98 KiB) Viewed 2902 times
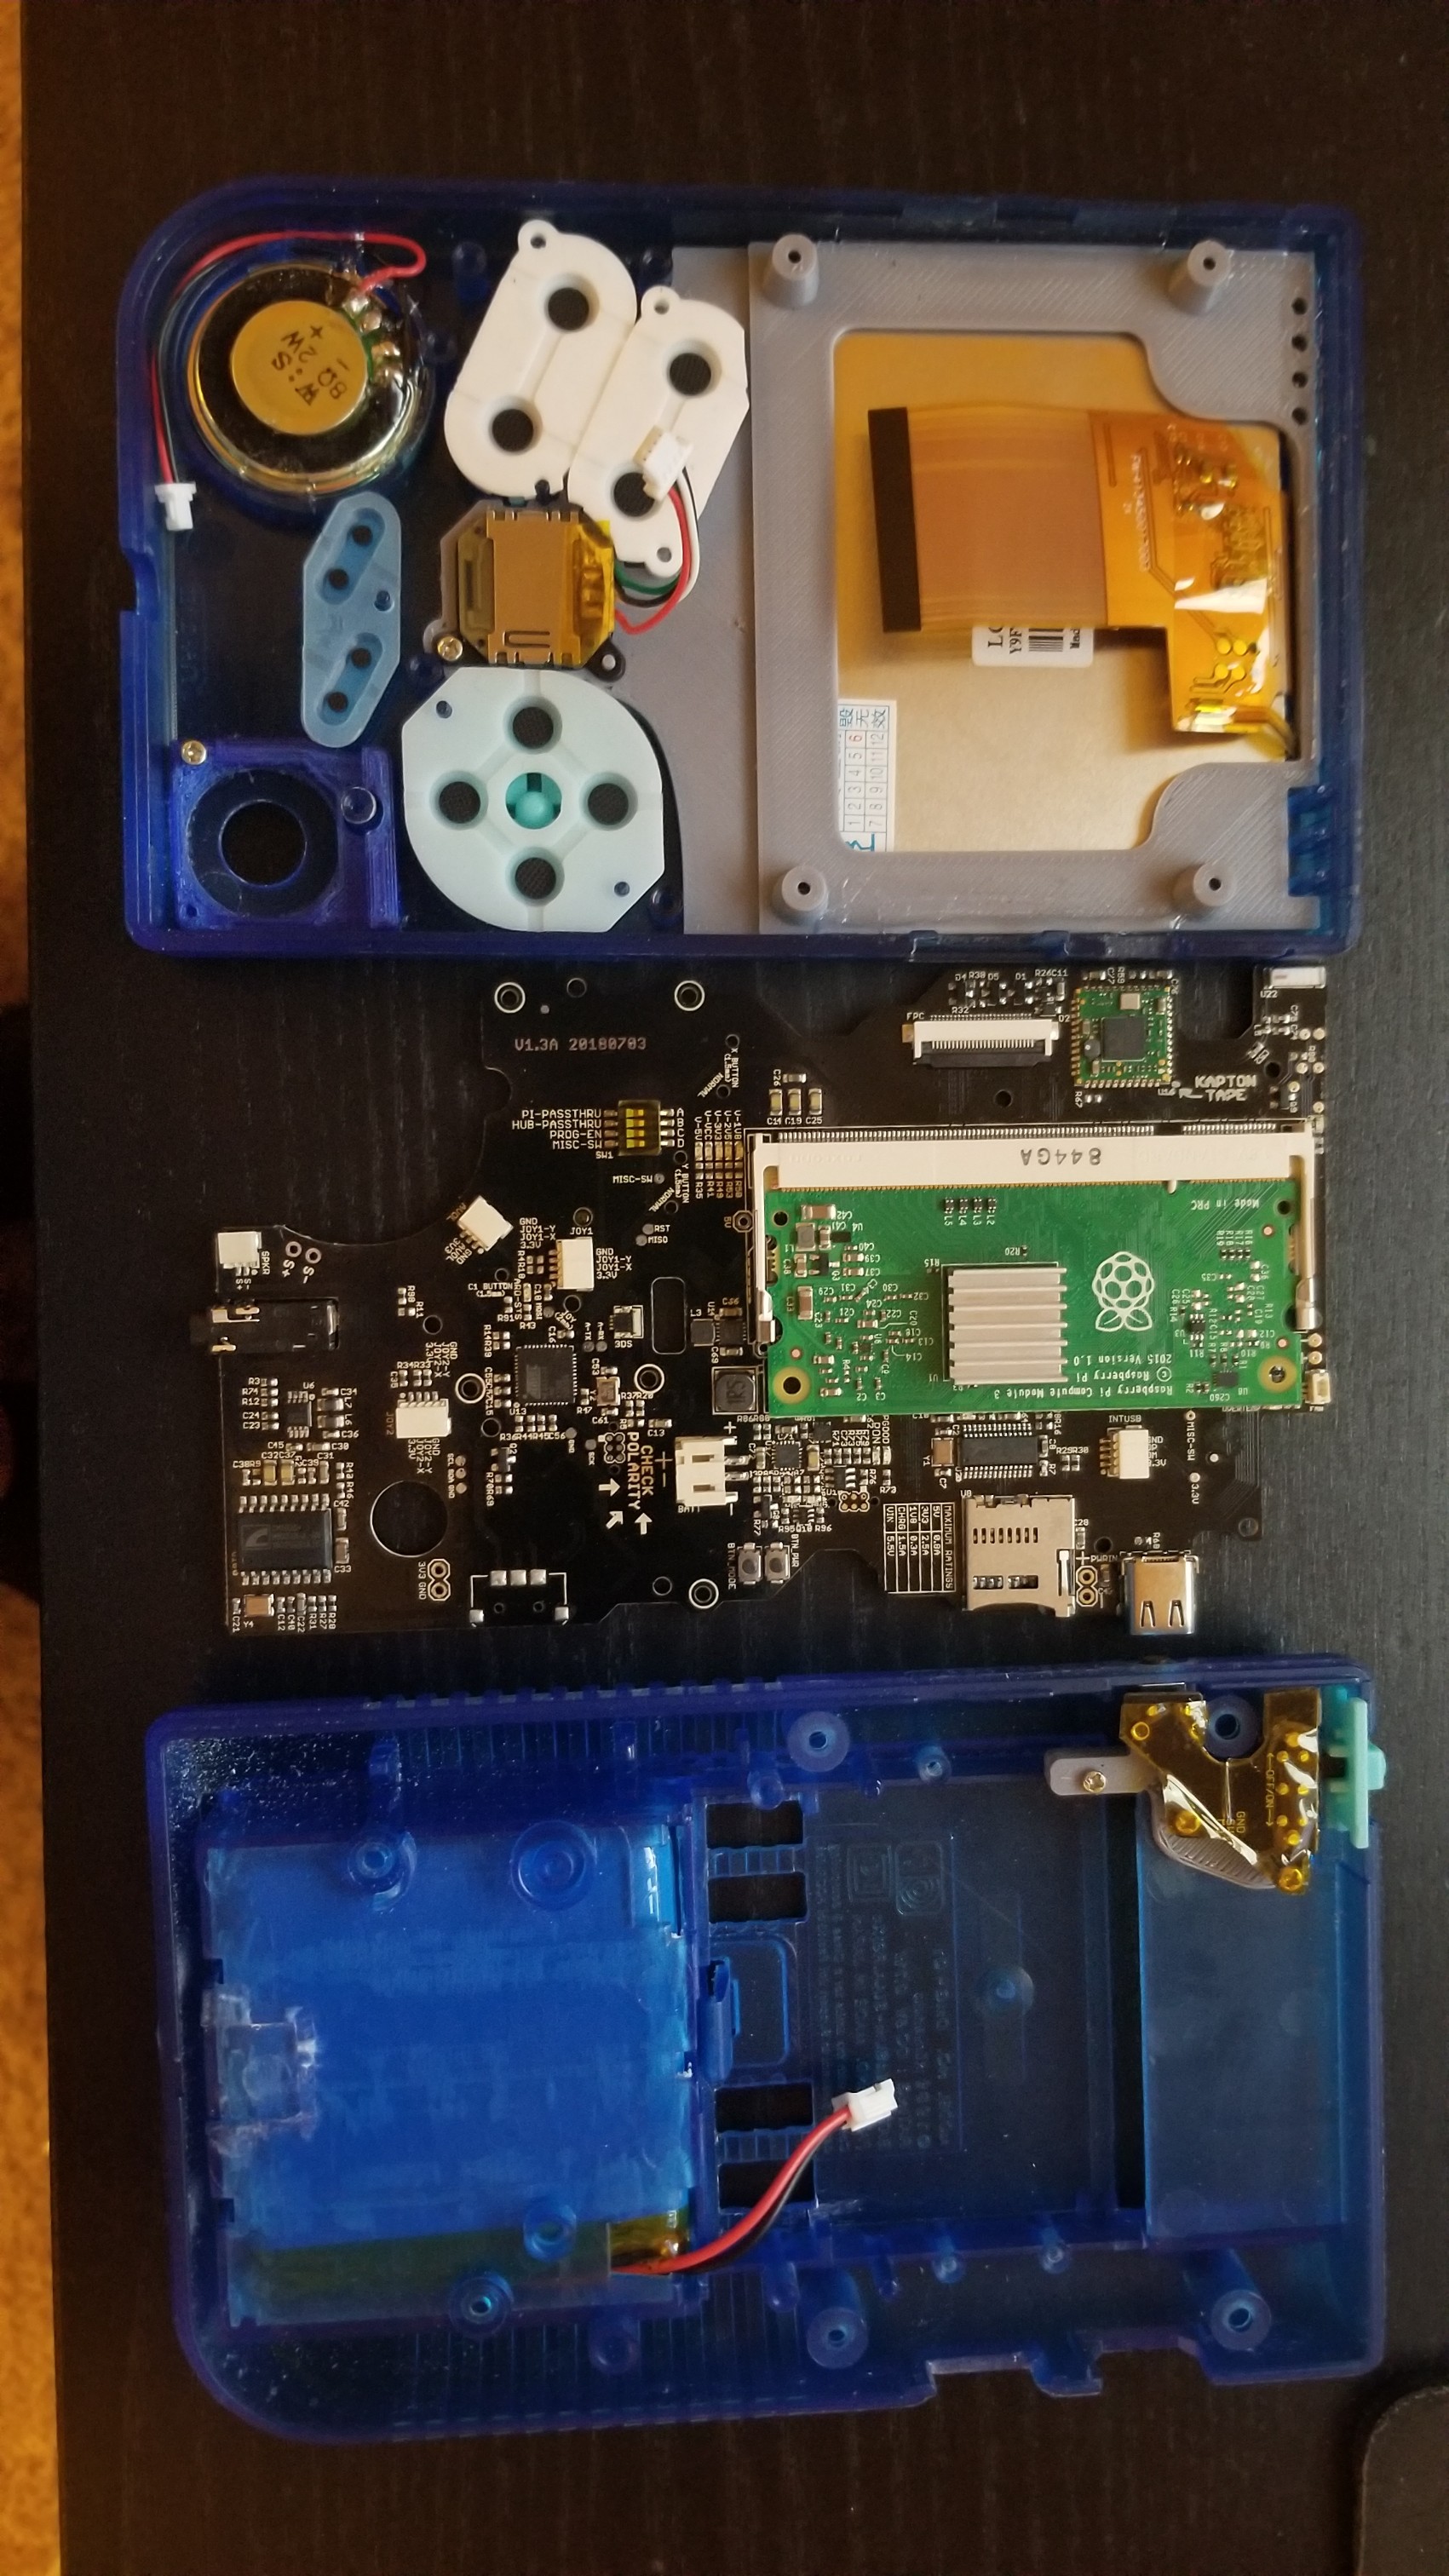
I then got everything mocked up to test fit and made sure everything lined up properly. and started connecting everything and siliconing pieces and wires in place.
- 5.jpg (926.6 KiB) Viewed 2902 times
- 6.jpg (767.9 KiB) Viewed 2902 times
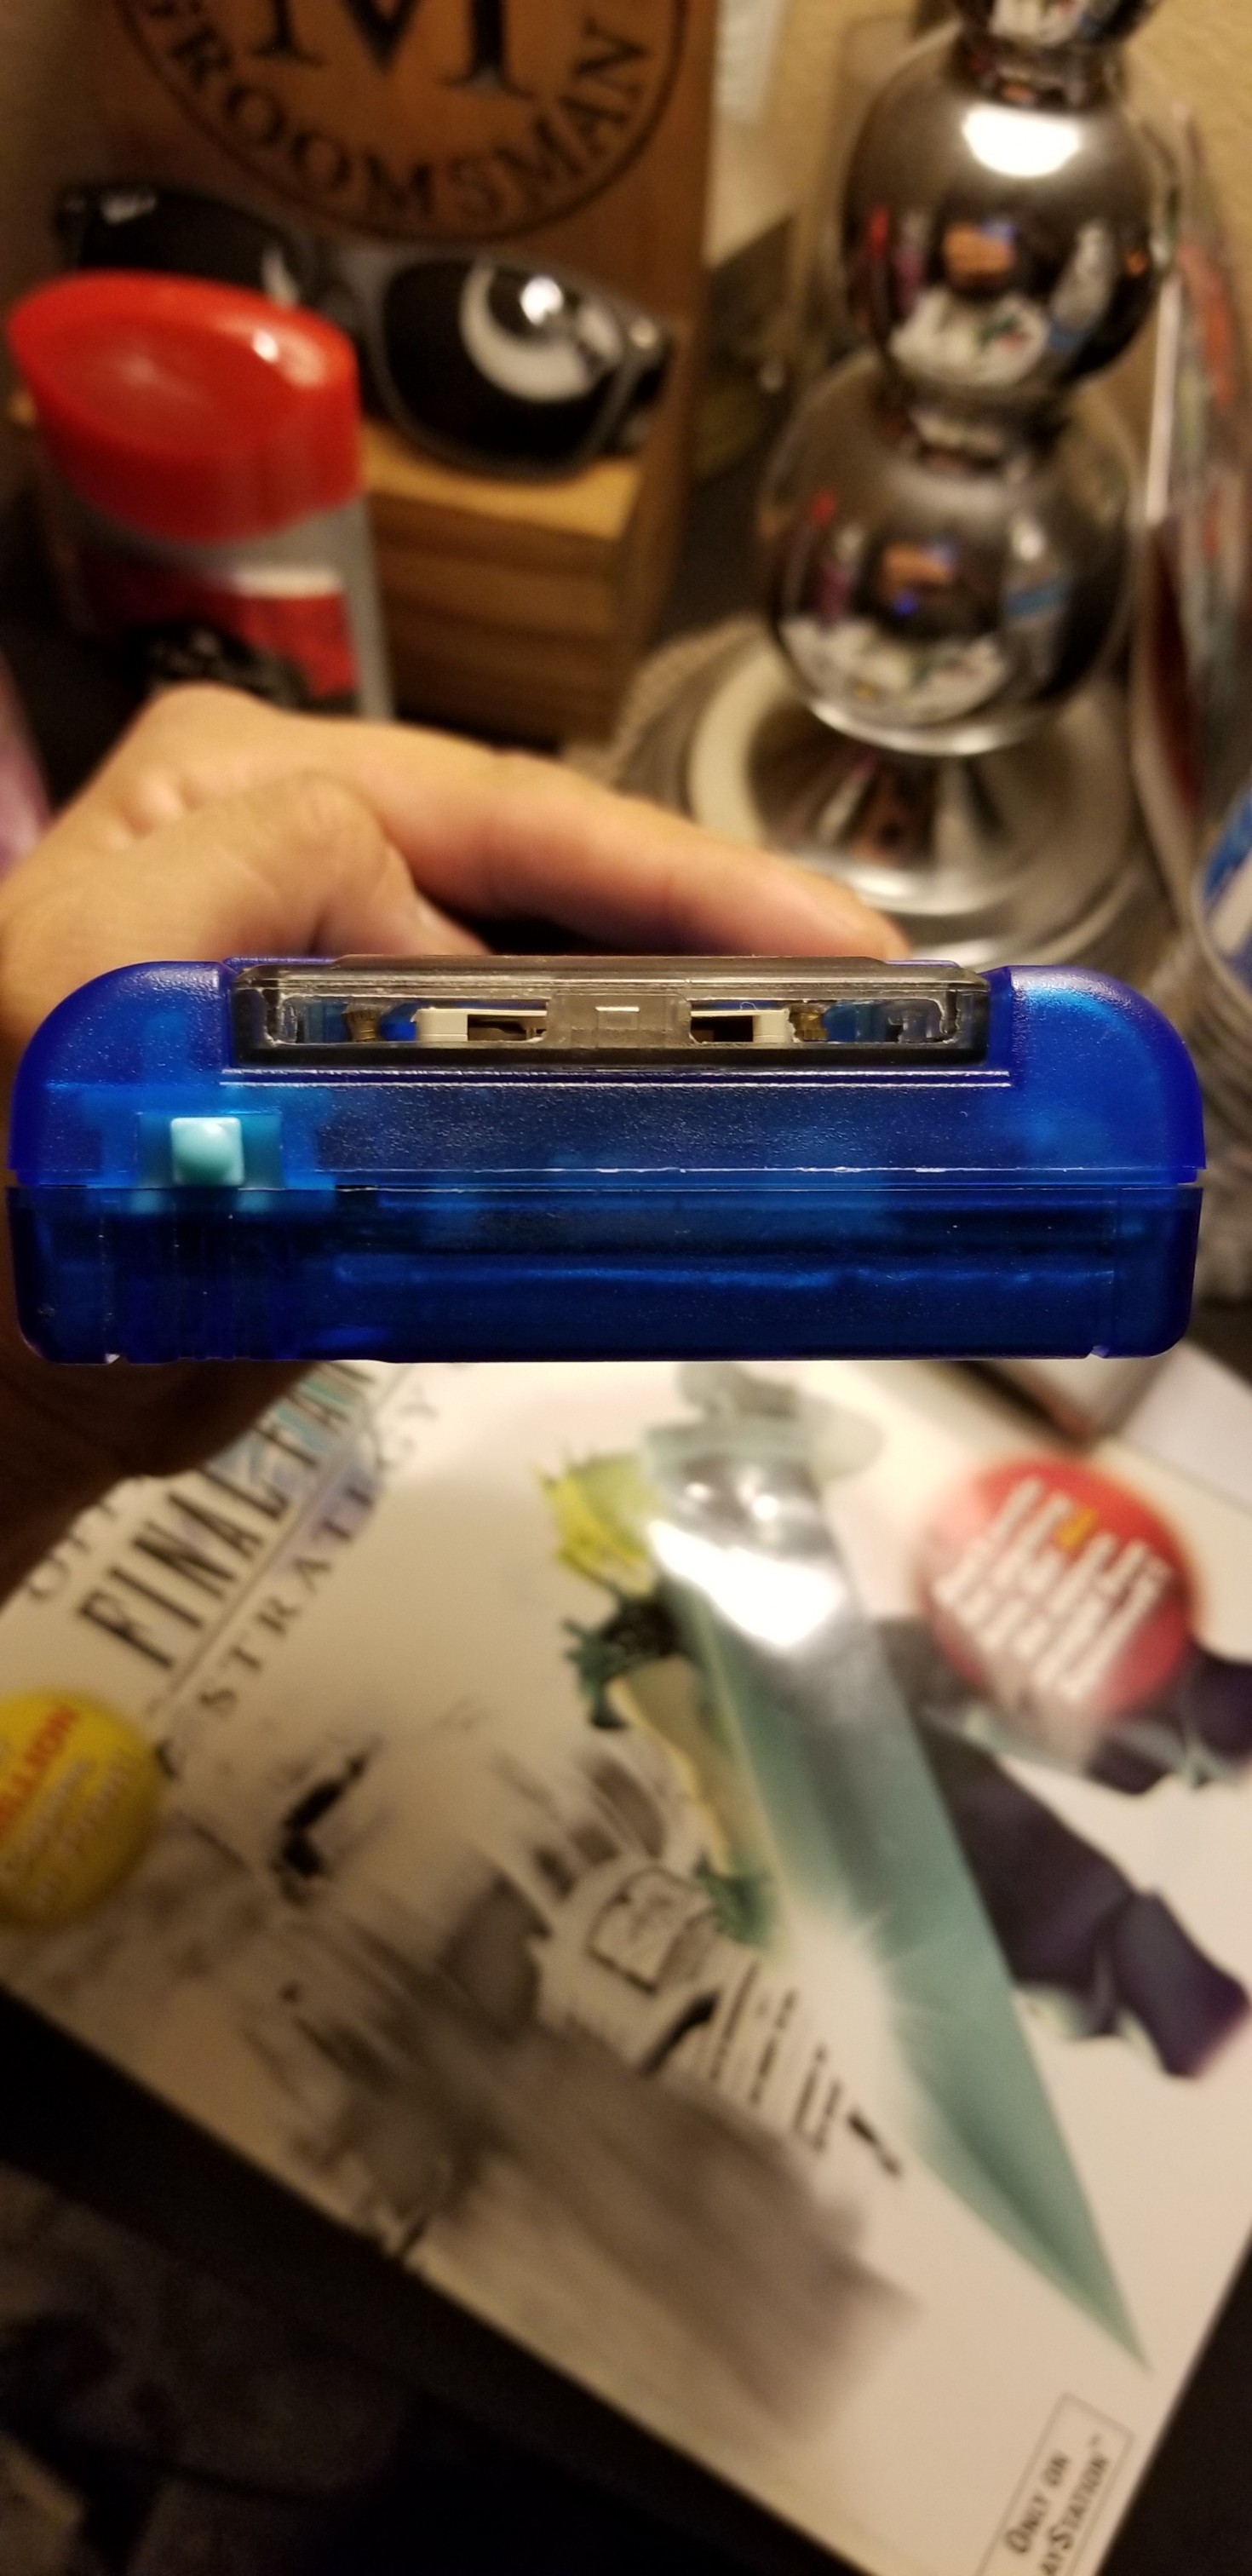
The next issue i had was figuring out how to get the back buttons to work with HoolyHoos back button pcb. i decided to go with rectangular buttons in the back so i had to carefully and painstakingly file out 4 rectangles on the back of the gameboy, once i finished i then ran into another problem of the buttons having a gap between them and the soft tactile buttons which are provided with hoolyhoos kit so i printed out some spacers and glued them to the back of my rectangular buttons and it worked like a charm.

- 7.jpg (736.73 KiB) Viewed 2902 times
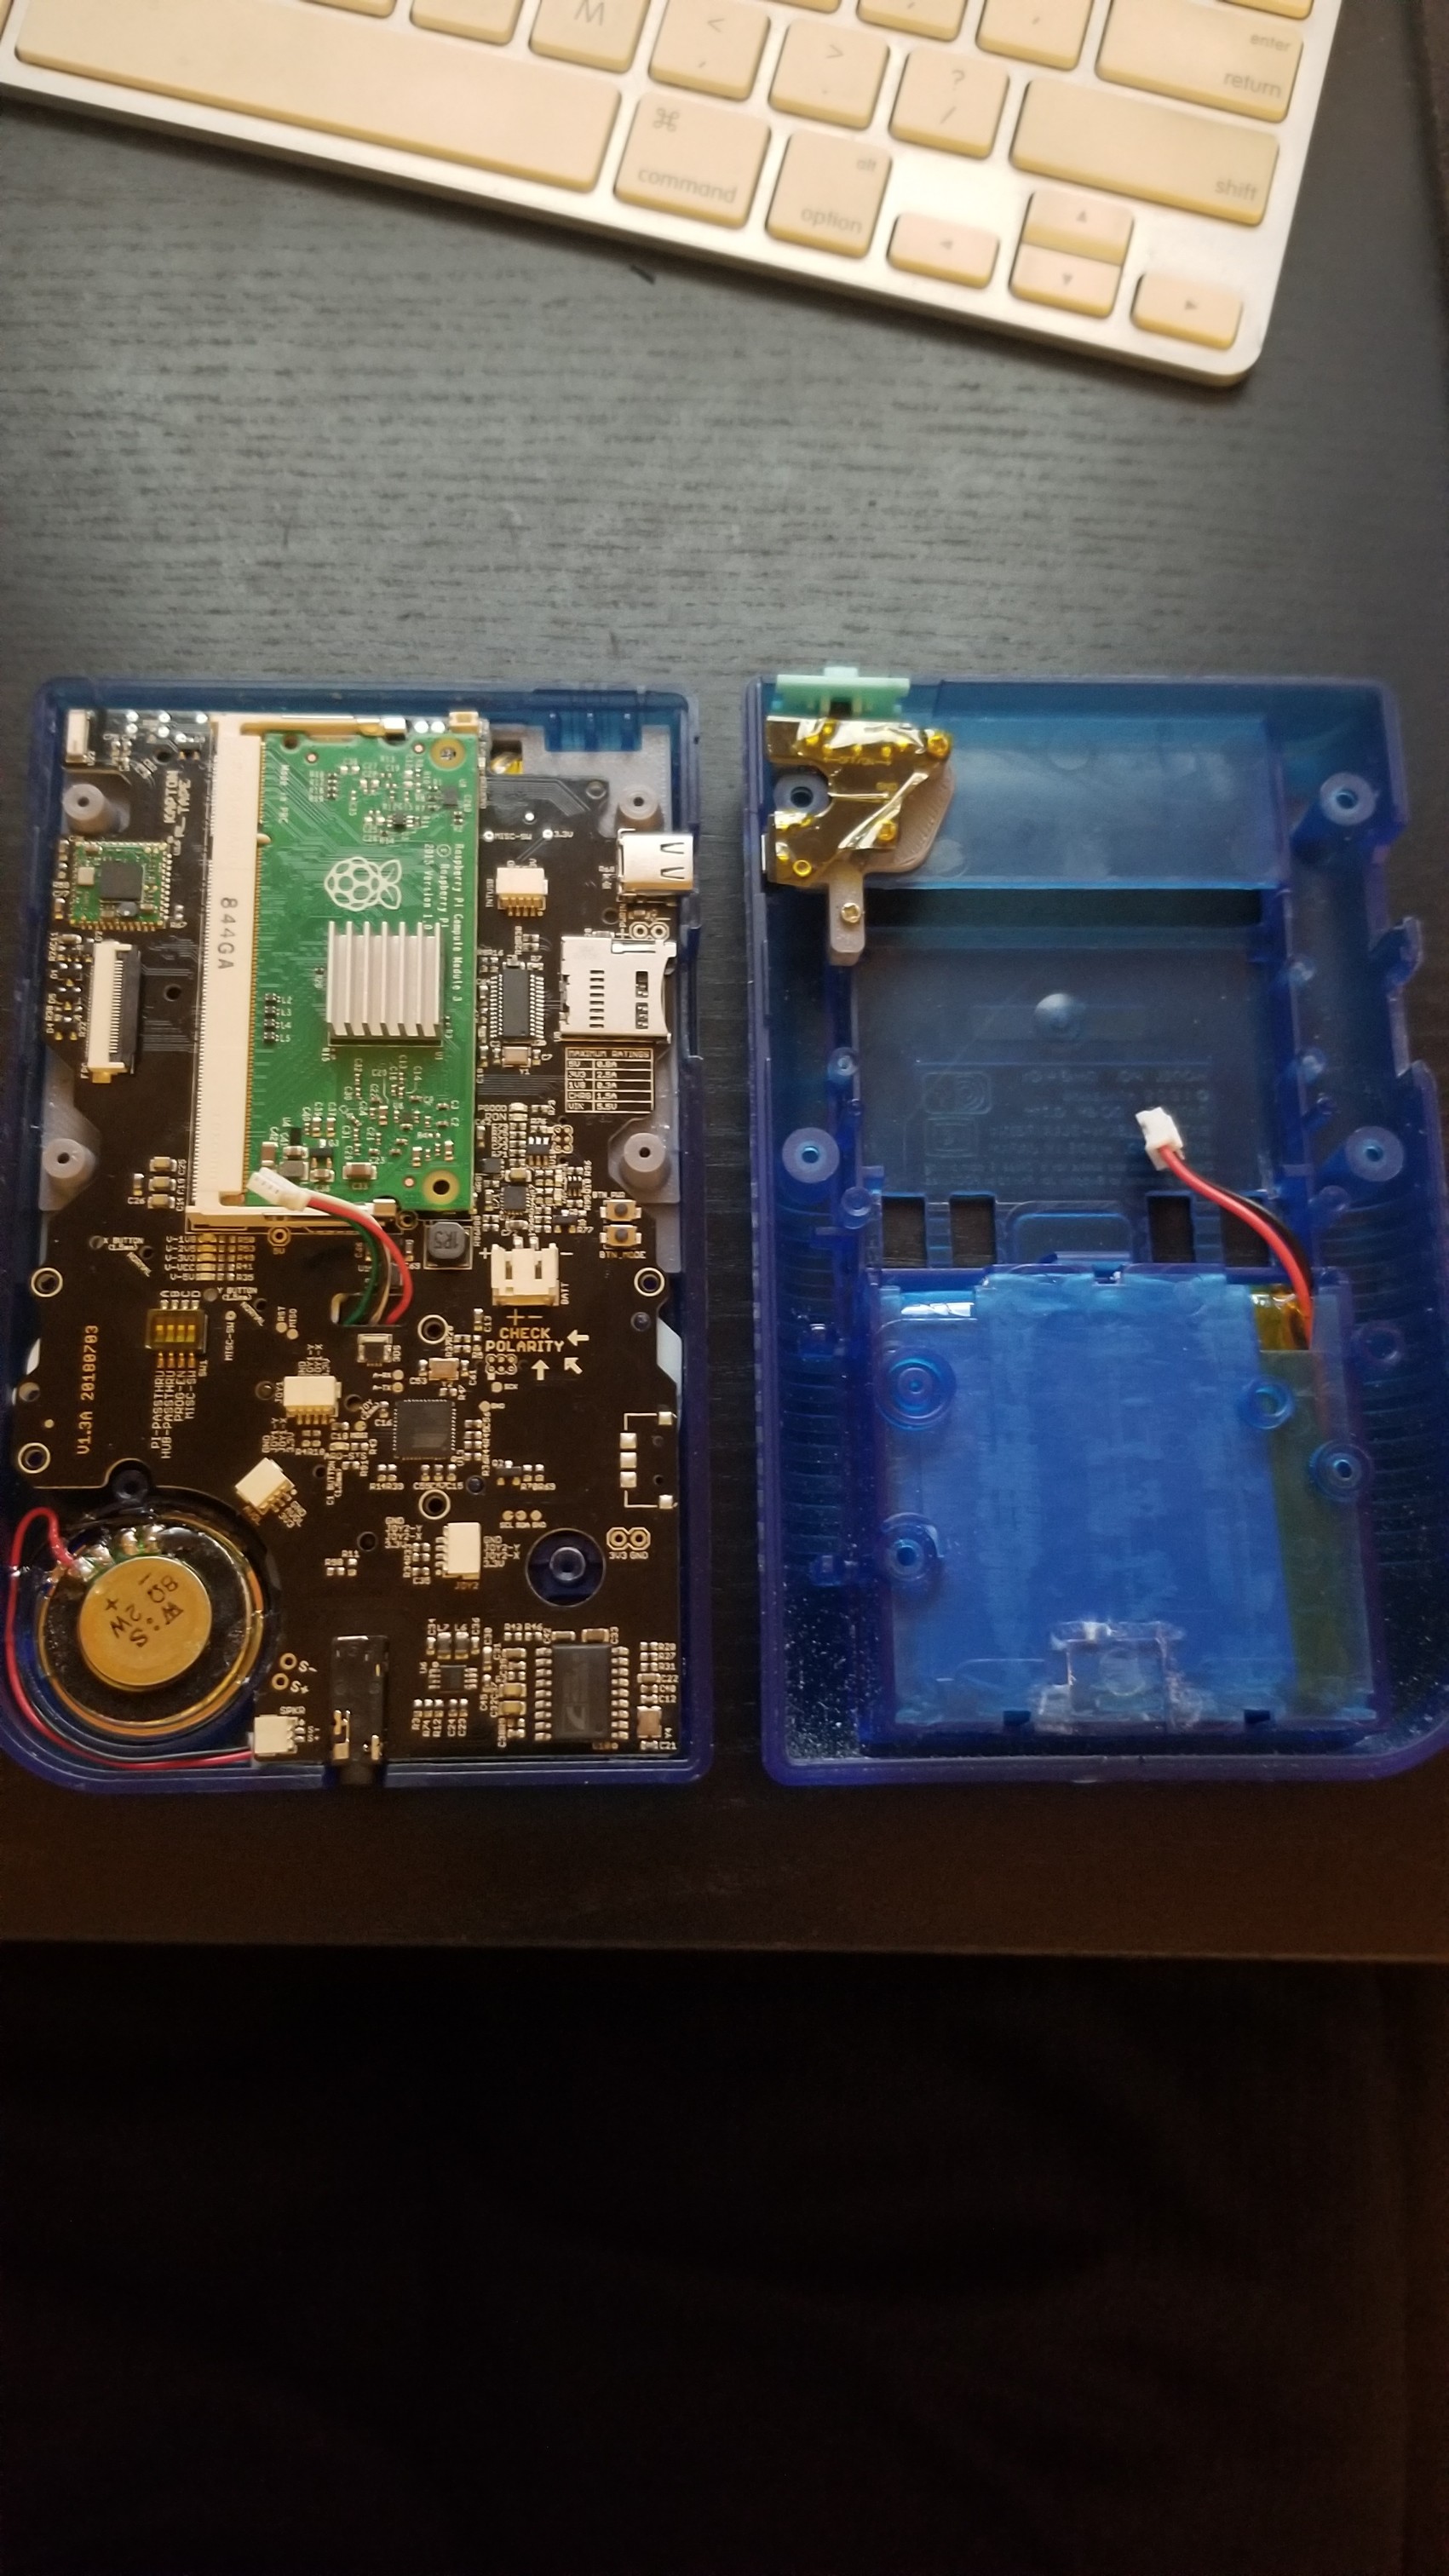
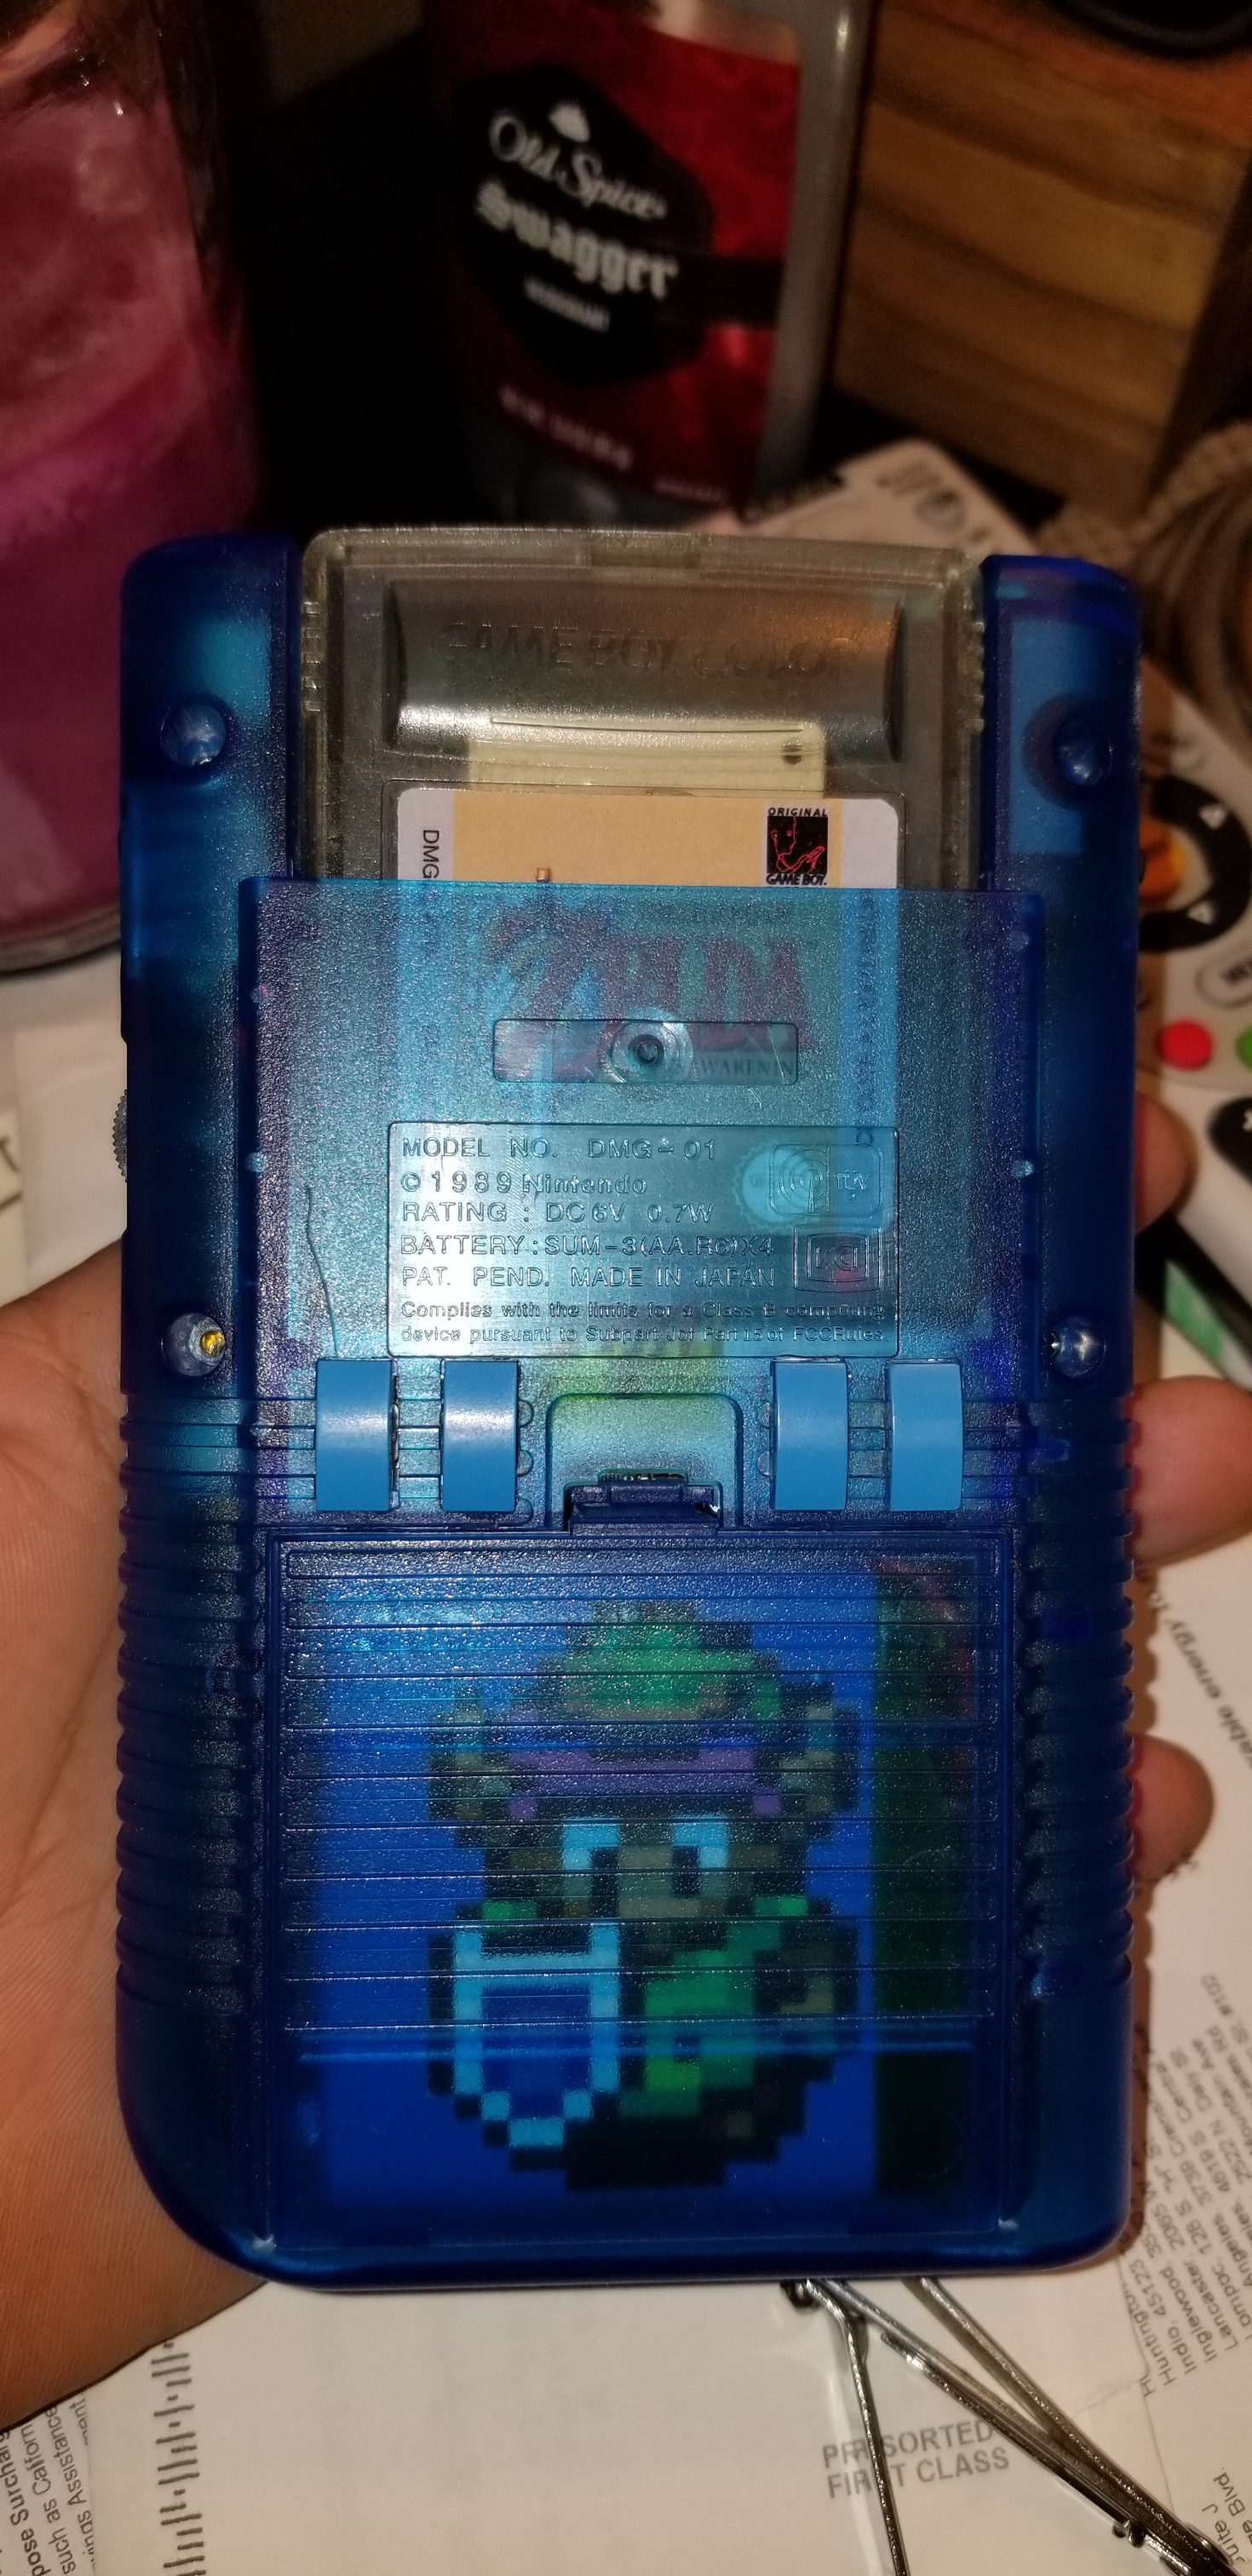
After that everything was good to go, except for the gameboy cartridge. I ended up looking through my collection and found an old Game Boy Color cartridge which had a pretty beat up sticker on it (it was a wwf game) so i decided to tear that one down and throw my fan into it. i proceeded to use the silicon to glue it in place and drilled a hole for the fan and also the wire to go through and also filed off vent holes in the top of it. I decided to go with a zelda theme so i ended up buying a zelda links awakening sticker and threw it on there to cover up the fan. i then made two holes through the gameboy and the back of the cartridge to screw the game in place

- 9.jpg (957.65 KiB) Viewed 2902 times
- Attach0.jpg (569.52 KiB) Viewed 2896 times
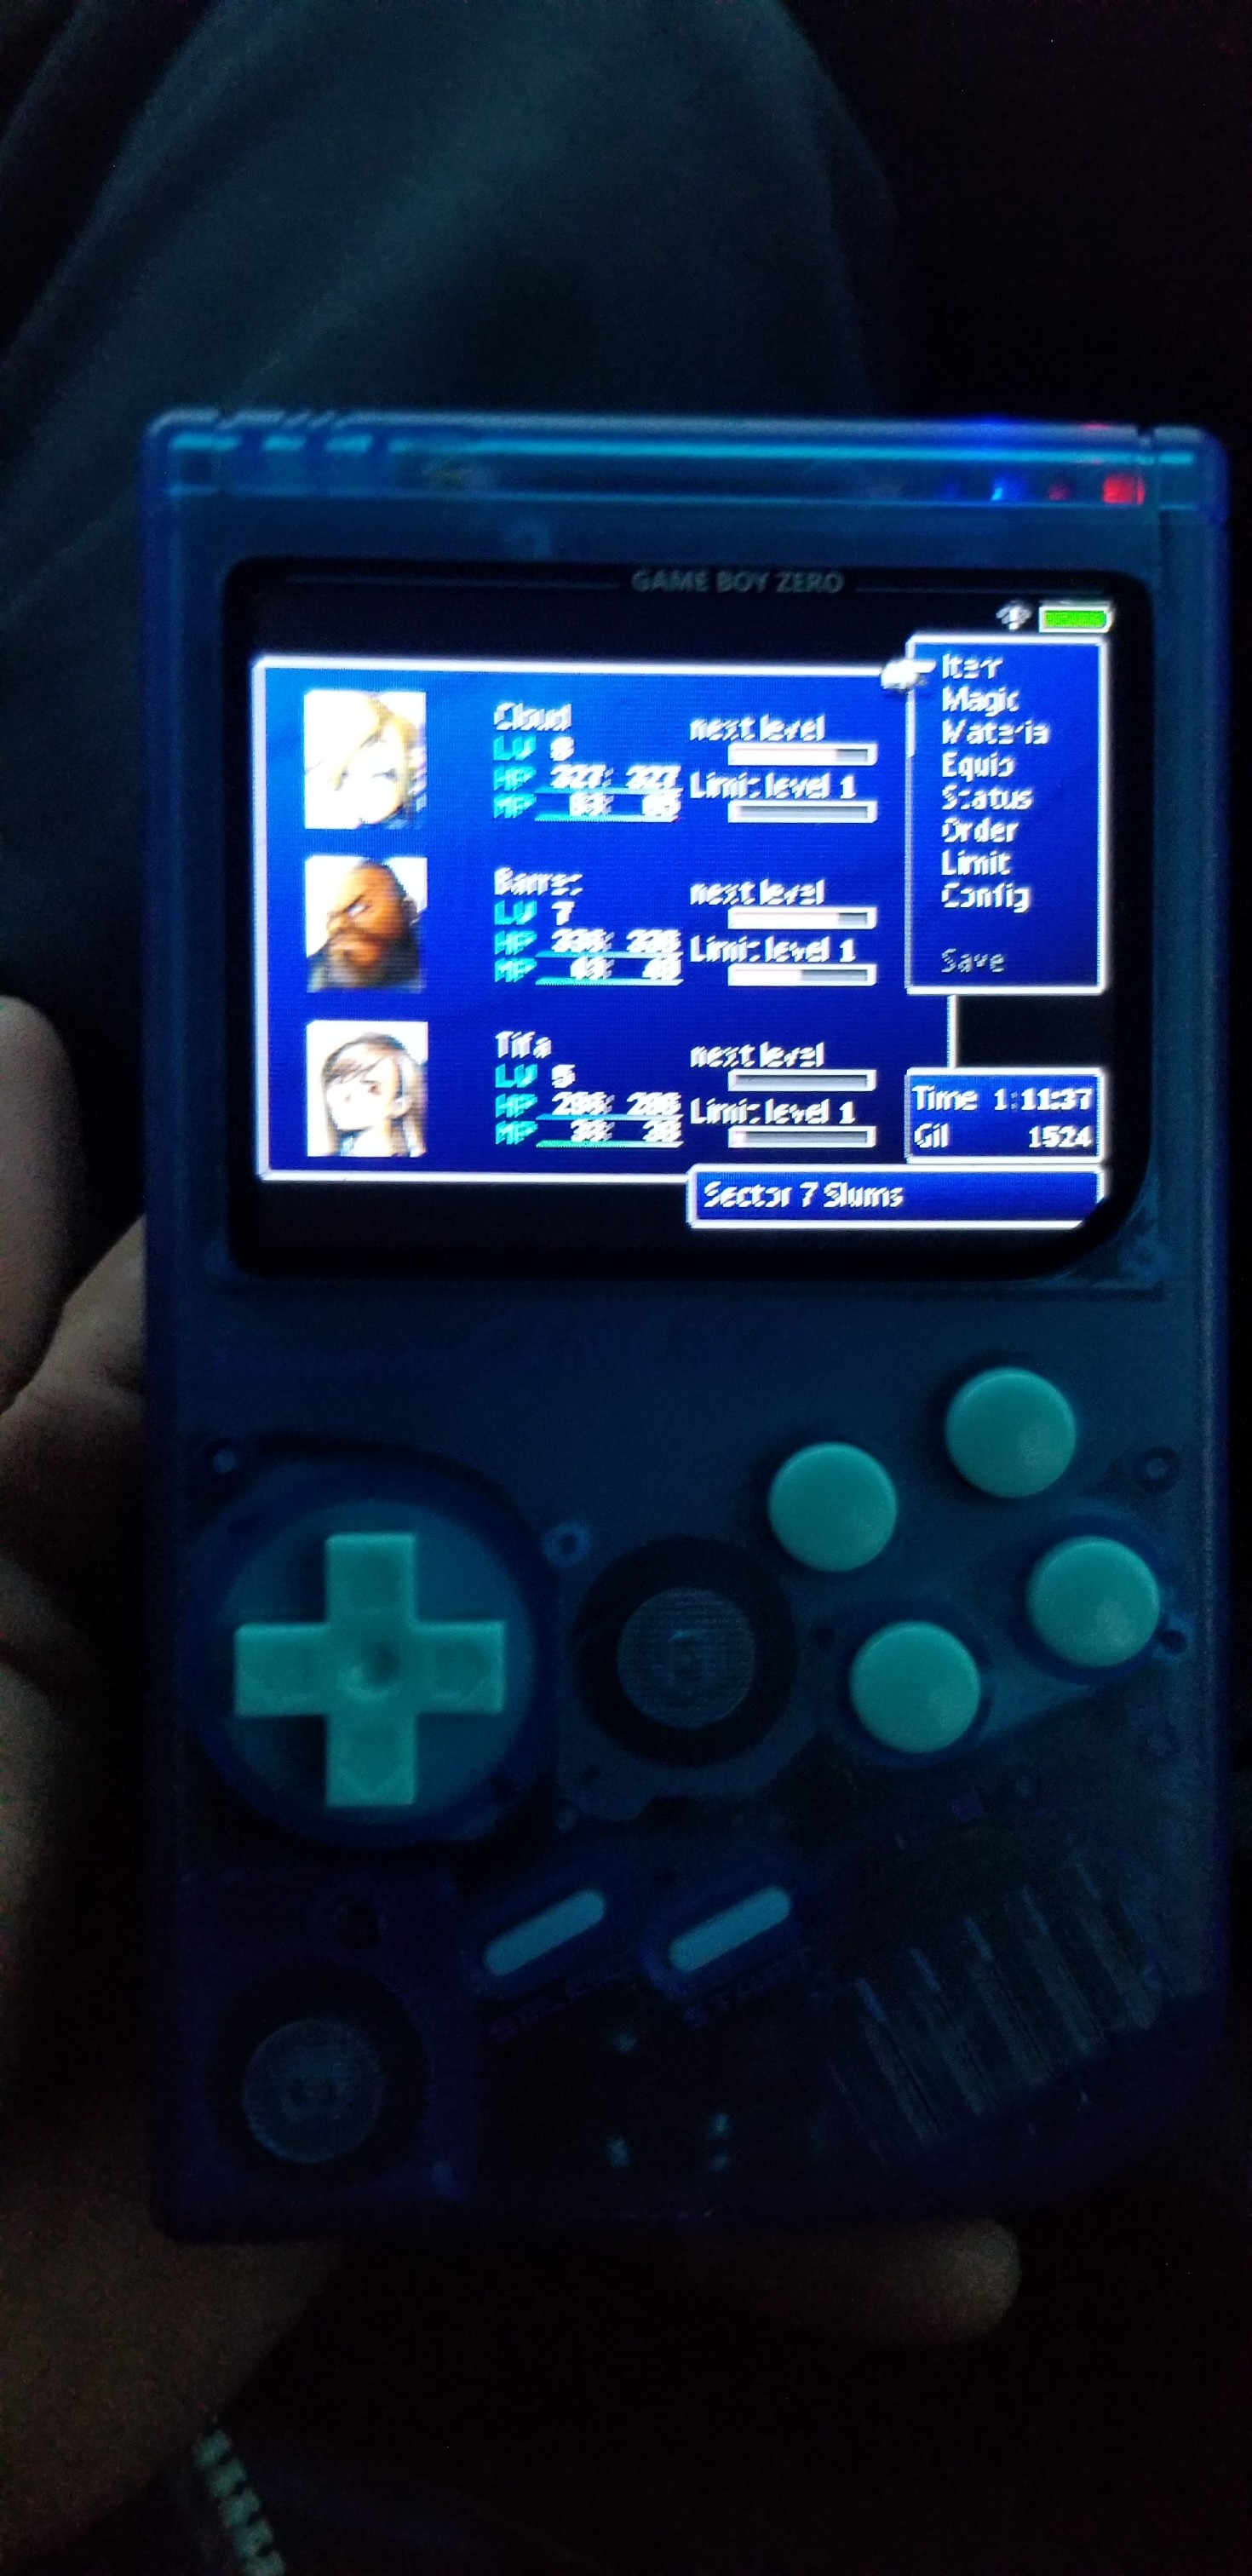
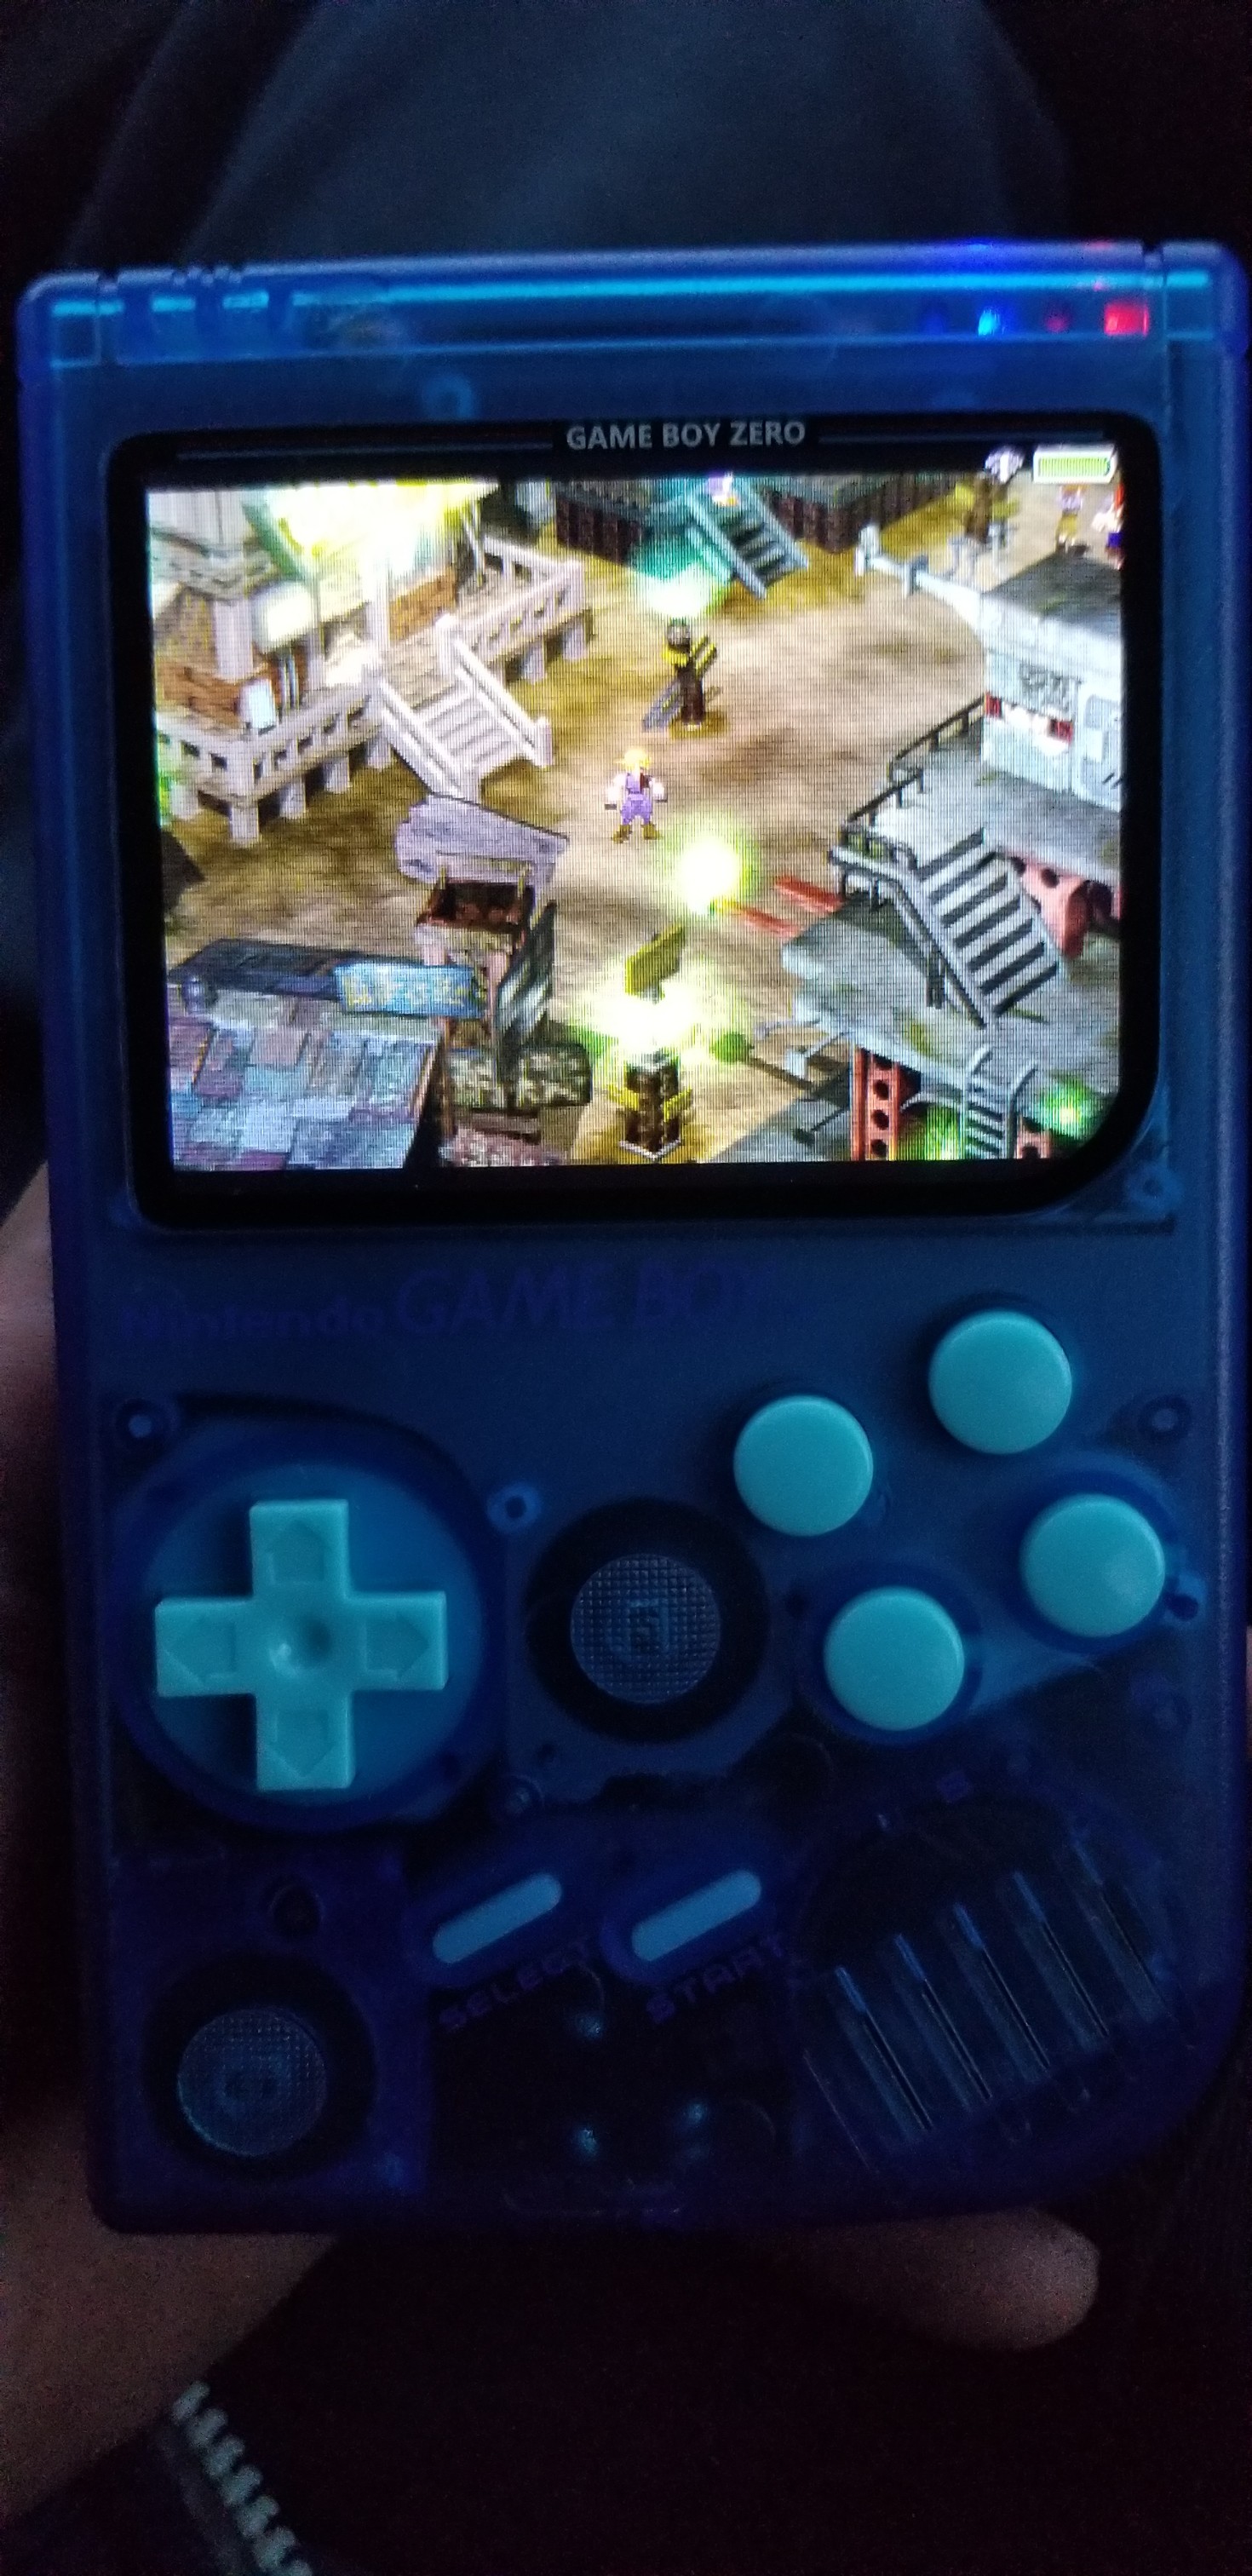
i originally wanted to do a more thorough build thread but realized i didn't take as many pictures as i would have liked so heres my last picture of it put together and running. As you can tell with all the filing i had to do by hand i put a small scratch next to my R1 button =[
- 10.jpg (953.02 KiB) Viewed 2902 times
- Attach0-15.jpg (641.45 KiB) Viewed 2902 times
- Attach0-12.jpg (818.98 KiB) Viewed 2902 times
