Page 1 of 3

Arduino Leonardo pro micro

Posted: Tue Jul 25, 2017 2:18 am
by lotusalex2000
Hello Community,
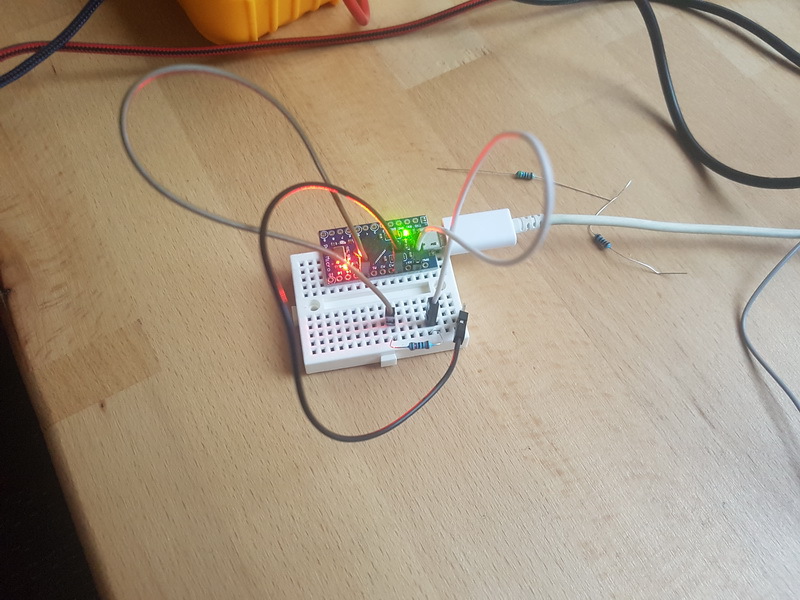
i try to use the Arduino Leonardo pro micro for the Buttons and i want to show you the first results.
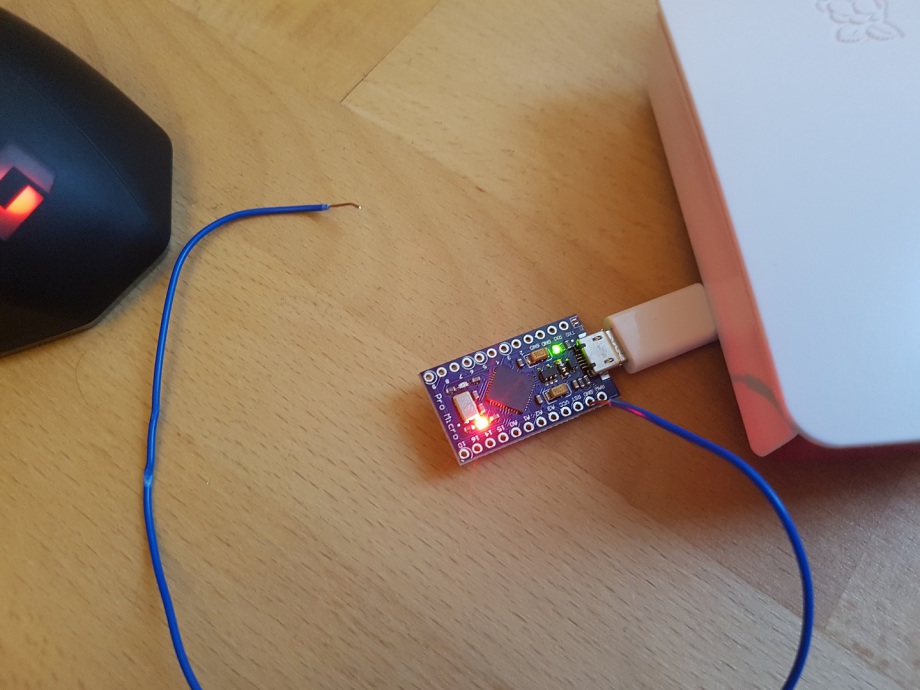
The Arduino Leonardo pro micro have a Atmega 32U4 CHip and you get it from Ebay for 3Euro
Image

At first i use the Guide from Helder to flash the chip with Arduino Tool for Windows, with the files from Helder.
http://www.sudomod.com/forum/viewtopic.php?f=25&t=1176

The only different ist, that the device ist not the SParkfun pro Micro. Windows 10 find the Arduino Leonardo.
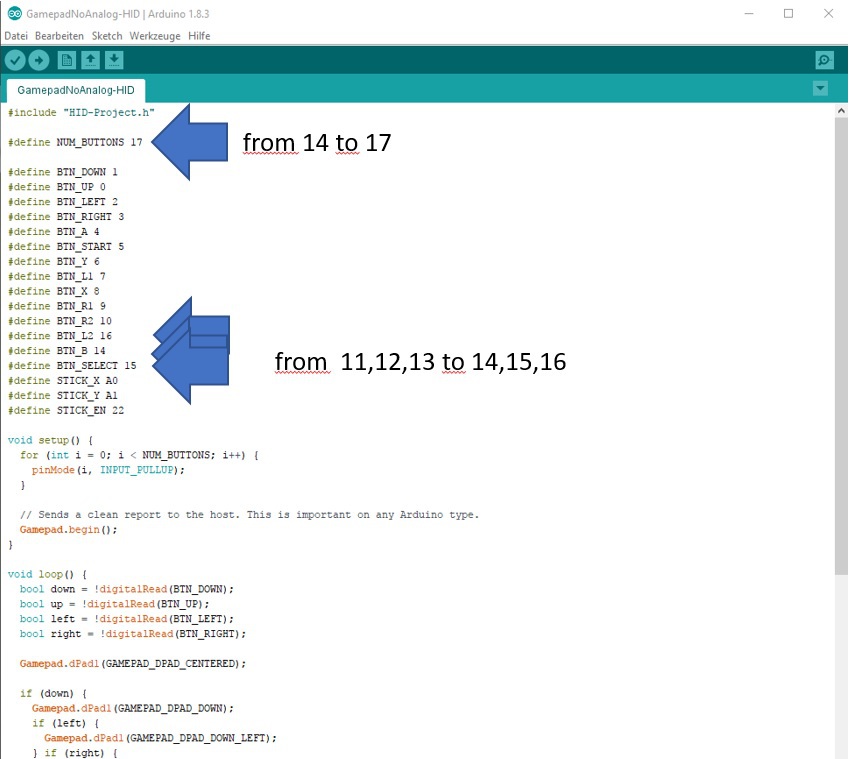
I Install Arduino 1.8... from the Hompage, Install the missing Library. Then set as Board the Arduino Leonardo.
Then i Use the Hexfile from Helders Guide and i flash the device.

Now its time for a Test.
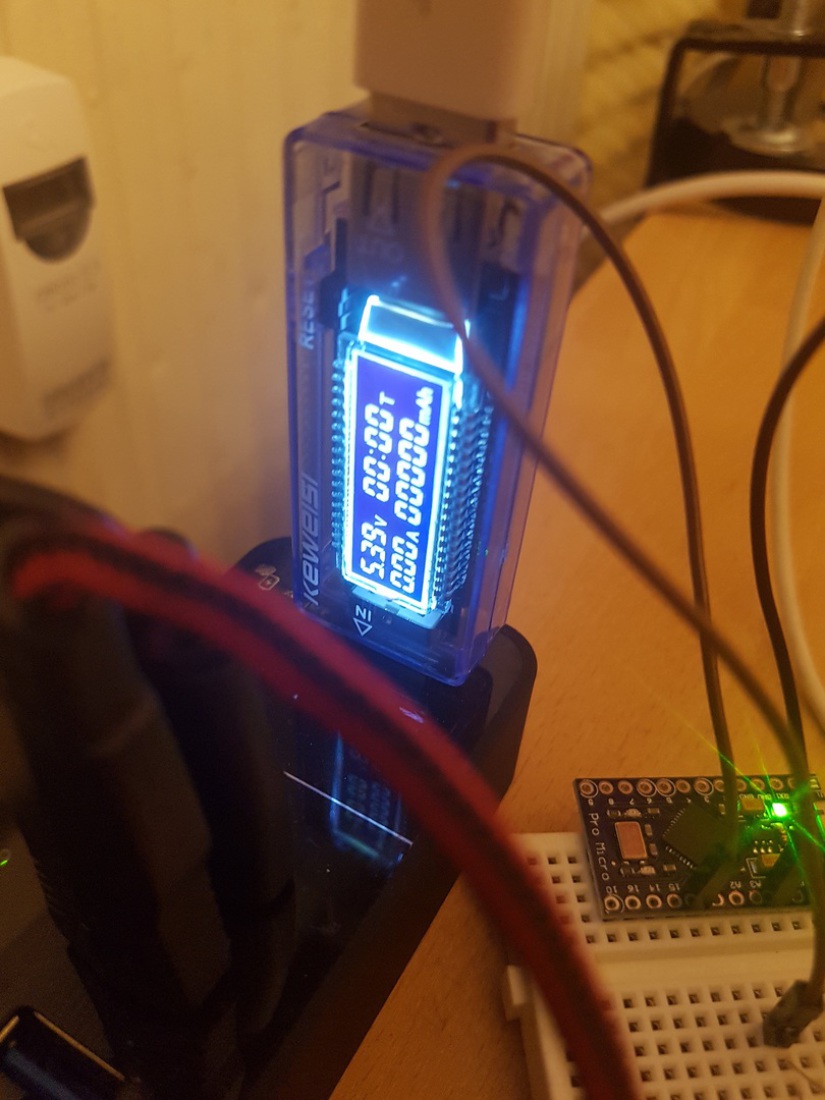
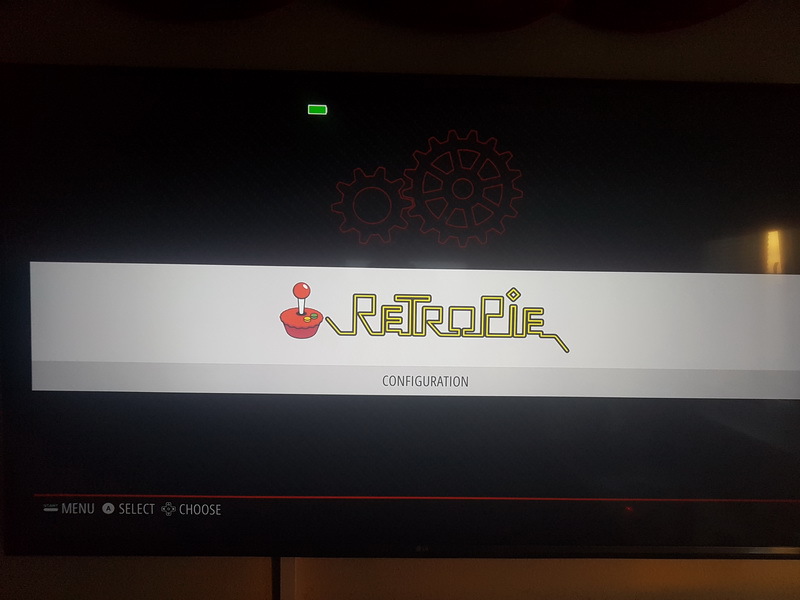
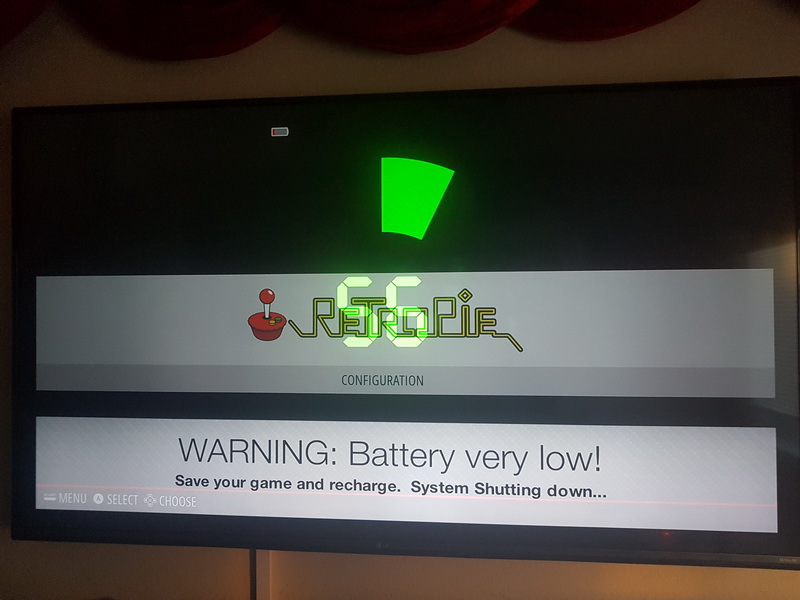
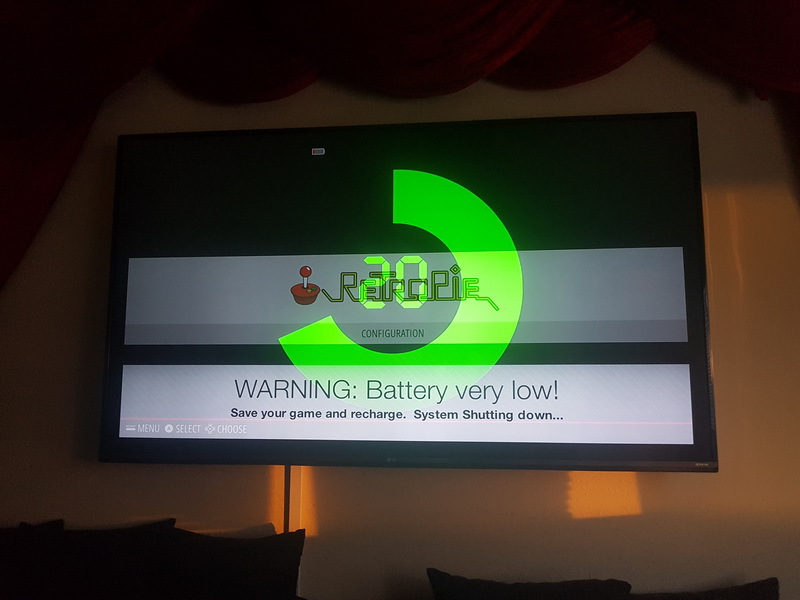
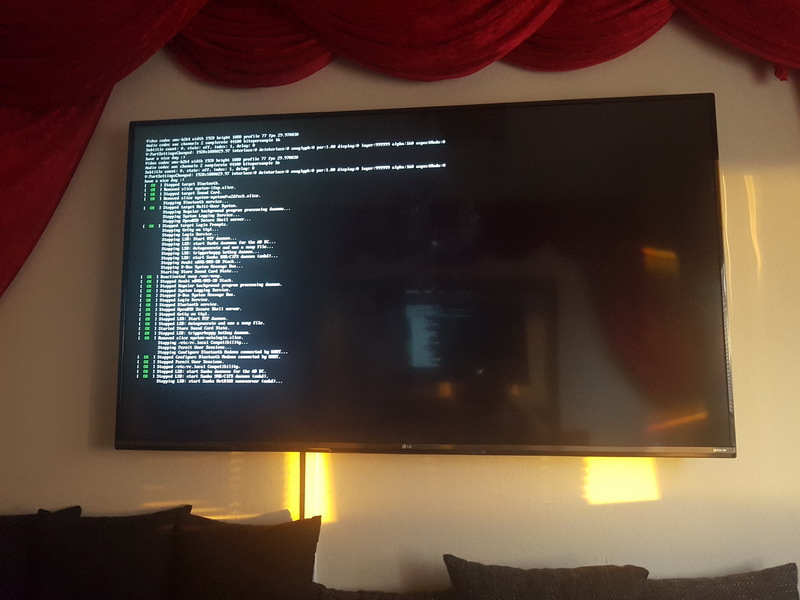
I start my Pi3 with retropi and put the device on the USB.
Image
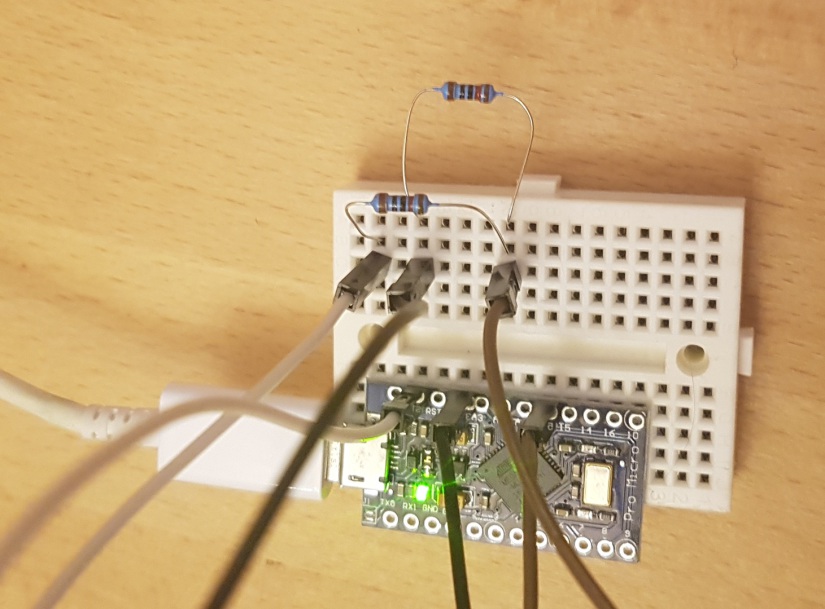
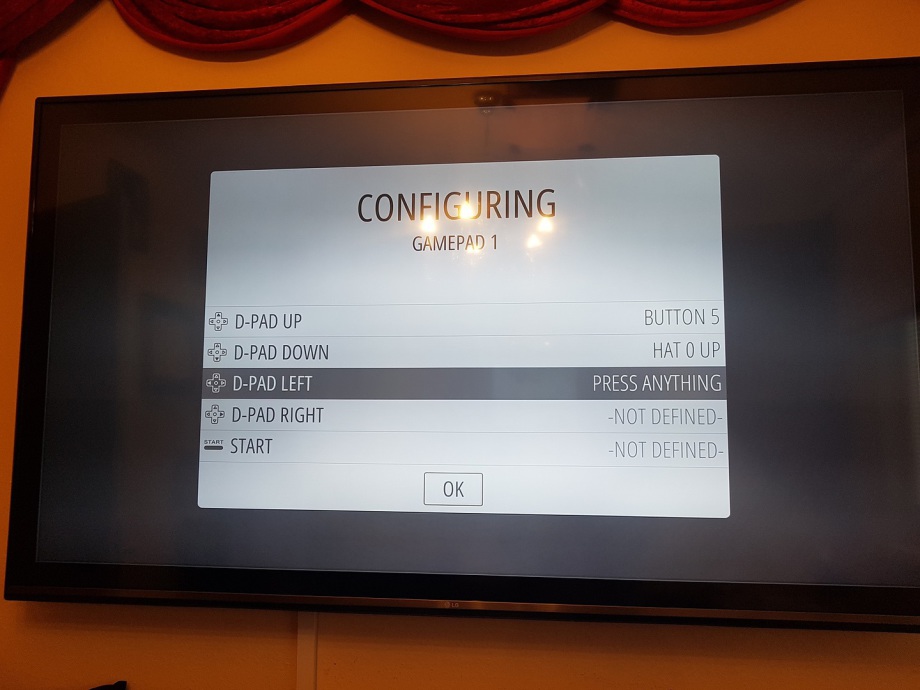
The device was detectet and i try to use the buttons with a short cable from GND to the Buttons.
Image

It works :D
Image

Re: Arduino Leonardo pro micro

Posted: Tue Jul 25, 2017 6:07 am
by abrugsch
congrats!
there is also a guide: http://www.sudomod.com/forum/viewtopic.php?f=22&t=1766 and there's another one with all the teensy alternatives somewhere but I can't find it right now...
edit: here it is:
http://www.sudomod.com/forum/viewtopic.php?f=22&t=747

Re: Arduino Leonardo pro micro

Posted: Wed Jul 26, 2017 2:04 pm
by lotusalex2000
Now I make a test with all Pins and the Problem was, that pin 16,14,15 not work.

I need to change the GamepadNoAnalog-HID File.
Image
I send it to the Leonardo and it works with all Pins that i need. :D

Re: Arduino Leonardo pro micro

Posted: Thu Jul 27, 2017 2:48 pm
by lotusalex2000
Today, I change the Code to integrade a Battery Monitor like the Game Gear LED.
If the battery goes under 4.5V it starts to blink. I use 10KOHm resistor.

Code: Select all

#include "HID-Project.h"
#define NUM_BUTTONS 17
#define BTN_UP 0
#define BTN_DOWN 1
#define BTN_LEFT 2
#define BTN_RIGHT 3
#define BTN_A 4
#define BTN_START 5
#define BTN_Y 6
#define BTN_L1 7
#define BTN_X 8
#define BTN_R1 9
#define BTN_B 10
#define BTN_SELECT 14


const int ledPin =  16; // I use Pin 16 for the LED
int ledState = LOW;

//In the loop is to blink in 1s a problem, because you can not use delay. We need a user time function.
unsigned long previousMillis = 0;
const long interval = 1000; 

void setup() 
{
pinMode(0, INPUT_PULLUP);
pinMode(1, INPUT_PULLUP);
pinMode(2, INPUT_PULLUP);
pinMode(3, INPUT_PULLUP);
pinMode(4, INPUT_PULLUP);
pinMode(5, INPUT_PULLUP);
pinMode(6, INPUT_PULLUP);
pinMode(7, INPUT_PULLUP);
pinMode(8, INPUT_PULLUP);
pinMode(9, INPUT_PULLUP);
pinMode(10, INPUT_PULLUP);
pinMode(14, INPUT_PULLUP);
pinMode(15, INPUT_PULLUP);
pinMode(16, OUTPUT);
Gamepad.begin();
Serial.begin(9600);  // Import to use the plotter from the arduino tool to test the Voltmeter
}

void loop() 
{
  bool down = !digitalRead(BTN_DOWN);
  bool up = !digitalRead(BTN_UP);
  bool left = !digitalRead(BTN_LEFT);
  bool right = !digitalRead(BTN_RIGHT);
  Gamepad.dPad1(GAMEPAD_DPAD_CENTERED);
  if(down) {
    Gamepad.dPad1(GAMEPAD_DPAD_DOWN);
    if(left) {
      Gamepad.dPad1(GAMEPAD_DPAD_DOWN_LEFT);
    }if(right) {
      Gamepad.dPad1(GAMEPAD_DPAD_DOWN_RIGHT);
    }
  }else if(up) {
    Gamepad.dPad1(GAMEPAD_DPAD_UP);
    if(left) {
      Gamepad.dPad1(GAMEPAD_DPAD_UP_LEFT);
    }if(right) {
      Gamepad.dPad1(GAMEPAD_DPAD_UP_RIGHT);
    }
  }else if(left) {
    Gamepad.dPad1(GAMEPAD_DPAD_LEFT);
  }else if(right) {
    Gamepad.dPad1(GAMEPAD_DPAD_RIGHT);
  }
  
  for(int i = 4; i <16; i++) 
{
    if(!digitalRead(i)) {
   Gamepad.press(i);
    }else {
      Gamepad.release(i);
    }
  }


  Gamepad.write();
int sensorValue = analogRead(A0); // read the input on analog pin 0:
//Serial.println(sensorValue); // print out the value you read, later to use it for the PI
float voltage = sensorValue * (4.88 / 1023.00); // 4.88 is only to test. you need her the max Voltage of your battery
Serial.println(voltage); // print out the voltage

if (voltage > 4.5) 
 {
 digitalWrite(16, HIGH); // LED is on if the voltage is high
 }
else
{
  unsigned long currentMillis = millis(); //LED blink
  if (currentMillis - previousMillis >= interval) {
    previousMillis = currentMillis;
    if (ledState == LOW) {
      ledState = HIGH;
    } else {
      ledState = LOW;
    }
    digitalWrite(ledPin, ledState);
}
  }
  delay(10);
}

Re: Arduino Leonardo pro micro

Posted: Thu Jul 27, 2017 11:01 pm
by lotusalex2000
The board
Image

If you put nothing on the analog pin, you get this signal! My Voltmeter Code sends a roller coaster between 0 and 4.88V on the Ardunio Seriel Plotter.
Now i know ,why helder make two versions of the flash file.
Image
The next questen was: Is the power consumtion of the Arduino Leonardo high?
I check it, with an USB Voltmeter. It is under 0.005A.
Image

Re: Arduino Leonardo pro micro

Posted: Fri Jul 28, 2017 1:56 am
by abrugsch
lotusalex2000 wrote:
Thu Jul 27, 2017 11:01 pm
I check it, with an USB Voltmeter. It is under 0.005A.
you probably need a more accurate multimeter for such a low power draw.

Re: Arduino Leonardo pro micro

Posted: Fri Jul 28, 2017 1:01 pm
by lotusalex2000
yes you are right ;-)

Re: Arduino Leonardo pro micro

Posted: Fri Jul 28, 2017 1:17 pm
by lotusalex2000
Today i make some change at the code to get my Arduino Leonardo work with OSD Battery Monitor from HoolyHoo

Great work Hoolyhoo !!!!!!!!!!

http://www.sudomod.com/forum/viewtopic.php?f=22&t=2970

OSD Battery Monitor from HoolyHoo


You see the Symbol at the TV
Image

The Arduino Leonardo
Image
Now i change from VCC 10KOHM A0 conection to GND 10KOHM A0 and thze animation start :-)
Image
Image
It start to shut down
Image

and it is out
Image

The Code is now:

Code: Select all

#include "HID-Project.h"

#define NUM_BUTTONS 17

#define BTN_UP 0
#define BTN_DOWN 1
#define BTN_LEFT 2
#define BTN_RIGHT 3
#define BTN_A 4
#define BTN_START 5
#define BTN_Y 6
#define BTN_L1 7
#define BTN_X 8
#define BTN_R1 9
#define BTN_B 10
#define BTN_SELECT 14

const int ledPin =  16;
int ledState = LOW;
unsigned long previousMillis = 0;
const long interval = 1000;
char i;

void setup() 
{
pinMode(0, INPUT_PULLUP);
pinMode(1, INPUT_PULLUP);
pinMode(2, INPUT_PULLUP);
pinMode(3, INPUT_PULLUP);
pinMode(4, INPUT_PULLUP);
pinMode(5, INPUT_PULLUP);
pinMode(6, INPUT_PULLUP);
pinMode(7, INPUT_PULLUP);
pinMode(8, INPUT_PULLUP);
pinMode(9, INPUT_PULLUP);
pinMode(10, INPUT_PULLUP);
pinMode(14, INPUT_PULLUP);
pinMode(15, INPUT_PULLUP);
pinMode(16, OUTPUT);
Gamepad.begin();
Serial.begin(115200);  
}

void loop() 
{
  bool down = !digitalRead(BTN_DOWN);
  bool up = !digitalRead(BTN_UP);
  bool left = !digitalRead(BTN_LEFT);
  bool right = !digitalRead(BTN_RIGHT);
  Gamepad.dPad1(GAMEPAD_DPAD_CENTERED);
  if(down) {
    Gamepad.dPad1(GAMEPAD_DPAD_DOWN);
    if(left) {
      Gamepad.dPad1(GAMEPAD_DPAD_DOWN_LEFT);
    }if(right) {
      Gamepad.dPad1(GAMEPAD_DPAD_DOWN_RIGHT);
    }
  }else if(up) {
    Gamepad.dPad1(GAMEPAD_DPAD_UP);
    if(left) {
      Gamepad.dPad1(GAMEPAD_DPAD_UP_LEFT);
    }if(right) {
      Gamepad.dPad1(GAMEPAD_DPAD_UP_RIGHT);
    }
  }else if(left) {
    Gamepad.dPad1(GAMEPAD_DPAD_LEFT);
  }else if(right) {
    Gamepad.dPad1(GAMEPAD_DPAD_RIGHT);
  }
  
  for(int i = 4; i <16; i++) 
{
    if(!digitalRead(i)) {
   Gamepad.press(i);
    }else {
      Gamepad.release(i);
    }
  }
  Gamepad.write();
int sensorValue = analogRead(A0); // read the input on analog pin 0:
//Serial.println(sensorValue); // print out the value you read
float voltage = sensorValue * (4.88 / 1023.00); 
//Serial.println(voltage);
if(Serial.available())
{
i=Serial.read();
}
if(i=='1')
{
Serial.println(sensorValue);
}
i='0';

if (voltage > 4.5) 
 {
 digitalWrite(16, HIGH);
 }
else
{
  unsigned long currentMillis = millis();
  if (currentMillis - previousMillis >= interval) {
    previousMillis = currentMillis;
    if (ledState == LOW) {
      ledState = HIGH;
    } else {
      ledState = LOW;
    }
    digitalWrite(ledPin, ledState);
}
  }
  delay(10);
}
You only need to flash your Arduino Leonardo micro Pro with the Code and install everithing from the guide from HoolyHoo!

Have Fun

Pin Out after Flash with arduinio over USB:
left site
PIN___Find at Gamepad detection____I use for
TXD__HAT 0 Down_______________Down
RXT__HAT 0 UP__________________UP
GND
GND
2____HAT 0 LEFT________________Left
3____HAT 0 RIGHT_______________Right
4____Button 3__________________A
5____Button 4 __________________Start
6____Button 5 __________________Y
7____Button 6 __________________L1
8____Button 7__________________X
9____Button 8__________________R1
right site
PIN__Find at Gamepad detection____I use for
raw
gnd
rst
vcc
A3
A2
A1
A0 used for Voltmeter with 10KOhm
15___Button 14_______________Select
14___Button 13_______________Not used
16___no conection output 5V for Game Gear LED
10___Button 9 ________________B

Re: Arduino Leonardo pro micro

Posted: Fri Jul 28, 2017 2:26 pm
by abrugsch
If you wrap your code fragments in

Code: Select all

 [code] 
[/code] then it'll keep the formatting and spacing

Re: Arduino Leonardo pro micro

Posted: Fri Jul 28, 2017 2:29 pm
by lotusalex2000
thanks i change it